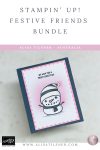
Festive Friends Snowman in Pretty Pink & Secret Sea — Quick Christmas Card Tutorial
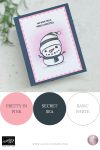
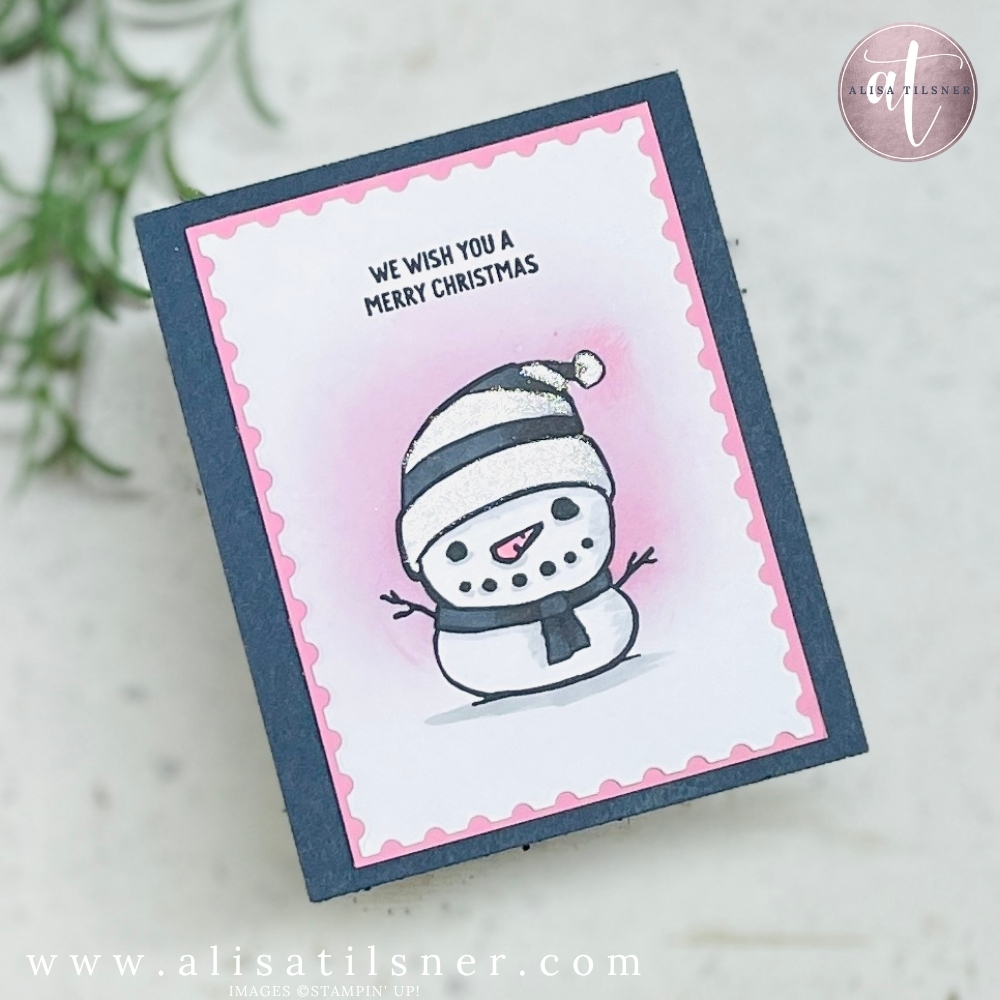
If you love creating cheerful Christmas cards without spending hours at your desk, this week’s project is for you. I pulled out the Stampin Up Festive Friends stamp set and focused on the sweet snowman image. We’re keeping it simple and striking with a Pretty in Pink and Secret Sea colour palette, plus a whisper of shimmer for a snow-kissed finish. I used only the stamp set today (no coordinating dies), alongside a favourite shape from the Perennial Postage Dies to frame the focal panel.
Why you’ll love this stampin Up festive friends project
- Mass-produce friendly: clean layers and minimal embellishments make it perfect for batch-making.
- Beginner to intermediate friendly: easy techniques that deliver a polished, layered look.
- On-trend palette: Pretty in Pink and Secret Sea are a fresh twist on classic Christmas colours.
Key supplies
- Stamp set: Stampin UpFestive Friends (snowman + “We Wish You a Merry Christmas” sentiment)
- Dies: Perennial Postage Dies (second-largest rectangle)
- Paper: Basic White, Pretty in Pink (mat), Secret Sea (card base)
- Ink: Secret Sea (for stamping and sentiment), Pretty in Pink (for blending)
- Tools & Extras: Stampin’ Up! Masking Paper, Blending Brush, Stampin’ Blends (Secret Sea tones, grey for shading, pink for carrot), Wink of Stella, Colour Lifter, Dimensionals, Adhesives
Technique highlights and tips
1) Masking for a crisp glow
Stamp the snowman in Secret Sea onto your die-cut rectangle, then stamp him again onto Masking Paper and fussy-cut on the line. Before placing the mask, dab it on clothing to knock back the tack so it lifts cleanly. Lay the mask over the snowman and blend Pretty in Pink ink in soft circular motions, starting on the mask and moving off. Keep the blend above the “ground” to preserve a snowy base.
Pro tip: When removing the mask, roll it off low and slow to avoid tearing fibres.
2) Ink-blended halo
Build colour gradually. The halo should be light enough to read as glow, but strong enough to frame the image. If you prefer a bolder look, add a second pass — the Perennial Postage stitched edge keeps everything neat and intentional.
3) Simple alcohol-marker colouring
Create depth with Secret Sea blends on the hat and scarf, layering the dark marker in the shadowed areas and smoothing with the light. Add a touch of grey beneath the hat brim, around the eyes and mouth, and lightly along one side of the body to suggest form. A Colour Lifter softens any heavy flicks. Keep the carrot delightfully matchy by colouring it pink.
4) Sparkle that reads as snow
Brush Wink of Stella over the hat trim and white stripes. A fresh pen gives beautiful flow and dries quickly — one coat is plenty. It catches the light without competing with the sentiment.
5) Grounding and sentiment
Lightly shade beneath the snowman so he’s not “floating”. Then stamp “We Wish You a Merry Christmas” in Secret Sea across the top of the panel. Align your stamp with a grid line for a perfectly straight impression.
6) Finishing the card and a simple insert
Mat the panel onto Pretty in Pink, then mount to a Secret Sea card base with Dimensionals. For the insert, stamp just the snowman’s head in Secret Sea at the lower corner; add the quickest hint of colour (or a tiny halo of Pretty in Pink) to tie it back to the front.
Make it your own
- Swap the halo to Soft Sky or Pool Party for a frosty blue vignette.
- Add snow dots with a white gel pen or splatter a little diluted white ink.
- Prefer dies? The design adapts beautifully to stitched circles or tags.
Ready to craft?
You can shop the Stampin Up Festive Friends stamp set and the Perennial Postage Dies from my online shop. If you’d like full measurements in inches and centimetres, the supply list, and a printable tutorial, subscribe to my newsletter for instant access to my Freebie Library packed with over 100 card tutorials.
Fresh, modern and oh-so quick — this Festive Friends snowman will be a favourite for your Christmas card stack this season.
Cheers for now

- Shop my ONLINE STORE
- Join The Artful Stampers Team – Happy Shoppers,
Hobbiest , Part Time and Full Time welcome! - Creative Card Makers Club
- Watch me on YouTube
- Socialise with me on FaceBook
- Email Me