
A Little Pocket Gate Fold Card
Thursday’s live started a bit like most of mine do… half a plan, half “we’ll see what happens”.
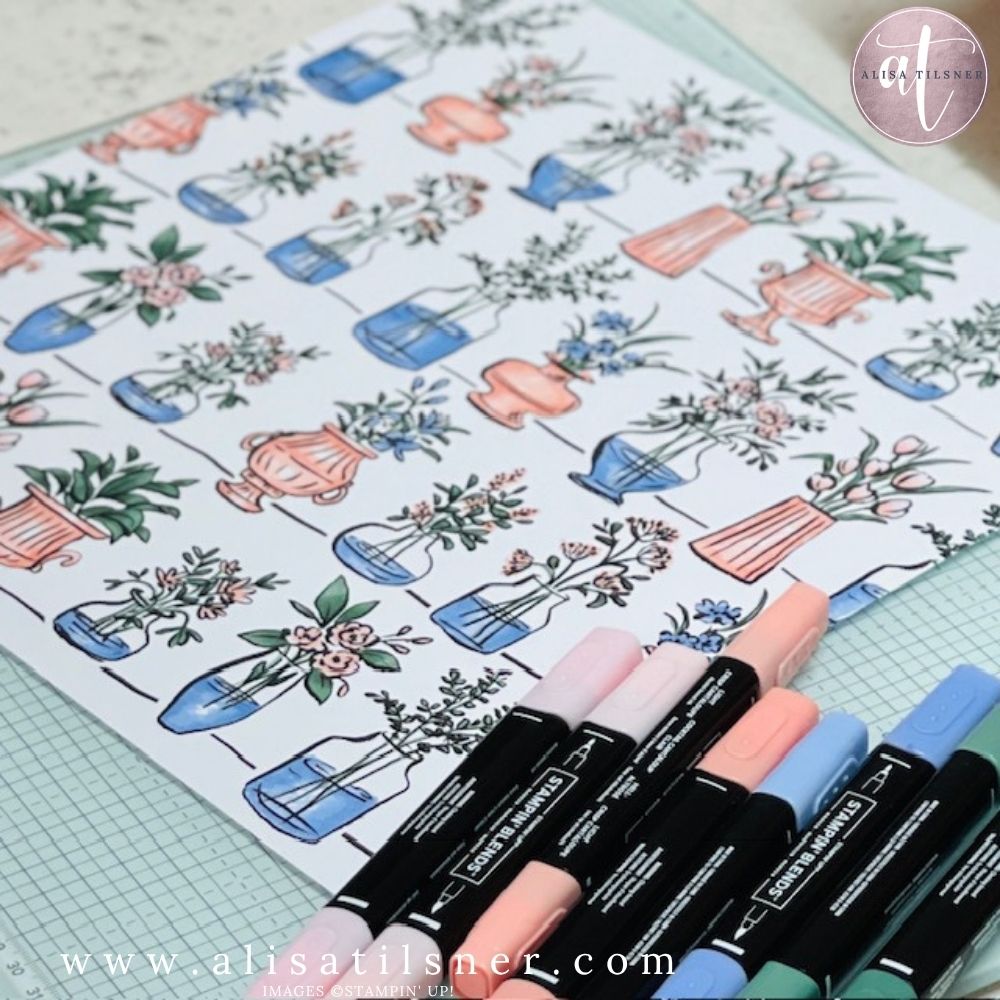
I had all these coloured images sitting on my desk from the Artisan Sketched Garden Paper — you know when you go on a colouring spree and then end up with extras? Yep. That pile. And I thought… right, if I don’t use these now, they’ll sit there forever.
So this card really came from that.
Starting with what’s already done
I’d already coloured a full 12×12 sheet earlier — just sat down and did the lot in one go. It’s such a nice way to do it. No stopping and starting. Just colour, cut, and then you’ve got everything ready when you feel like making.
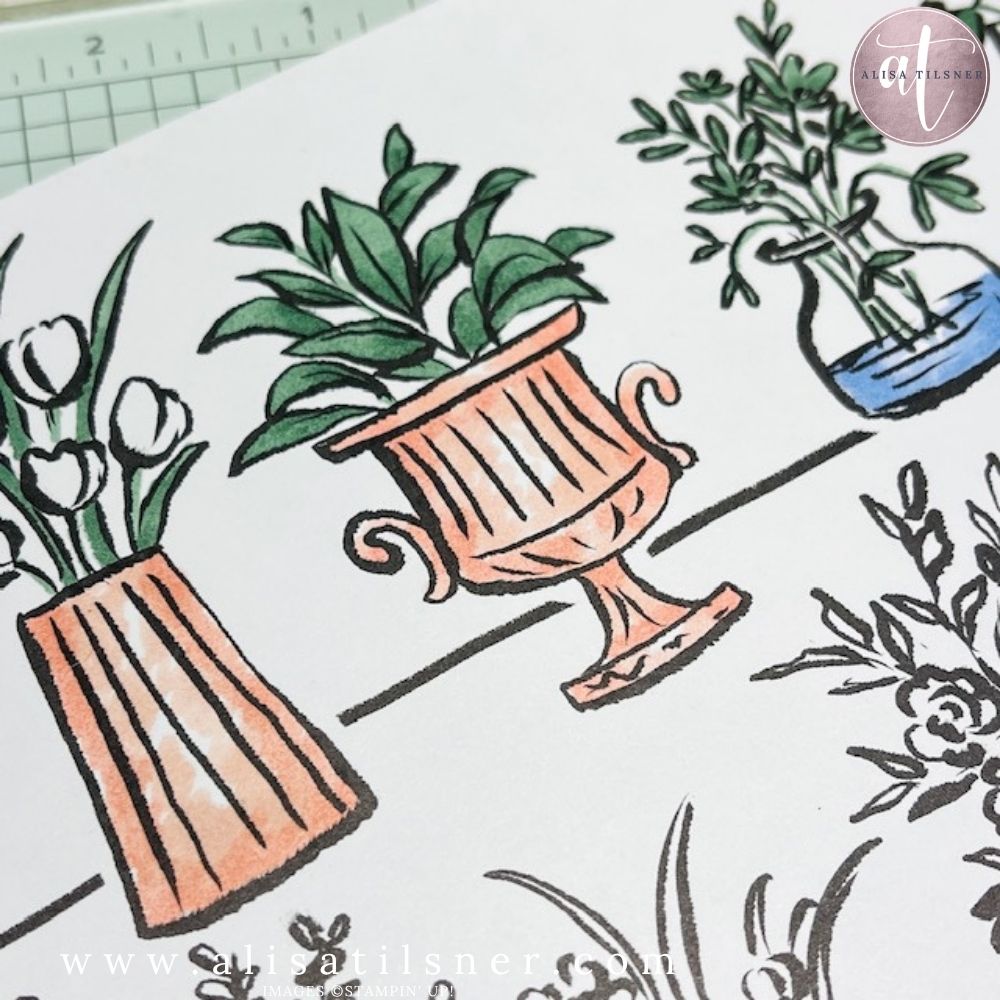
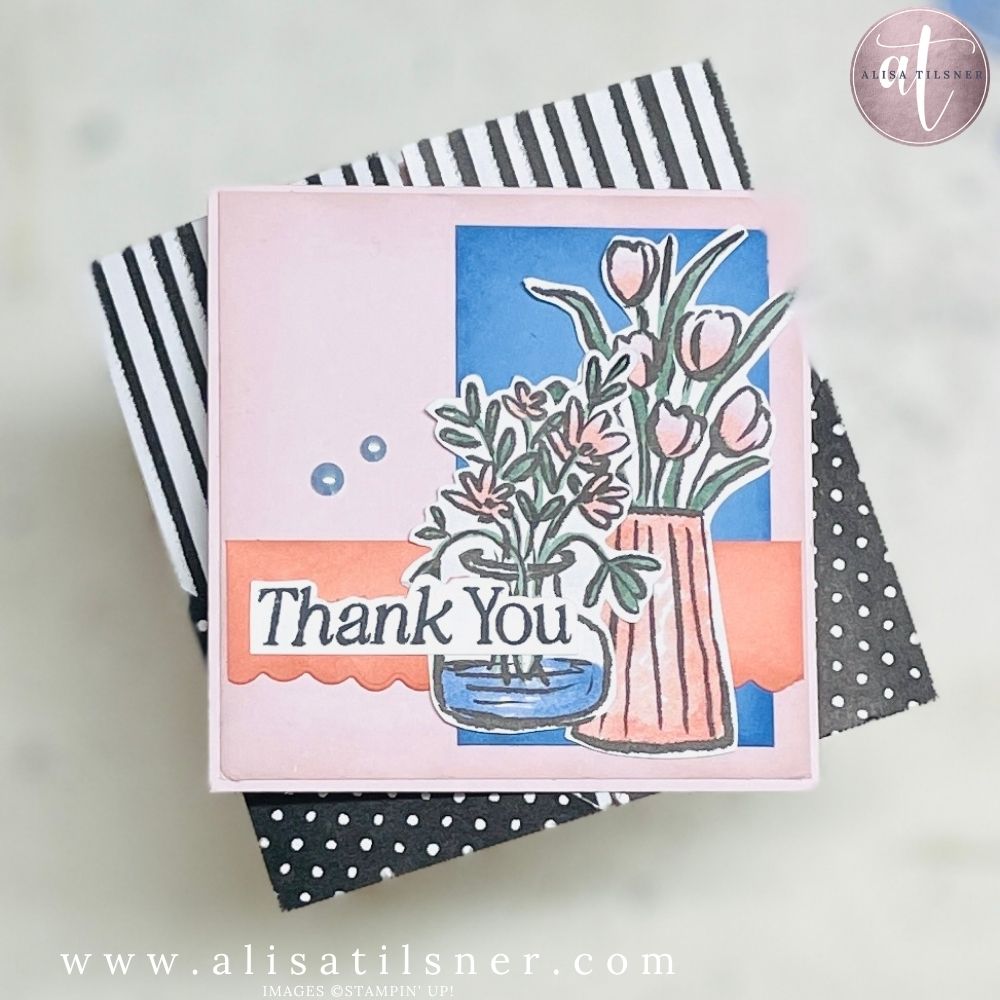
I used Stampin’ Blends for mine, but I didn’t do anything too precise. Especially on the pots… I kind of scribbled and dabbed rather than colouring neatly. Left some white space in the middle. It gives a bit of texture without trying too hard.
And I quite like that slightly messy look. It feels more… relaxed.
The card that sort of made itself
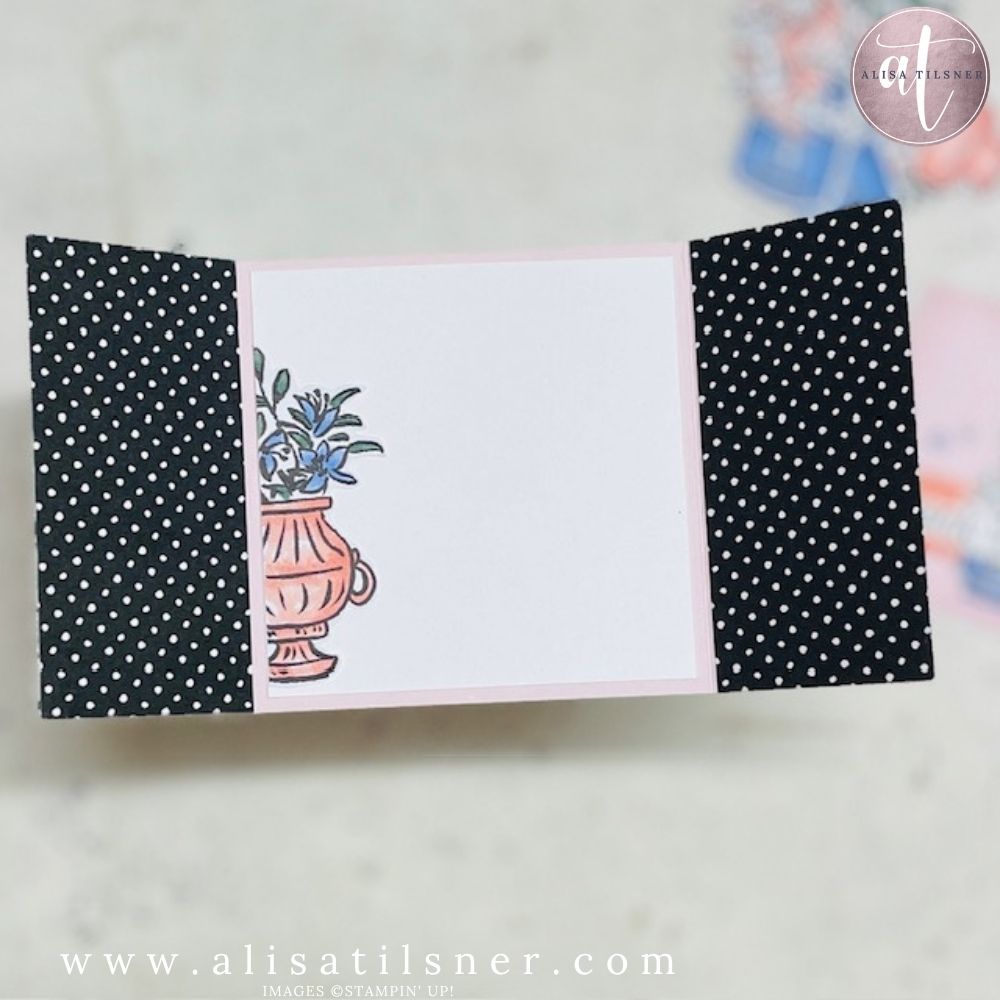
I knew I wanted to try something a bit different, so I started with a basic gate fold.
From there, it kind of evolved.
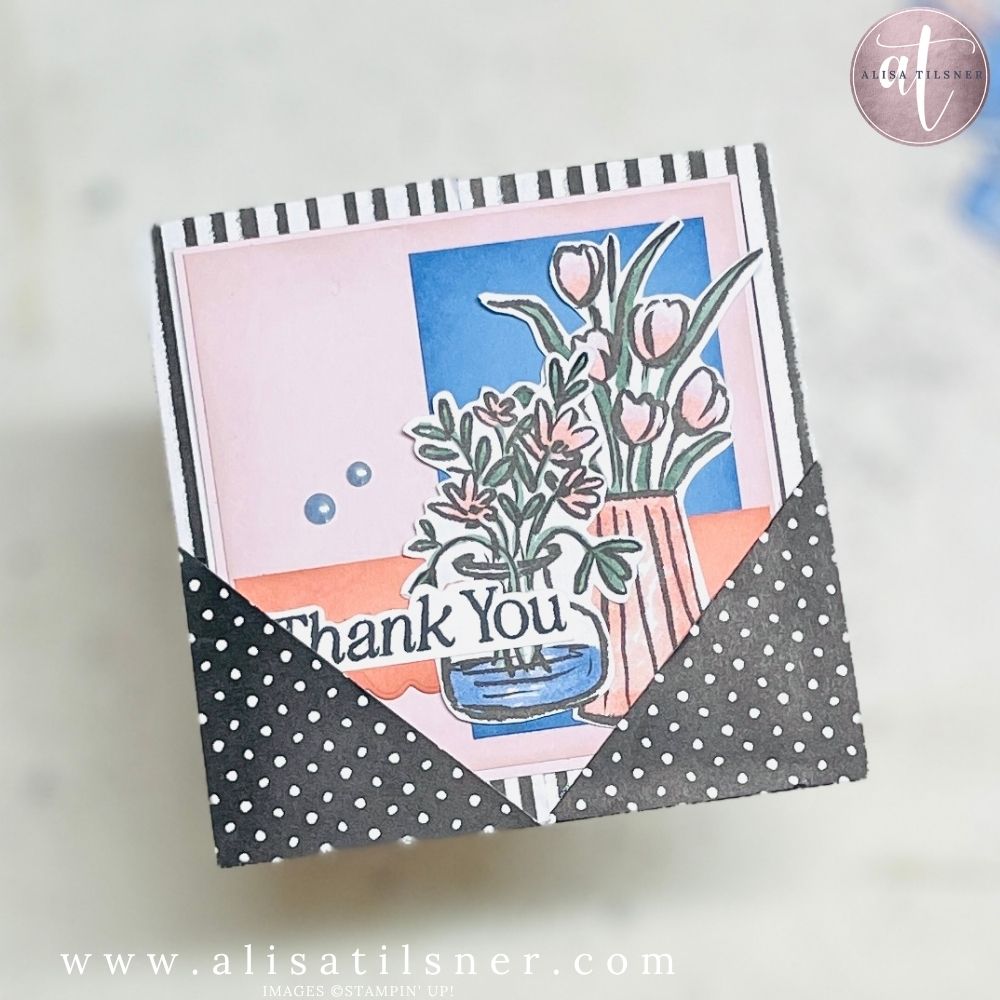
I added those diagonal triangle panels on the front corners — partly for design, but also to create somewhere for the closing mechanism to tuck into later. At that stage, I wasn’t 100% sure how it would work… just had an idea in my head.
The pocket panel idea
This is where it got interesting.
Instead of using a belly band or a clip or anything bulky, I made a separate panel that slides into those corner pieces to hold the card shut.
It’s a snug fit. You do have to wiggle it in and out a few times to loosen everything up. But once it settles, it actually works really nicely.
And I love that it feels a bit different.
You slide the panel out, and then the gate fold opens up properly. It’s got that little extra interaction without being complicated.
Keeping it flat (on purpose)
Because of that sliding piece, I had to keep everything quite flat.
No dimensionals. No bulky layers. Just glue and thin layers.
Normally I’d pop those florals up for a bit of dimension — especially the pots, I love them — but in this case, flat works better.
Although… I am thinking next time I might try those really thin foam adhesive strips just along the edges. That could give a tiny bit of lift without stopping the panel from sliding.
We’ll see. That might be version two.
Little bits that pulled it together
I added a bit of ink blending around the edges — just lightly, nothing fancy. It helps separate the layers, especially when you’ve got similar tones.
And I used one of the scalloped dies from the Bordered in Beauty Dies for a soft edge. I like that it’s not perfectly even… gives it a bit of movement.
Then just a simple sentiment from Lovely Arrangements Stamp Set to finish it off.
Oh… and a couple of dots at the end. I nearly forgot those (which is very on-brand for me).
What I’d try next
I kept thinking while I was making it… this would work really well with Paper Pumpkin pieces too.
Pre-cut elements, flatter layers… it would suit this style perfectly.
Also maybe a slightly bigger card. This one was 4″ x 4″ (10.2 cm x 10.2 cm), which is cute, but a 5″ x 5″ would give a bit more room to play with those triangles and the sliding panel.
Anyway… it worked. Which is always a nice surprise when you’re making it live.
And I’ve still got plenty of those coloured pieces left… so I think there’ll be a few more cards popping up.
I’ll pop the measurements and full tutorial into the Freebie Library if you want to recreate it.
PS – The Artisan Sketched Garden Paper will be available from the 5th May 2026, you can order it from my Online Store then.
Cheers for now

- Shop my ONLINE STORE
- Join The Artful Stampers Team – Happy Shoppers,
Hobbiest , Part Time and Full Time welcome! - Creative Card Makers Club
- Watch me on YouTube
- Socialise with me on FaceBook
- Email Me