
Stampin’ Up! Advent Calendar Door 2: A Floral Cardmaking Adventure
Sometimes the best cardmaking lessons come from the cards that don’t go exactly to plan!
In this week’s Thursday Live, I opened Door 2 of my Stampin Up Advent Calendar and discovered a beautiful selection of Designer Series Paper, floral images and coordinating patterns to play with. I had a general idea in my head, but as often happens when we create, the card took on a life of its own!
The wonderful thing about handmade cards is that they don’t always need to be perfect from the very beginning. Sometimes it is about experimenting, stepping back, changing a few things and finding ways to bring all those elements together.
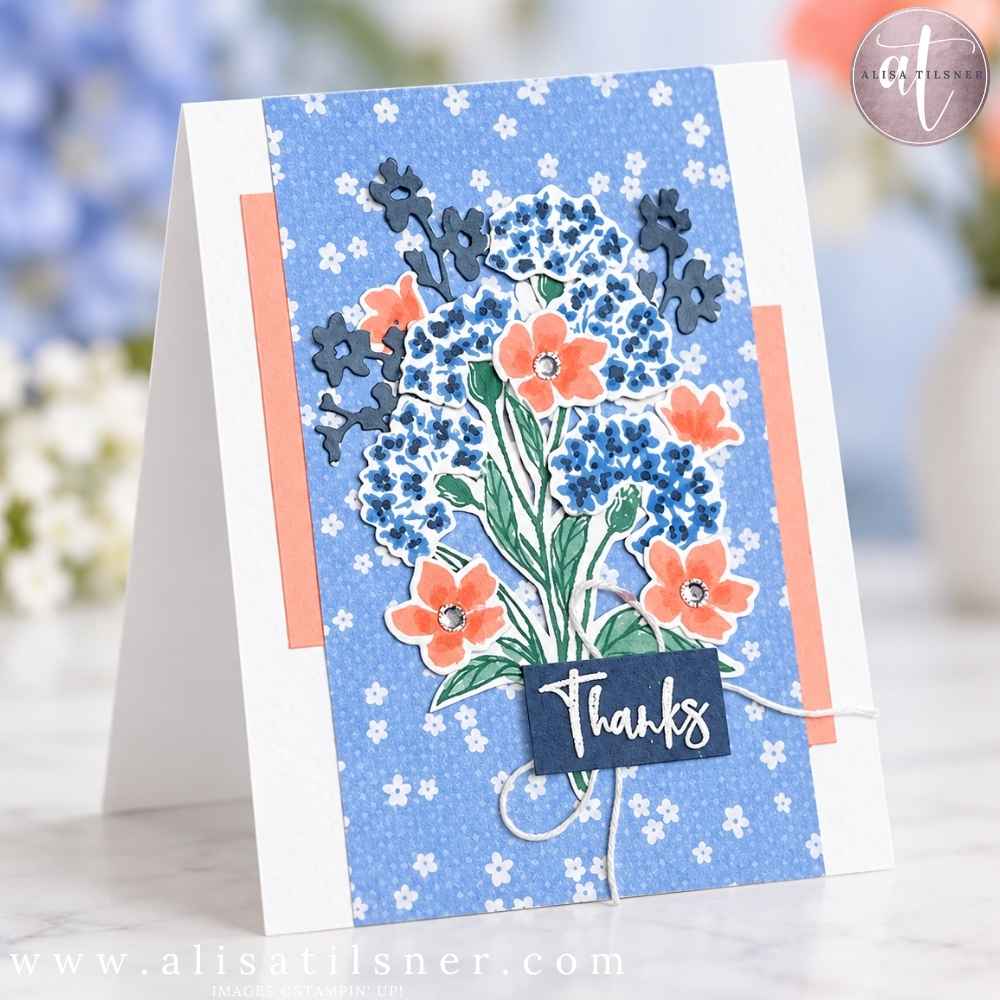
Creating Layers With Designer Series Paper and Die Cuts
The Designer Series Paper from the Advent Calendar was the starting point for this card. With multiple double-sided designs included, there are so many possibilities for mixing patterns, textures and colours.
I chose a floral design and paired it with a Hydrangea Hue card base, adding extra interest with ink splattering. This is such a simple technique that creates beautiful texture and a handmade feel.
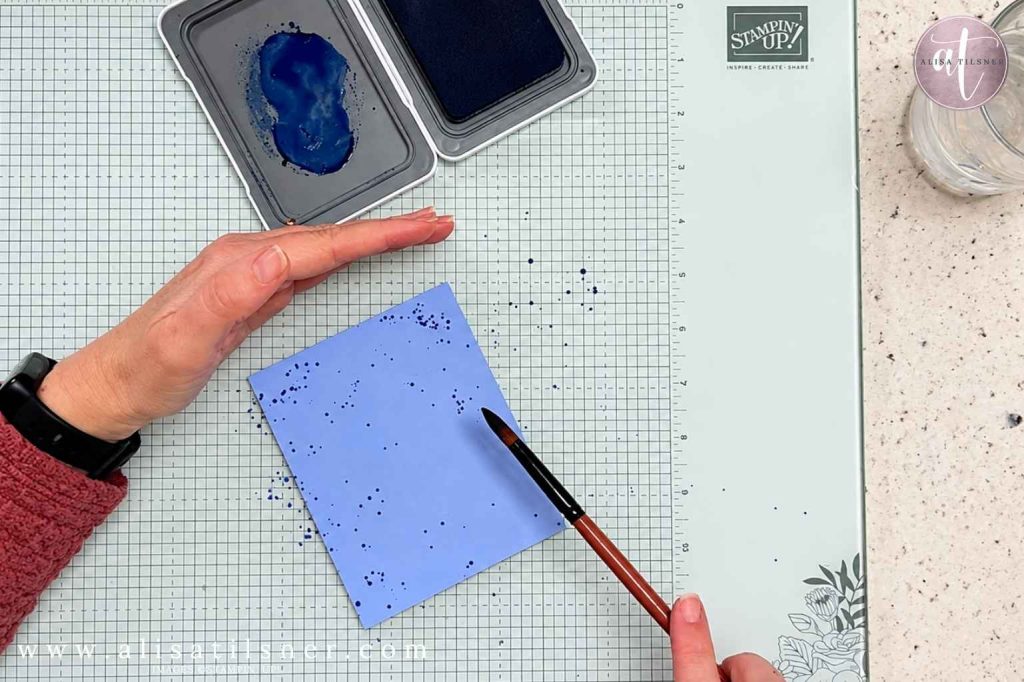
A little tip when splattering ink: bring your brush closer to your cardstock if you want smaller, more concentrated dots. Standing further away will create a much wider splatter effect (and possibly decorate your craft room, your hands and everything nearby too!).
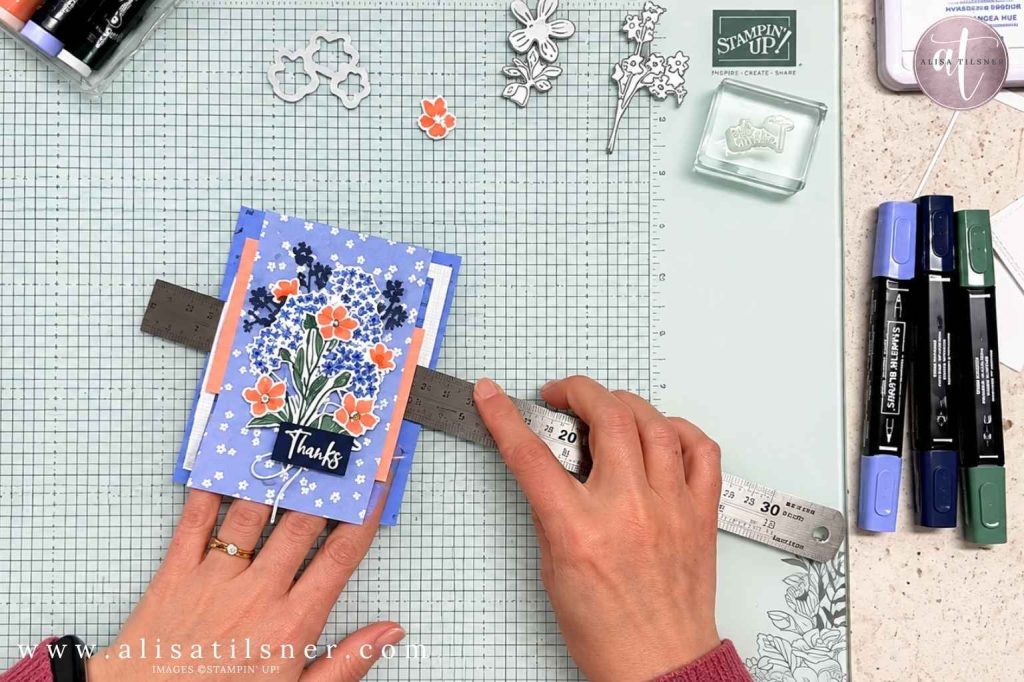
For extra dimension, I used nested square dies to create frames and added die-cut floral pieces behind the main images. Layering different shapes is a great way to add depth without needing lots of extra embellishments.
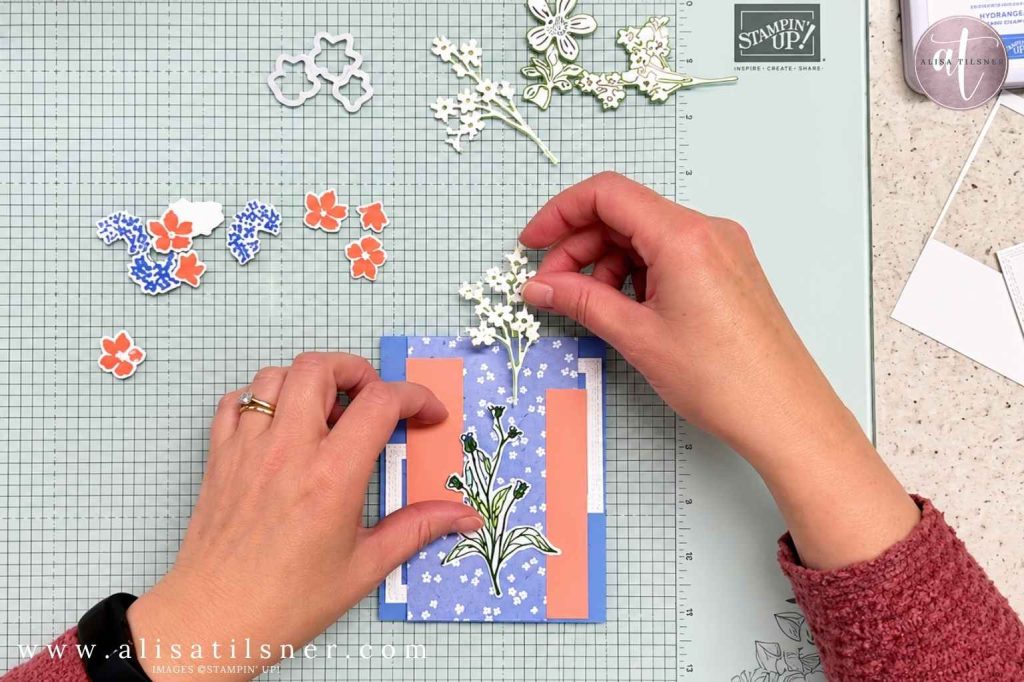
When Your Card Isn’t Working… Keep Experimenting
Now, my card was not looking quite how I imagined, and the busy Designer Series Paper was competing with the floral images.
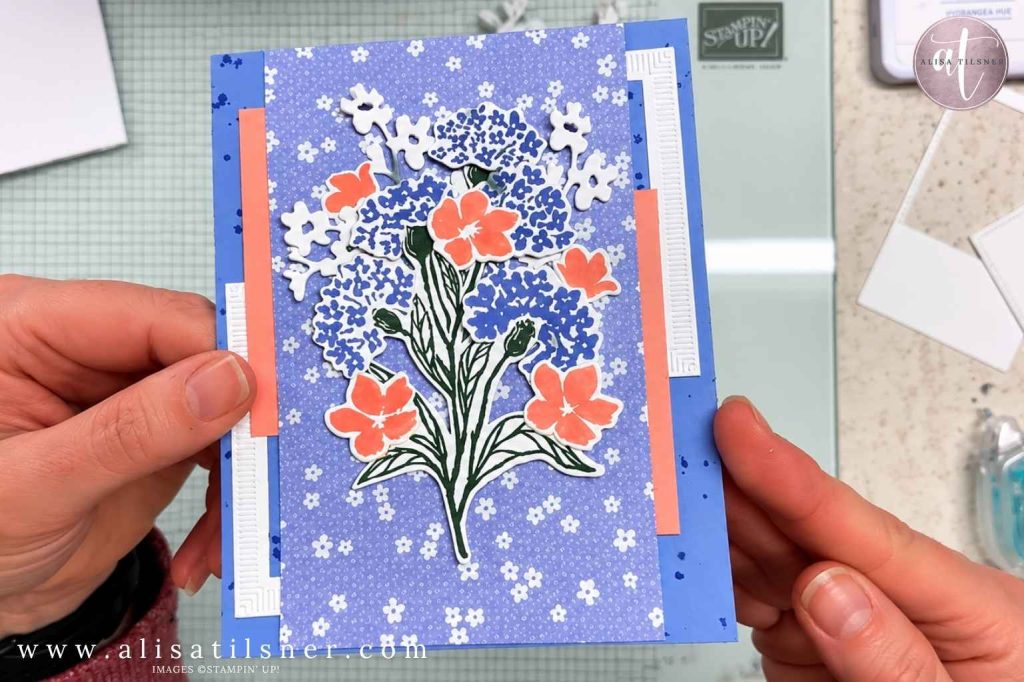
Instead of giving up, I experimented.
I added more colour to the flowers using Stampin’ Blends, deepening the tones to create more contrast between the background and the stamped images. Adding darker shades helped the flowers stand out and gave the design more balance.
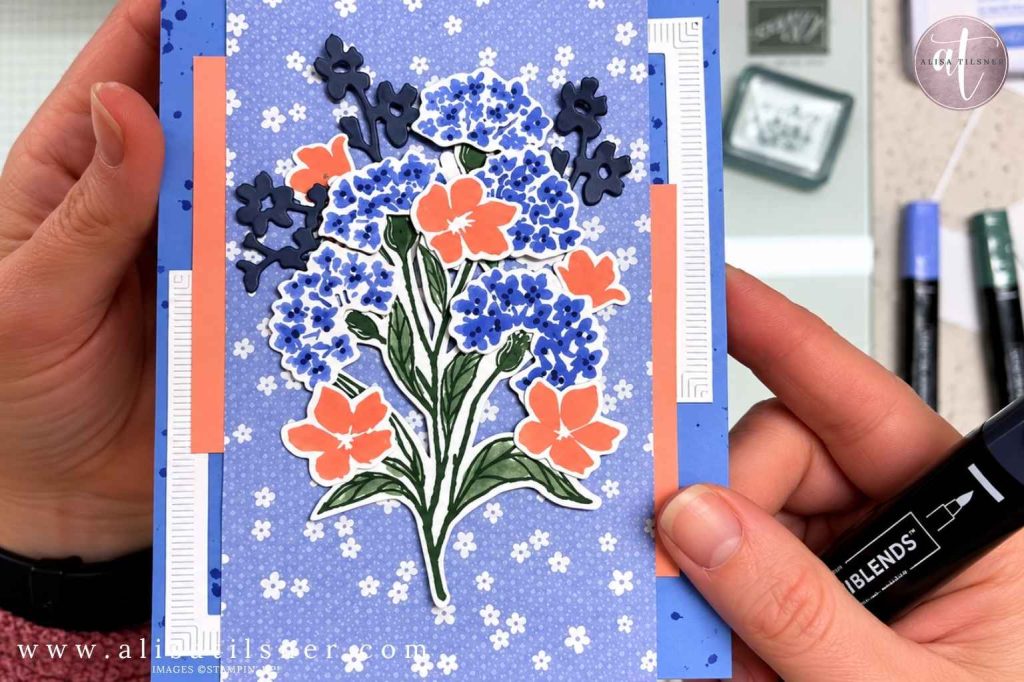
This is a great reminder that colouring doesn’t always have to start with a blank image. You can use Stampin’ Blends to enhance stamped images, add shadows, increase contrast and completely change the feel of a project.
Sometimes a card just needs a little extra time and a few adjustments before it starts to shine. This card needed alot of adjusting, and I ended up taking off the top layers and changing the card base.
A Handmade Card Full of Lessons
While this card definitely tested my patience, it also reminded me why I love sharing the creative process live. We all have projects that don’t quite work straight away, and learning how to adjust and adapt is part of becoming a more confident cardmaker.
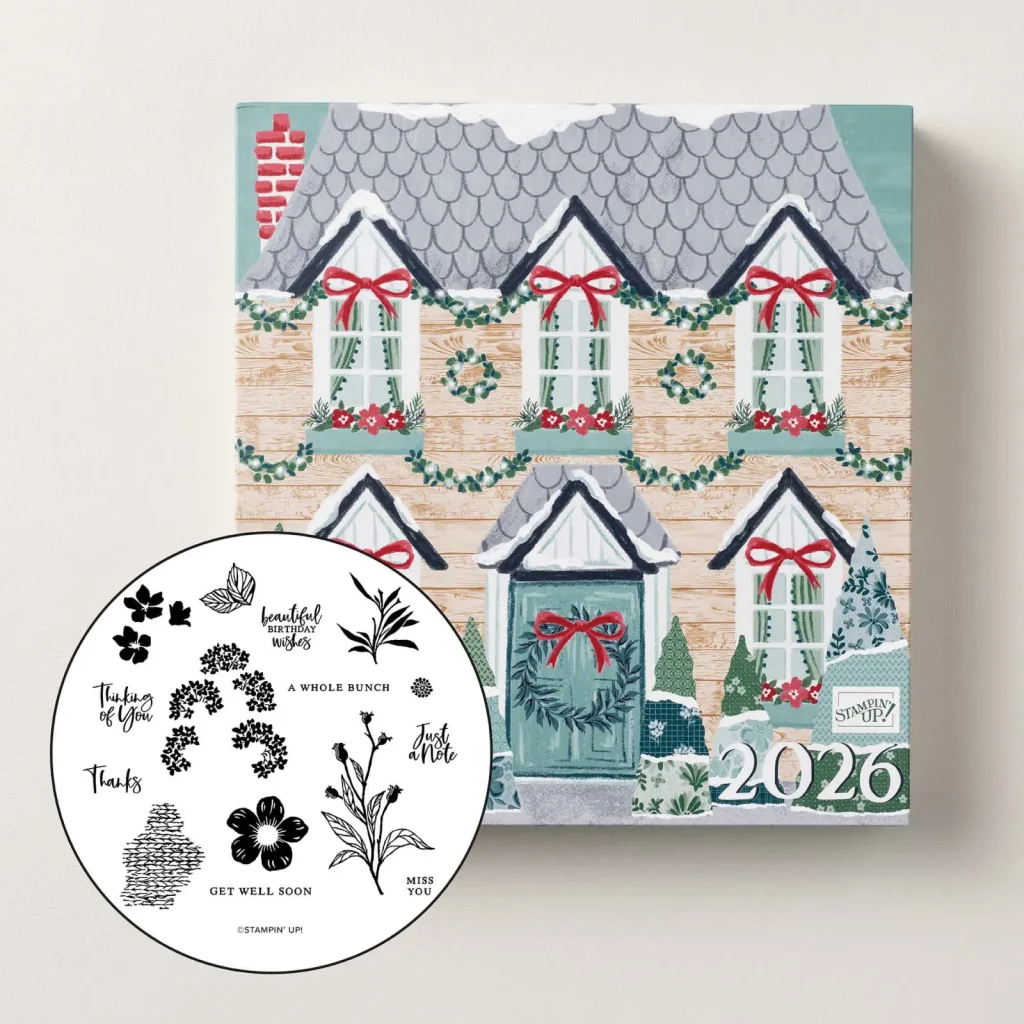
The Stampin’ Up! Advent Calendar is packed with coordinating products designed to inspire creativity, and Door 2 was a great example of how many different directions you can take one collection of supplies.
Whether you love detailed layered cards, colouring, die cutting or simply experimenting with new products, there are endless possibilities waiting to be discovered.
Remember, not every card needs to be perfect straight away. Sometimes the most rewarding projects are the ones where you take a few creative risks and discover something unexpected.
Don’t forget you can find the PDF Tutorial for this card in my Freebie Library (currently over 170 Tutorials).
Catch the replay of the Stampin up advent calendar Card
Happy crafting!

- Shop my ONLINE STORE
- Join The Artful Stampers Team – Happy Shoppers,
Hobbiest , Part Time and Full Time welcome! - Creative Card Makers Club
- Watch me on YouTube
- Socialise with me on FaceBook
- Email Me