
Vintage Floral Card with the 12 Days of Creativity Advent Calendar
There is something rather fun about an Advent calendar filled with crafting surprises, and I couldn’t resist opening Door 1 of the Stampin Up Advent Calendar a little early.
A little warning before we go any further: this post contains a spoiler for Door 1!
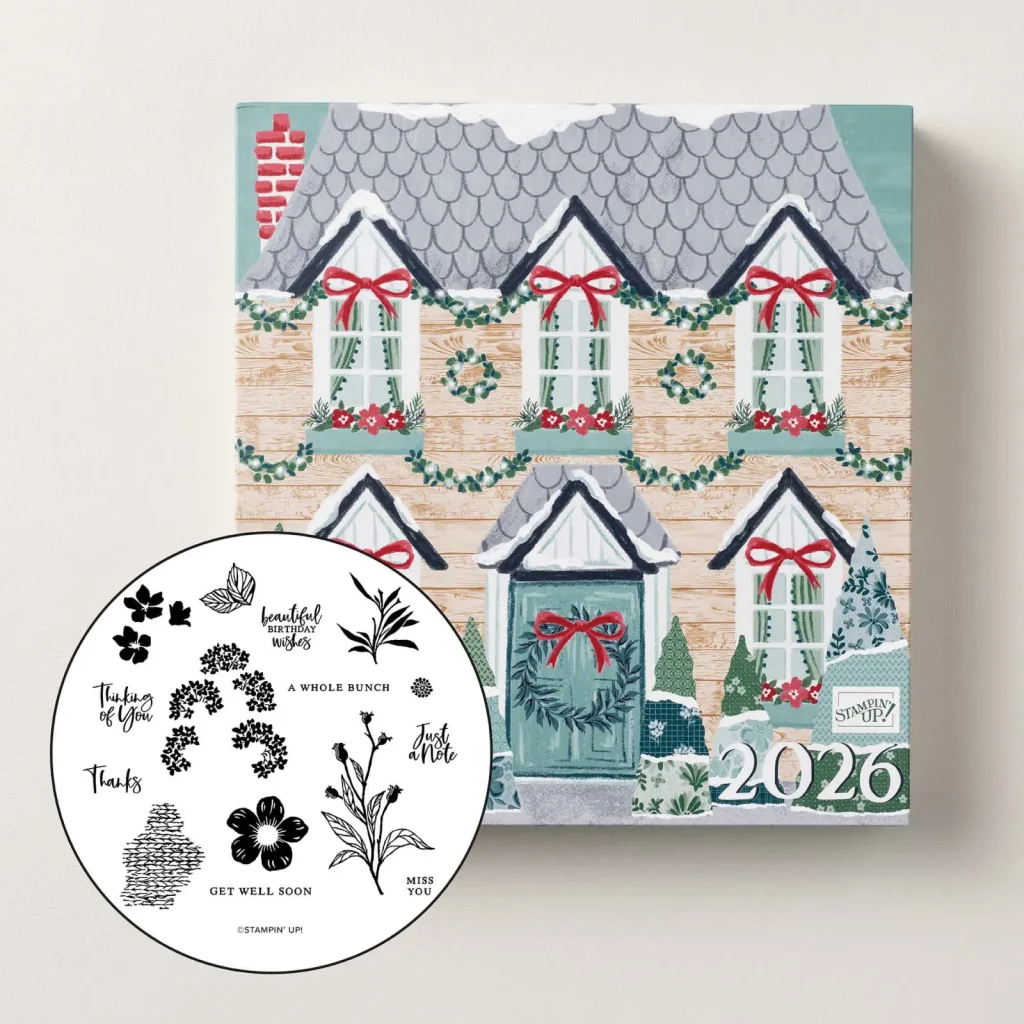
The Advent calendar includes a beautiful floral stamp set, with the images larger than they appear on the front of the box. Behind the first door is a coordinating set of dies containing both outline dies for several stamped images and additional decorative pieces.
For my first project, I decided to step away from the bright colours I’ve been using lately and create something with a softer, vintage feel.
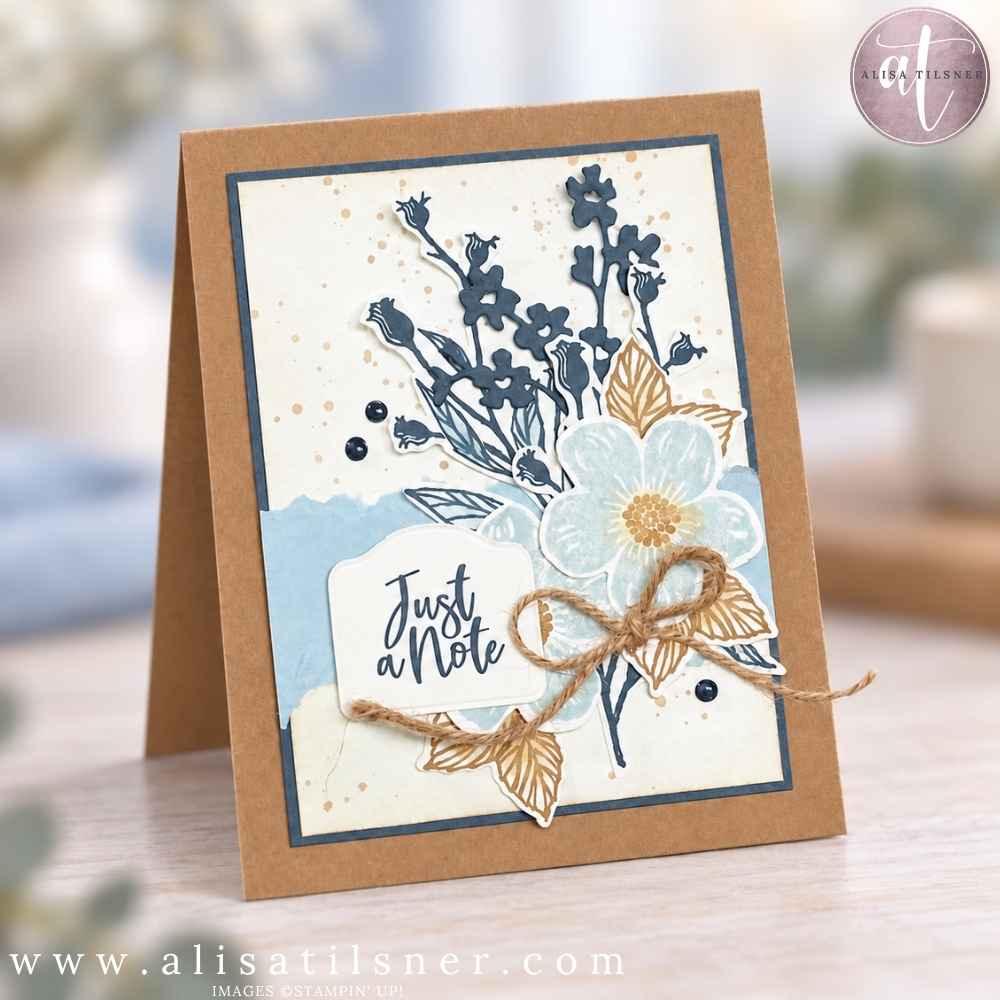
Choosing a Vintage Colour Combination
My colour palette was:
- Secret Sea
- Pecan Pie
- Cloud Cover
- Very Vanilla
Very Vanilla is a colour I haven’t used for years, but it was perfect for this card. It immediately softened the overall look and worked beautifully with the deep blue and warm brown tones.
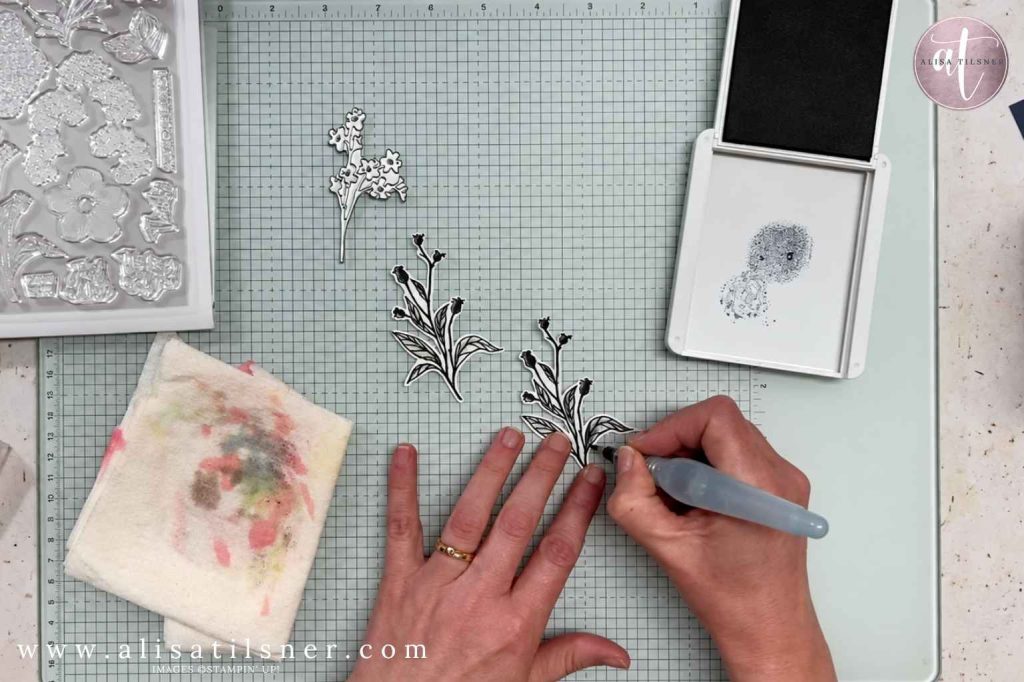
I stamped the floral images in Secret Sea and Pecan Pie, then used a Water Painter to gently move the stamped ink around. This created a loose watercolour effect without completely losing the detail of the images.
If the stamped ink has dried too much to move, simply press a little ink onto a palette or acrylic block, dilute it with water and add it where needed. Keep the colour light at first—you can always add more.
Creating a Soft Vintage Background
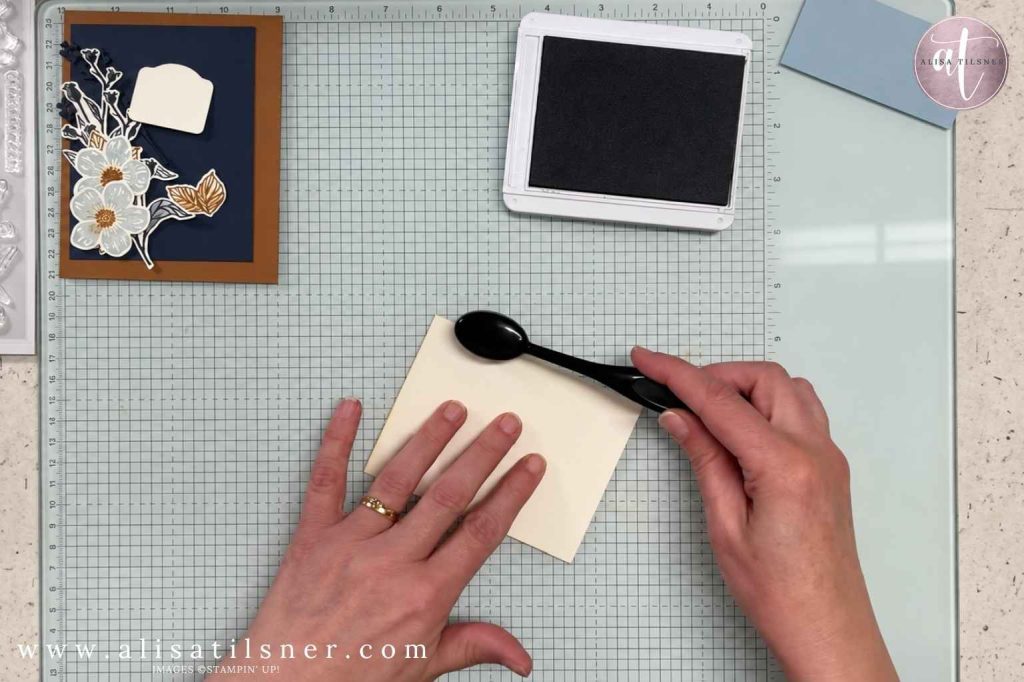
To take away the harshness of the Very Vanilla panel, I lightly blended Pecan Pie ink around the edges.
Here’s a handy tip if you tend to blend a little too heavily: hold your Blending Brush towards the very end of the handle. This makes it much harder to press firmly and helps you build a softer layer of colour.
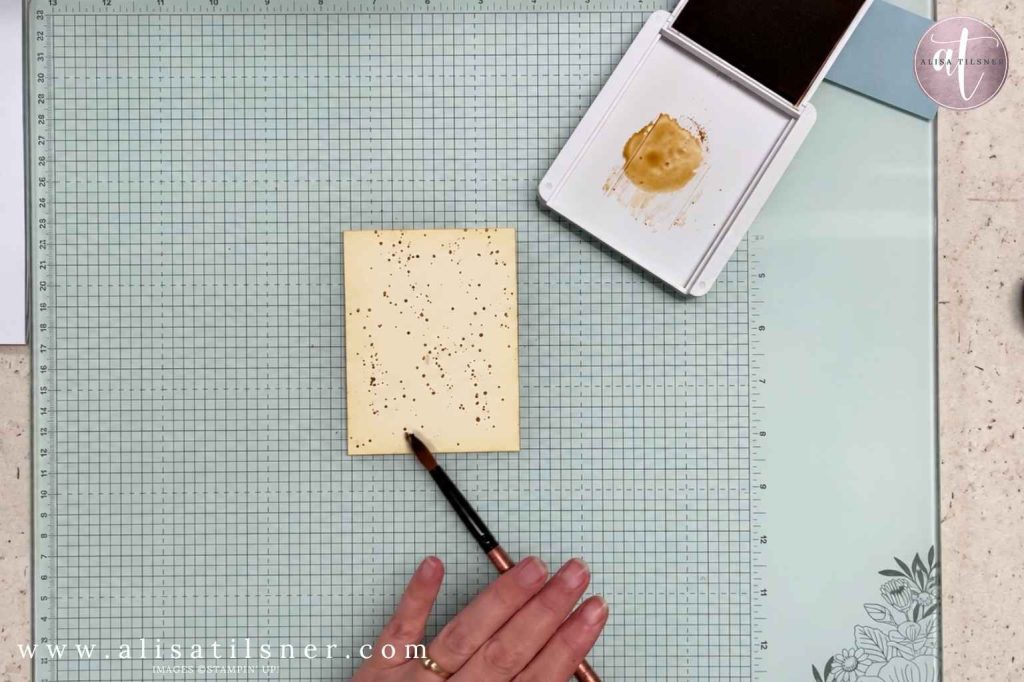
I then added Pecan Pie splatters with a paintbrush. The size of your splatters can be controlled in two ways:
- A larger brush creates larger splatters.
- Holding the brush closer to the cardstock creates larger spots, while holding it higher creates finer ones.
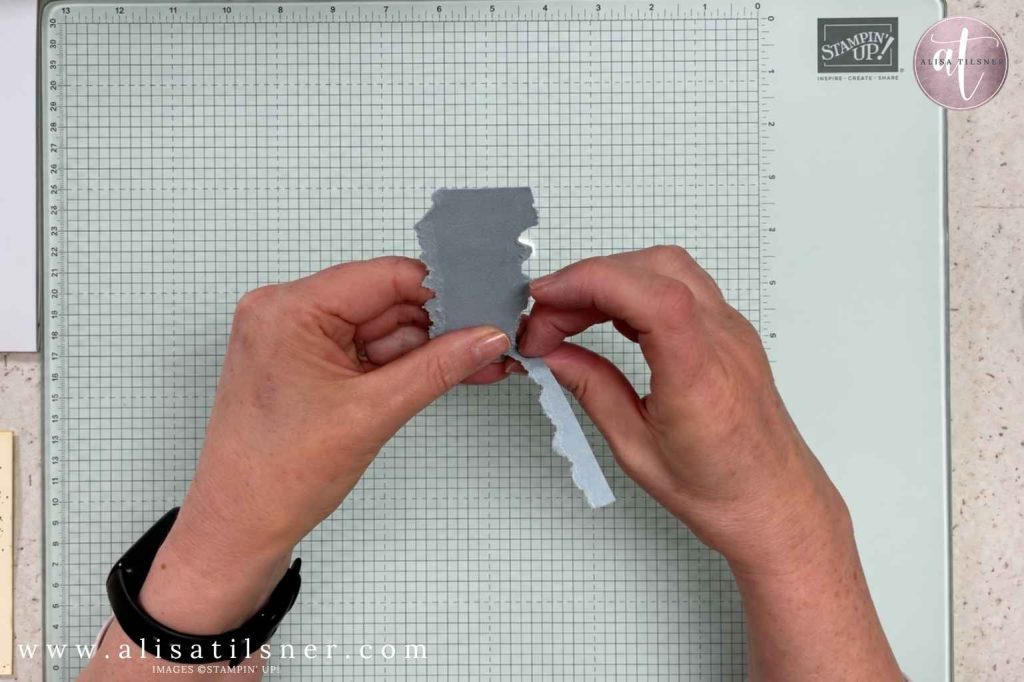
A torn strip of Cloud Cover cardstock added another layer of texture. When tearing cardstock, pull it towards yourself if you want the lighter, rough edge to remain visible.
Building the Floral Cluster
The flowers, stamped leaves and additional die-cut pieces were layered into a loose cluster across the card.
When creating this type of arrangement, place adhesive only near the base of the leaves and stems. The upper sections remain free, allowing you to tuck more pieces underneath and gently lift or bend them for extra dimension.
I also used only one Stampin’ Dimensional in the centre of each flower. This left plenty of room for sliding smaller elements underneath.
Don’t worry if every piece isn’t completely visible. Those little glimpses of leaves and die-cut details help the arrangement feel fuller and more natural.
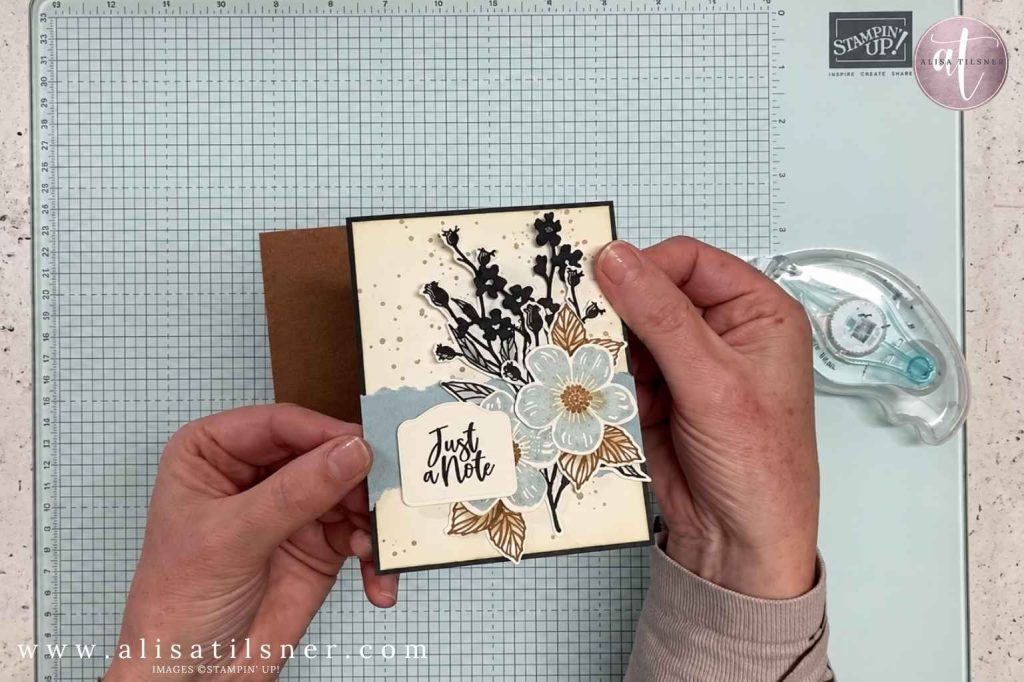
The “Just a Note” sentiment was stamped in Secret Sea, then added across the floral cluster. A thick Pecan Pie Jute Twine bow and Antique Pearls coloured with a Secret Sea Stampin’ Blend finished the card.
Stampin Up Advent Calendar
I haven’t created a vintage-style card for quite some time, but I love how this one came together. The floral stamp set offers a lovely variety of images and useful sentiments, while the coordinating dies from Door 1 make it easy to build detailed layered arrangements.
The Stampin Up 12 Days of Creativity Advent Calendar is available only while stocks last, so don’t leave it too long if you’d like to join in with the surprises.
Cheers for Now

- Shop my ONLINE STORE
- Join The Artful Stampers Team – Happy Shoppers,
Hobbiest , Part Time and Full Time welcome! - Creative Card Makers Club
- Watch me on YouTube
- Socialise with me on FaceBook
- Email Me