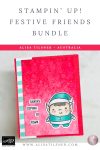
Festive Friends Christmas Card: Ink-Blended Background + Cling-Wrap Texture
If you love bold backgrounds and character stamps that do the heavy lifting, today’s project with the Stampin’ Up! Festive Friends Bundle is for you. In my Thursday Live I challenged myself to try a background technique I’d never tried before — and it turned out brilliantly. Below you’ll find the step-by-step process, colouring tips with Stampin’ Blends, and simple tweaks to help you recreate (or remix) the look with Santa, the elf, or the Snowman.

The Look
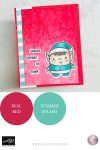
We’re pairing a Real Red ink-blended ombré panel with a soft, organic cling-wrap water-lift texture. It creates that beautiful mottled effect. For contrast, the elf coloured in cool blue-greens (Summer Splash with Pretty Peacock shadows) pops perfectly over the warm red.
Supplies at a Glance
- Stampin Up Festive Friends Bundle
- Classic ink pad: Real Red
- Stampin’ Blends: Summer Splash (Light/Dark), Pretty Peacock (Light for shading), Ivory (skin), Flirty Flamingo (cheeks), Grey Granite (light trim), 100/Basic Black (hair)
- Memento Tuxedo Black (for alcohol-marker friendly stamping)
- Small dish of water, paper towel, and cling wrap
- Wink of Stella (optional) or Puff Paint (for a different look) for fluffy trim
- Adhesives and basic cutting tools
Technique 1: Ombré Ink Blending that Behaves
- Cut a white panel to your usual card-front size.
- Load a blending brush with Real Red and work heaviest at the top, fading to light at the bottom.
- If you struggle with light blends, hold the brush nearer the end to reduce pressure and avoid harsh patches.
Tip: Don’t chase perfection—this background gets even better after the texture step.
Technique 2: Cling-Wrap Water-Lift Texture
- Scrunch up a piece of cling wrap.
- Lightly dampen a folded paper towel; press the cling wrap into it so it’s moist, not dripping.
- Pounce and press the damp cling wrap over the inked panel. The water reacts with dye ink to lift and mottle the colour, creating a soft, frosty texture.
- Dry with a heat tool or air-dry.
Bonus: If you move quickly, you can even “stamp” the inky cling wrap onto a spare white panel for a second, softer background.
Focal Image: Colouring the Elf (or Swap for Santa/Snowman)
- Stamp the Elf in Memento on Basic White.
- Colour the Clothing in Pretty Peacock (Light), Summer Splash (Dark and Light)
- Skin: Ivory with a whisper of Flirty Flamingo (Light) on cheeks, then soften again with Ivory.
- Trim: Light Gray Granite, softened on the edge with the Colour Lifter for that fluffy suggestion.
- Hair: 100/Basic Black for instant contrast.
Design Choice: On a red background, the blue-green elf sings. Prefer Santa? Keep his suit classic red but separate him from the background with a pale grey grounding shadow or a die-cut circle/label. The snowman is gorgeous over a blue ombré; try the same technique in Balmy Blue or Azure Afternoon.
Sentiment Styling
The “Santa’s Coming to Town” sentiment looks fresh when you stamp, trim, and stagger the words. Don’t worry about perfect lines—angled snippets add playful energy and guide the eye down the card.
Fast Coordinating “Paper”
Need a coordinating strip? Hand-draw quick marker stripes on a scrap of white with Summer Splash Dark. Imperfect spacing looks intentionally arty and ties your palette together. Adhere as a side border and save off-cuts for the card interior.
Finishing Touches
- Pop your elf up on dimensionals.
- Add Wink of Stella to hat trim and pom-pom, or dot on Puff Paint for cosy texture.
- Mount to a Real Red base for a polished finish.
Why You’ll Love the Stampin Up Festive Friends Bundle
- Large, confident images—ideal for quick colouring or step-up shading.
- Versatile dies for clean cuts plus extra accents (trees, snowflakes, tags).
- Works across styles: cute, modern, or mixed-media depending on colours and background.
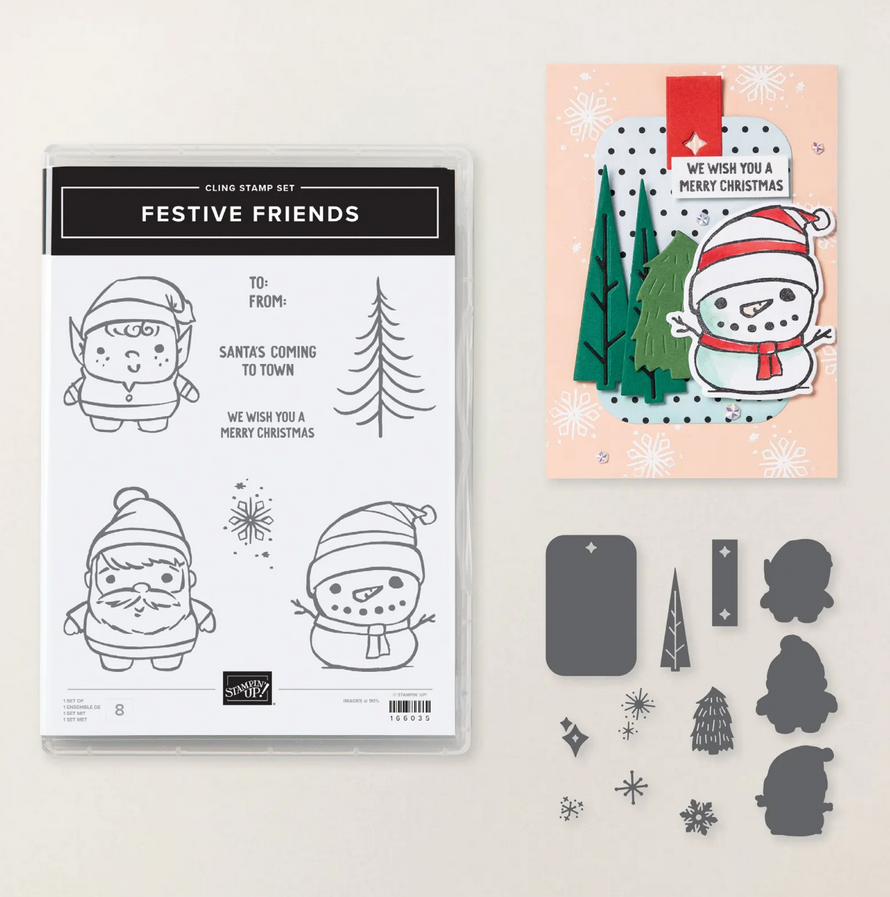
If you enjoyed this technique, join my email list for the printable tutorial with measurements plus access to my Craft Library of 100+ card tutorials. Ready to craft along? Order the Festive Friends Stamp Set or Bundle from my Stampin’ Up! shop in Australia

- Shop my ONLINE STORE
- Join The Artful Stampers Team – Happy Shoppers,
Hobbiest , Part Time and Full Time welcome! - Creative Card Makers Club
- Watch me on YouTube
- Socialise with me on FaceBook
- Email Me