
Pretty Poinsettia Impressions Dies – Create Elegant Christmas Cards with Beautiful Dimension
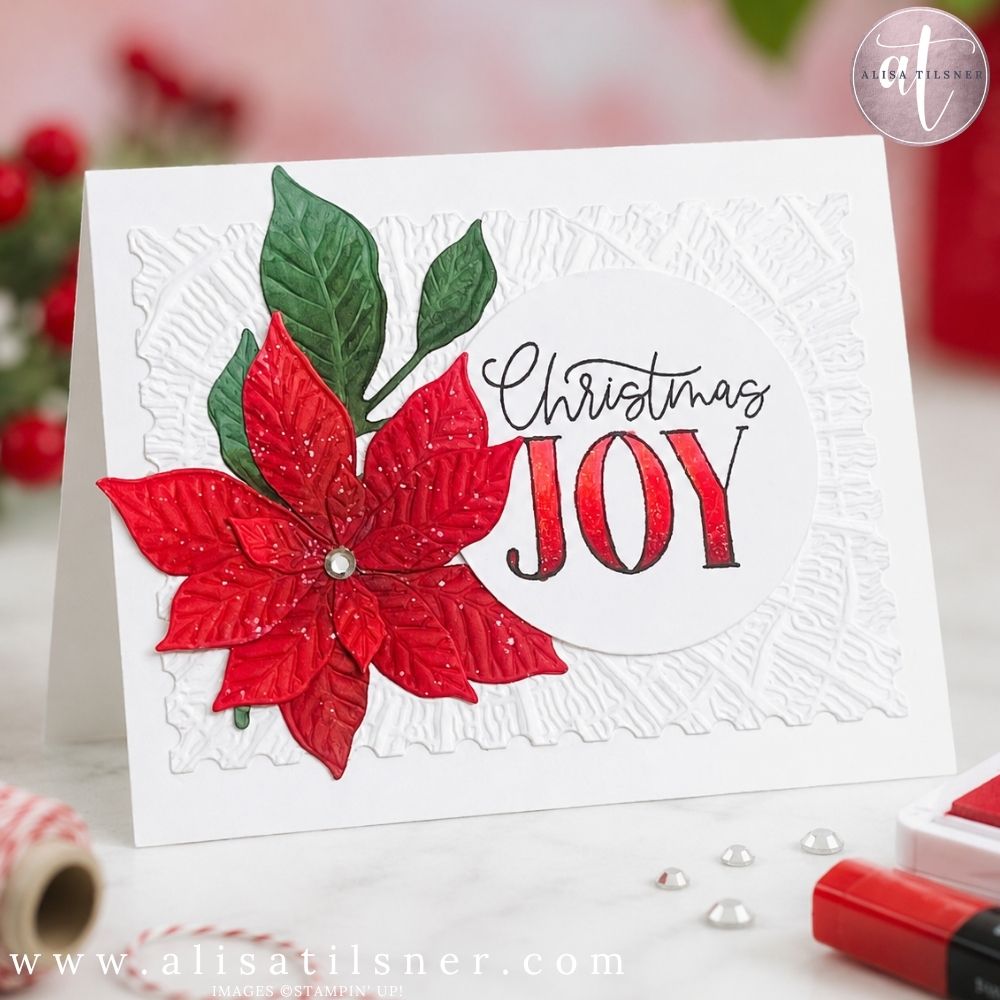
There’s something special about creating Christmas cards that look beautifully detailed but don’t take hours to make. If you’re looking for a design that’s elegant, easy to reproduce and has just the right amount of sparkle, the Stampin Up Pretty Poinsettia Bundle is a wonderful choice.
For this week’s Live tutorial, I wanted to explore the new Impressions Dies included in the bundle. They were completely new to me, so we discovered how they worked together during the Live – and I have to say, I was impressed by the extra dimension they create.
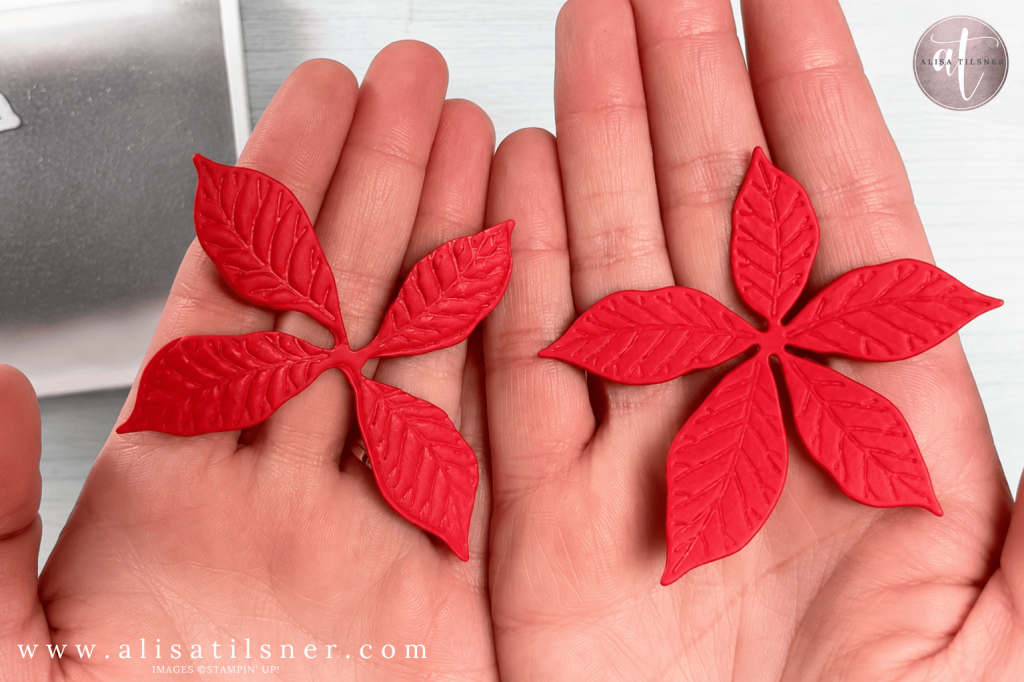
What Makes the Impressions Dies Different?
At first glance, the dies look quite similar to traditional cutting dies, but they have an extra trick.
The first pass through your Stampin’ Cut & Emboss Machine cuts the shape as normal. Then, by placing the die cut back into the die and running it through again using the Impressions Plate, the design is embossed with beautiful detail that gives the petals and leaves much more depth.
It’s one of those little extra steps that makes a big difference to the finished project.
If you don’t have the Impressions Plate, the die cuts are still lovely, but adding that second pass really brings the poinsettia to life.
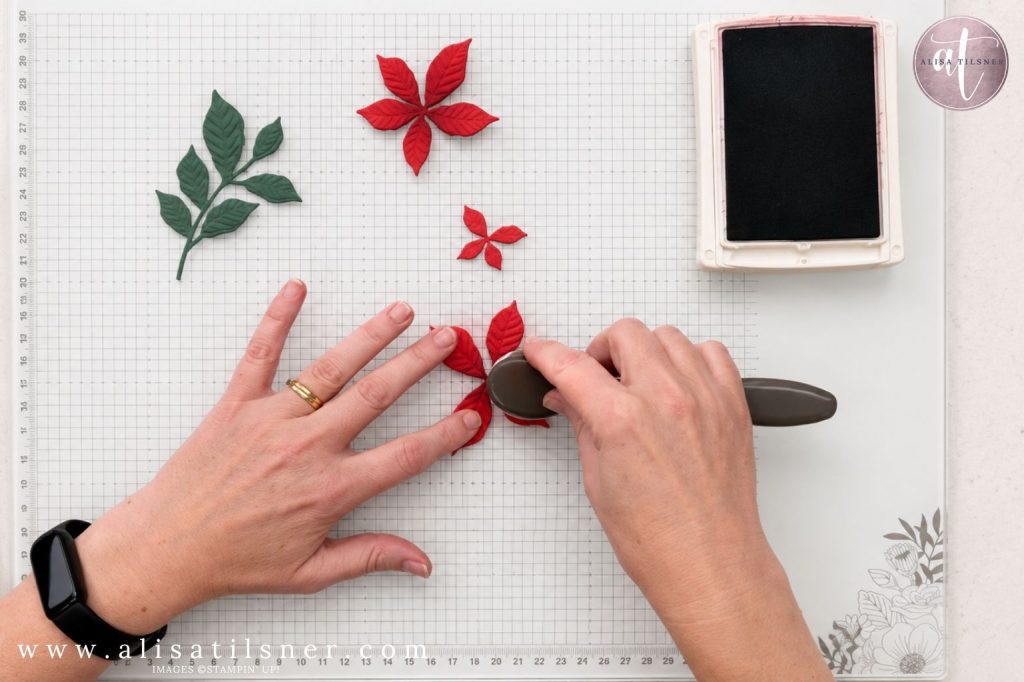
Adding Depth with Simple Ink Blending
Rather than leaving the die cuts flat, I added a little extra colour before assembling the flower.
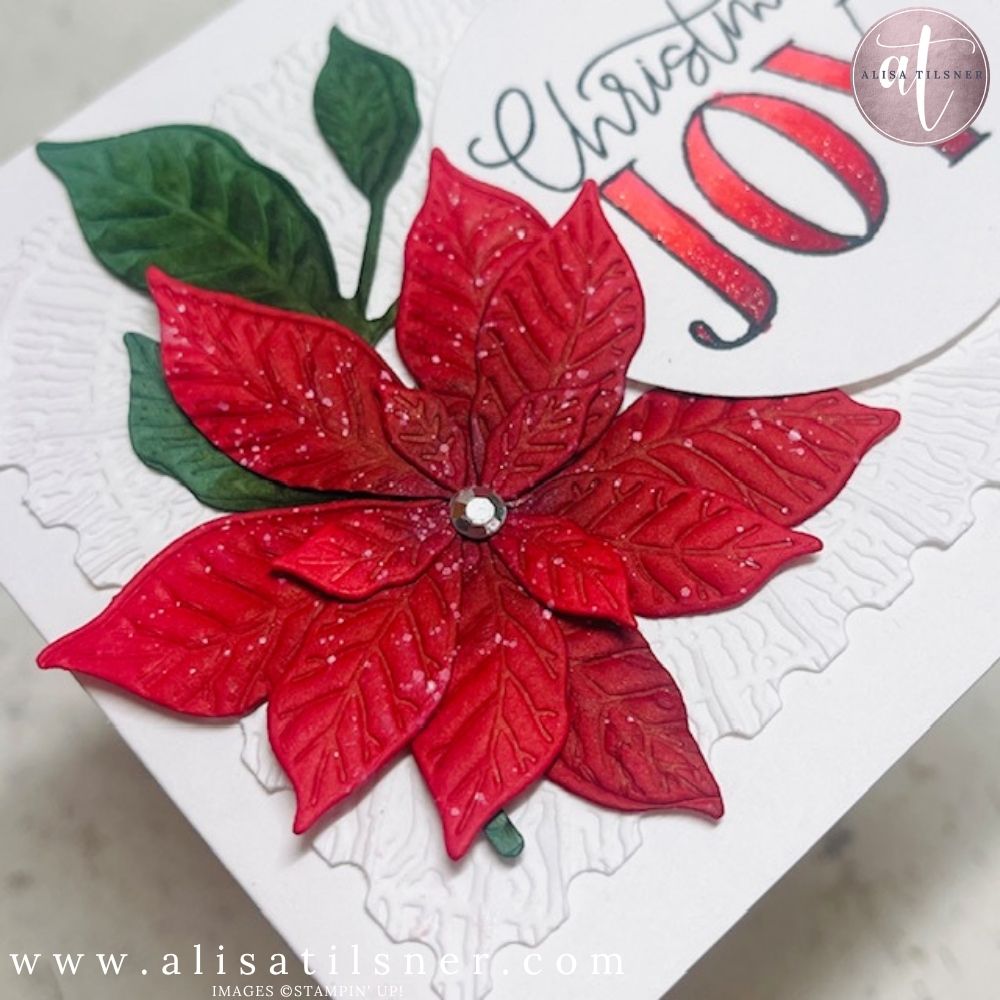
The poinsettia petals were die cut from Poppy Parade Cardstock, then lightly blended in the centres with Cherry Cobbler Ink to create soft shading and draw your eye towards the middle of the flower.
For the leaves, I used Peaceful Pine Cardstock with a touch of Mossy Meadow Ink over the embossed detail to highlight all of the beautiful texture created by the Impressions Dies.
These subtle colour changes only take a minute but make the layers feel much richer and more realistic.
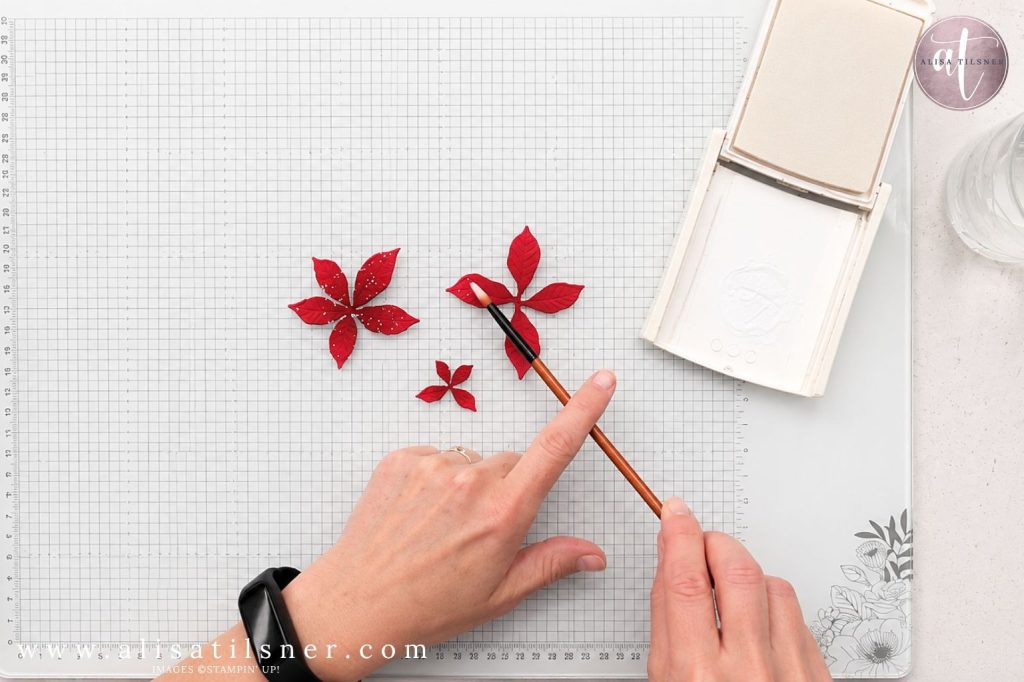
A Snowy Christmas Finish
One of my favourite finishing touches was adding a delicate white paint splatter across the petals.
The tiny white flecks soften the bold red and create the feeling of freshly fallen snow dusting the flower. It’s a simple technique that adds plenty of interest without overwhelming the design.
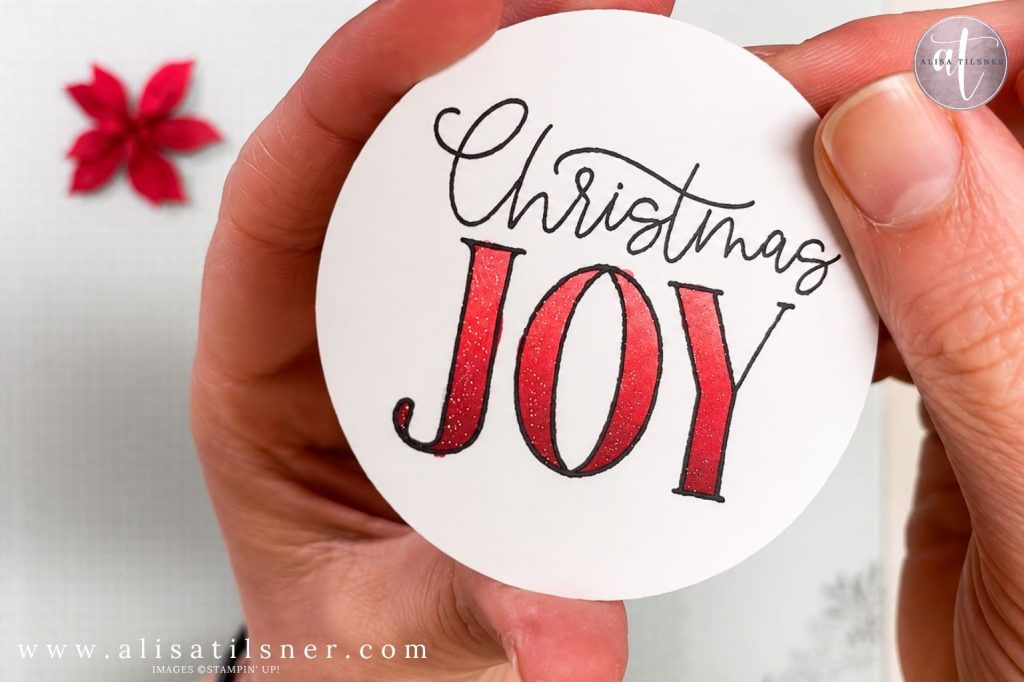
To finish the sentiment, I coloured the word JOY using an ombré blend of Cherry Cobbler and Poppy Parade Stampin’ Blends, before brushing over it with Wink of Stella for just the right amount of Christmas sparkle.
Sometimes it’s those little details that make a handmade card feel extra special.
Keeping the Design Simple
The background was created using the Perennial Postage Dies and embossed with the Textured Tree Rings 3D Embossing Folder. The soft texture adds interest while still allowing the poinsettia to remain the focal point.
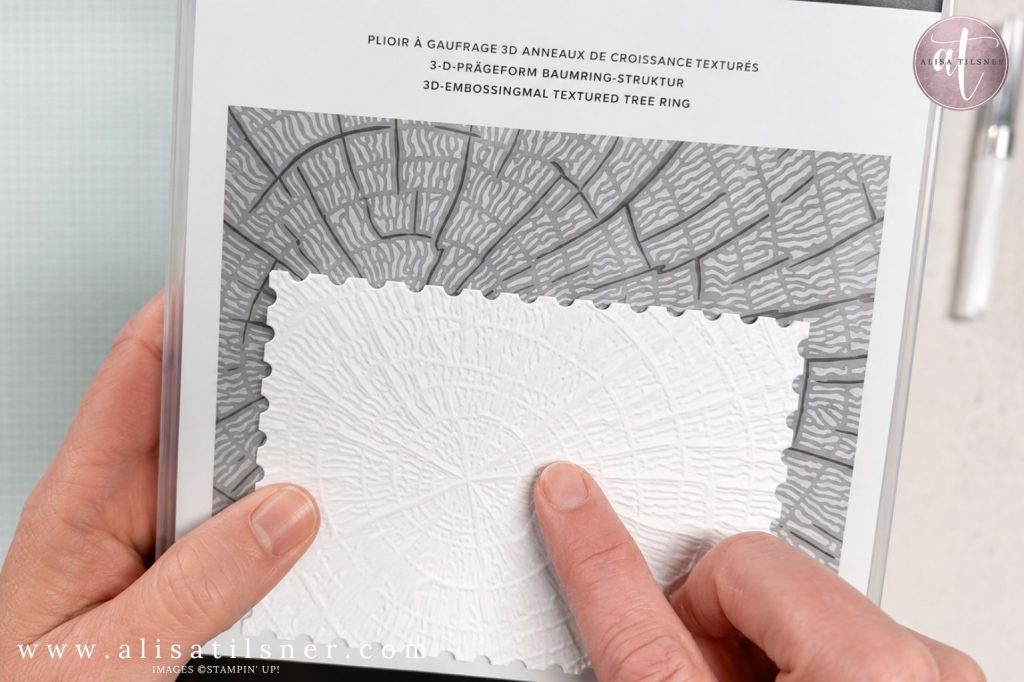
I also discovered that when working with heavily embossed cardstock, Multipurpose Liquid Glue gives a stronger bond than Seal Adhesive, making it a great choice for textured backgrounds.
The finished card came together with just a few layered elements, proving that you don’t need lots of embellishments to create an elegant Christmas design. A single silver Metallic Gem in the flower centre and a touch of shimmer were all it needed.
Give These Techniques a Try
If you’ve been wondering how to use the new Impressions Dies, I hope this project gives you the confidence to have a play. They’re surprisingly easy to use and add beautiful dimension that really elevates your die-cut projects, and so beautiful in the Stampin Up Pretty Poinsettia Bundle.
Whether you’re making one special Christmas card or creating a whole batch for family and friends, these simple techniques—layered die cuts, soft ink blending, white splatter and a touch of sparkle—work together to create cards that look detailed while remaining quick enough to reproduce.
As always, you’ll find the full written tutorial with measurements and supplies inside my Freebie Library, so be sure to subscribe if you haven’t already. There are now almost 180 free tutorials waiting for you!
Cheers for now

- Shop my ONLINE STORE
- Join The Artful Stampers Team – Happy Shoppers,
Hobbiest , Part Time and Full Time welcome! - Creative Card Makers Club
- Watch me on YouTube
- Socialise with me on FaceBook
- Email Me