Festive Friends Snowman Card – Masking, Silver Embossing & Soft Pastels
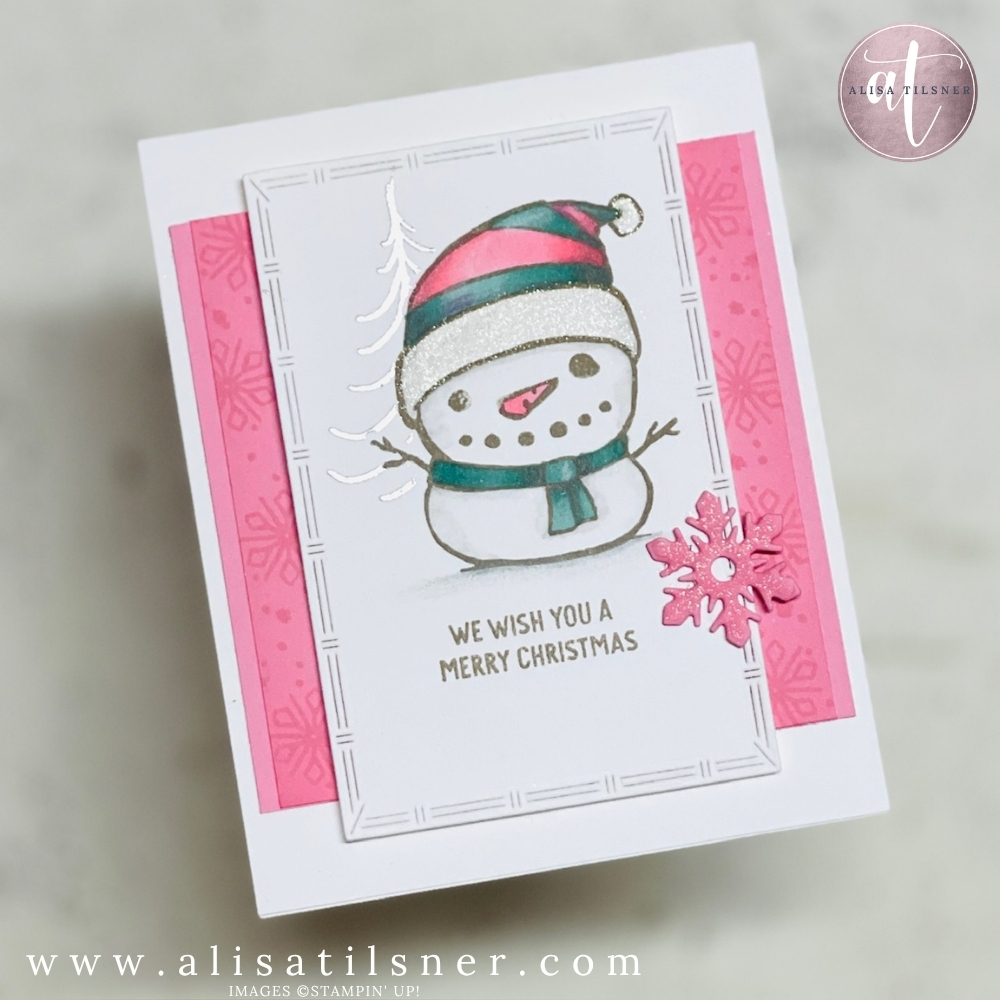
If you’re looking for a Christmas card that’s quick to make yet looks beautifully finished, today’s project is for you. I’m featuring the Stampin Up Festive Friends Bundle and building a sweet snowman scene with masking and silver heat-embossing. We’ll keep the palette light and modern—Grey Granite, Pretty in Pink, and Lost Lagoon—for a soft, wintry feel that still pops on the mantel.
Want the exact cutting guide? Subscribe to my newsletter and I’ll email the PDF with measurements so you can print and craft along.
Why the Stampin Up Festive Friends Bundle?
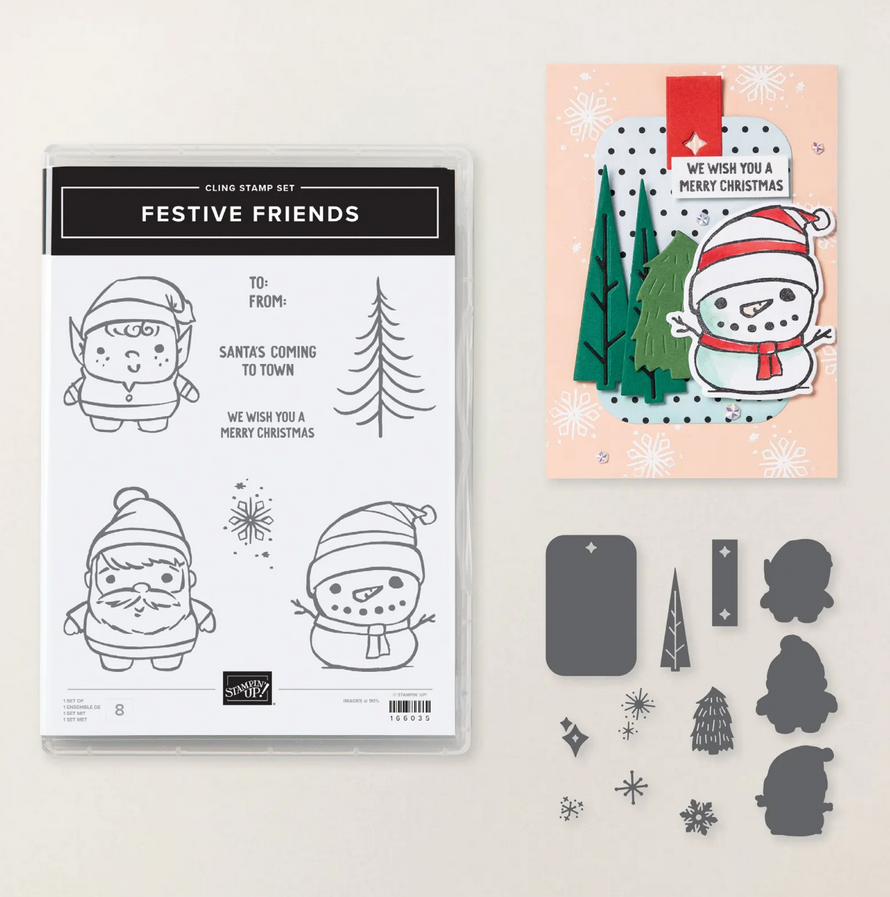
I’ll be honest—this set didn’t grab me at first. But it contains this year’s only Santa in the range and, more importantly for today, a wonderfully large snowman image perfect for colouring and simple scene building. The coordinating dies are available, but we won’t need them for this card; the images shine on their own.
Key Supplies
- Stamps: Stampin Up Festive Friends Bundle (snowman, tree, sentiment “We wish you a Merry Christmas”)
- Dies: Textured Notes dies (large stitched rectangle)
- Inks: Grey Granite (for stamping), VersaMark (for embossing)
- Powders: Silver Embossing Powder + Embossing Buddy
- Colouring: Stampin’ Blends in Grey Granite, Pretty in Pink, Lost Lagoon; Colour Lifter
- Extras: Blending Brush, Wink of Stella, Post-it note for masking
- Optional: Prismacolor pencils (or your preferred artist pencils) to deepen shadows
Technique Highlights
1) Crisp Masking Made Easy
Stamp the snowman in Grey Granite on your die-cut Textured Notes rectangle. Stamp him again on a Post-it and fussy-cut right on the line (include those twig arms!). Cover the stamped snowman with the mask.
Tip: Cutting on the line gives a cleaner seam so the background image sits naturally behind your focal point.
2) Elegant Silver Tree
Prep with the Embossing Buddy and stamp the line-art tree in VersaMark, tucking it behind the masked snowman. Heat-emboss in silver for a glossy, frosty backdrop that catches the light without adding bulk.
3) Soft Snow Shading
For believable “white”, lay down Colour Lifter first, then float in a whisper of Light Grey Granite and blend back with the Lifter. Add a shallow ground shadow so your snowman looks seated, not floating.
4) Pastel Pop Colouring
- Hat: Pretty in Pink and Lost Lagoon with simple stripe definition
- Nose: Pretty in Pink (yes, not orange—trust the palette!)
- Scarf: Lost Lagoon to balance the composition
Deepen creases and under-edges with pencils (optional). You’ll keep the Blends’ luminosity but gain extra depth in the folds.
5) Subtle Framed Layers
Create a Pretty in Pink mat and lightly ink-blend the panel edges. Stamp the small snowflake along the borders for a delicate frame that doesn’t compete with the focal panel.
6) Sparkle & Sentiment
Brush Wink of Stella over the hat trim and gentle snow highlights. Stamp “We wish you a Merry Christmas” straight onto the focal panel in Grey Granite to keep things cohesive and quick.
Designer Notes
- Keeping the palette to Grey Granite / Pretty in Pink / Lost Lagoon softens the large images and gives a contemporary Christmas look.
- Silver embossing adds finish without extra layers—ideal for mass-producing holiday cards.
- If you love more detail, add a die-cut snowflake or a tiny bow of white twine near the sentiment.
Ready to Make It?
You can shop the Stampin Up Festive Friends Bundle along with Textured Notes dies, Stampin’ Blends, and Wink of Stella directly through my online shop. If you’re in Australia, I’d love to be your demonstrator.
Get the printable PDF with full measurements: Subscribe to my newsletter —you’ll also unlock my Freebie Library with 100+ card tutorials and matching videos.
Happy Christmas crafting!

- Shop my ONLINE STORE
- Join The Artful Stampers Team – Happy Shoppers,
Hobbiest , Part Time and Full Time welcome! - Creative Card Makers Club
- Watch me on YouTube
- Socialise with me on FaceBook
- Email Me