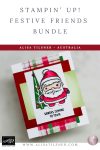
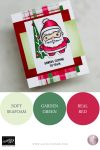
Festive Friends Santa Card Tutorial – Simple Layers, Soft Blending, and a Touch of Sparkle
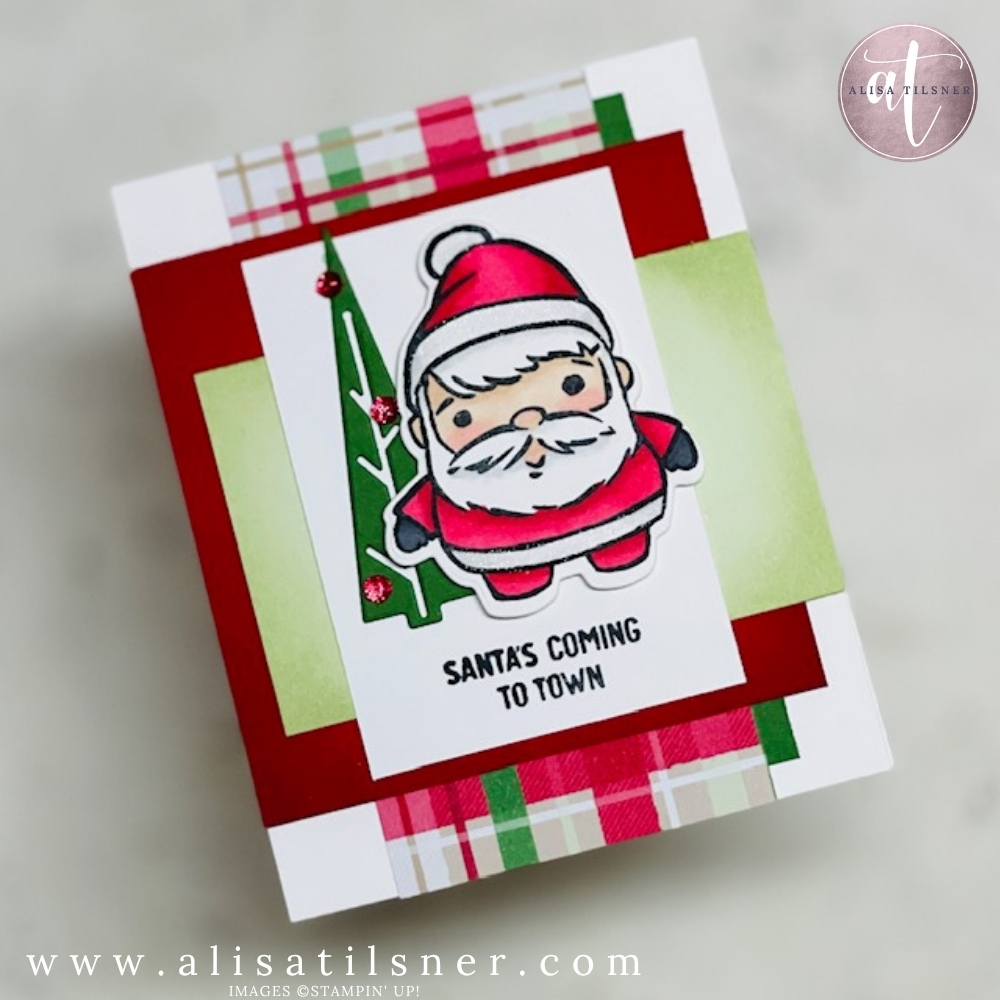
It’s Thursday 9 October and in our regular live we brought back the Stampin Up Festive Friends—this time letting Santa take centre stage. If you weren’t sold on this set at first glance, I completely understand. The more I’ve stamped with it, the more it’s won me over. Between the elf, the snowman, and now Santa, you’ve got three charming focal images that make quick, cheerful Christmas cards without fuss.
Why you’ll love the Stampin UpFestive Friends
- Three mix-and-match characters for a whole season of designs
- Clean line art perfect for Stampin’ Blends colouring
- Time-saving dies to cut images crisply and add sweet extras like the tree I’ve tucked behind Santa
- Friendly sentiments, including today’s choice: Santa’s coming to town
Supplies
- Stamp set/bundle: Stampin Up Festive Friends (bundle recommended for the coordinating dies)
- Ink: Memento Tuxedo Black (ideal with alcohol markers), Soft Seafoam & Real Red for edging the card
- Stampin’ Blends: Real Red (light/dark), Ivory (skin), Light Smoky Slate, Colour Lifter, Flirty Flamingo (light)
- Card & paper: Real Red, Soft Sea Foam, Garden Green, Basic White, plus a red-friendly check from Christmas Tags & More Specialty Paper
- Extras: Wink of Stella, Traditions Sparkly Sequins, Stampin’ Dimensionals, basic adhesives
Tips & Techniques from the Live
1) Clean outlines for Blends
Stamp your image in Memento—it’s water-based, so it won’t bleed with alcohol markers. This is the single most important step for crisp colouring.
2) Fast, flattering colouring
- Lay down Real Red light as your main coat colour, shadow with Real Red dark under the arm, along seams and where the beard overlaps, then soften edges by feathering back with the light marker.
- For skin, colour with Ivory. For a healthy glow, dot Flirty Flamingo light on cheeks and nose first, then glaze over with Ivory to soften.
- Keep Santa’s trims “white” but dimensional: trace a fine edge of Light Smoky Slate, then diffuse with the Colour Lifter to melt the line to nothing.
3) Simple ink-blended edges
A quick halo of ink around your Soft Sea Foam and Real Red panels deepens the colour and adds instant polish. Work lightly from the edges in circular motions; you’re after a soft vignette, not a solid band.
4) Layering that leads the eye
Today’s layout is wonderfully repeatable:
- Background check panel
- Narrow Garden Green strip flush right
- Real Red strip overlapping
- Basic White square for your focal image and sentiment
Audition the order of strips with your die-cut Santa resting on top—choose the arrangement that gives the best contrast around his suit.
5) Build a tiny scene
Die-cut the Garden Green tree and let it peek beyond the white layer to break the straight edges. A few red sequins on the tree mimic baubles without extra effort.
6) Shine that photographs beautifully
Finish with Wink of Stella over all “fur” trims and the pom-pom. One coat reads as subtle snow sparkle; two or three coats give that rich, festive sheen.
Sentiment placement (no wonky stamping)
If you’re stamping directly on the white layer, line up your clear block with your grid mat before inking “Santa’s coming to town”. It’s a tiny habit that saves re-cuts.
Make it your own
- Swap the check for woodgrain or subtle snowflakes.
- Change the strip colours (Crumb Cake base with Soft Sea Foam and Red looks lovely).
- Use black, green or white gloves—Santa is surprisingly flexible with accessories.
Ready to craft yours?
If you’re in Australia, you can order the Stampin Up Festive Friends Bundle from me—pair it with Christmas Tags & More Specialty Paper, Wink of Stella, red sequins, and the Stampin’ Blends mentioned above for the exact look shown.
Get the PDF: Pop your name on my newsletter list to receive the step-by-step measurements for today’s card and instant access to my Freebie Library with 100+ tutorials.
Festive, friendly, and fast—Festive Friends is the set that will carry you from quick make-and-mails to special keepsake cards, one cheerful character at a time.
Cheers for now

- Shop my ONLINE STORE
- Join The Artful Stampers Team – Happy Shoppers,
Hobbiest , Part Time and Full Time welcome! - Creative Card Makers Club
- Watch me on YouTube
- Socialise with me on FaceBook
- Email Me