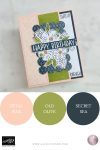
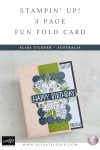
3 Page Fun Fold Card + Sneak Peeks (Virtual Card Making Retreat & Lovely Arrangements)
Welcome back to Thursday Live cardmaking! For our first weekly make of the year, I combined three things I’m loving right now: an exclusive stamp set from the 2026 Virtual Card Making Retreat, pieces from the Lovely Arrangements dies, and the beautiful Lovely Blossoms Designer Series Paper (Online Exclusives). The result is a fun, 3 Page Fun Fold Card that looks impressive but comes together surprisingly fast.

The star of the show: an exclusive retreat stamp set
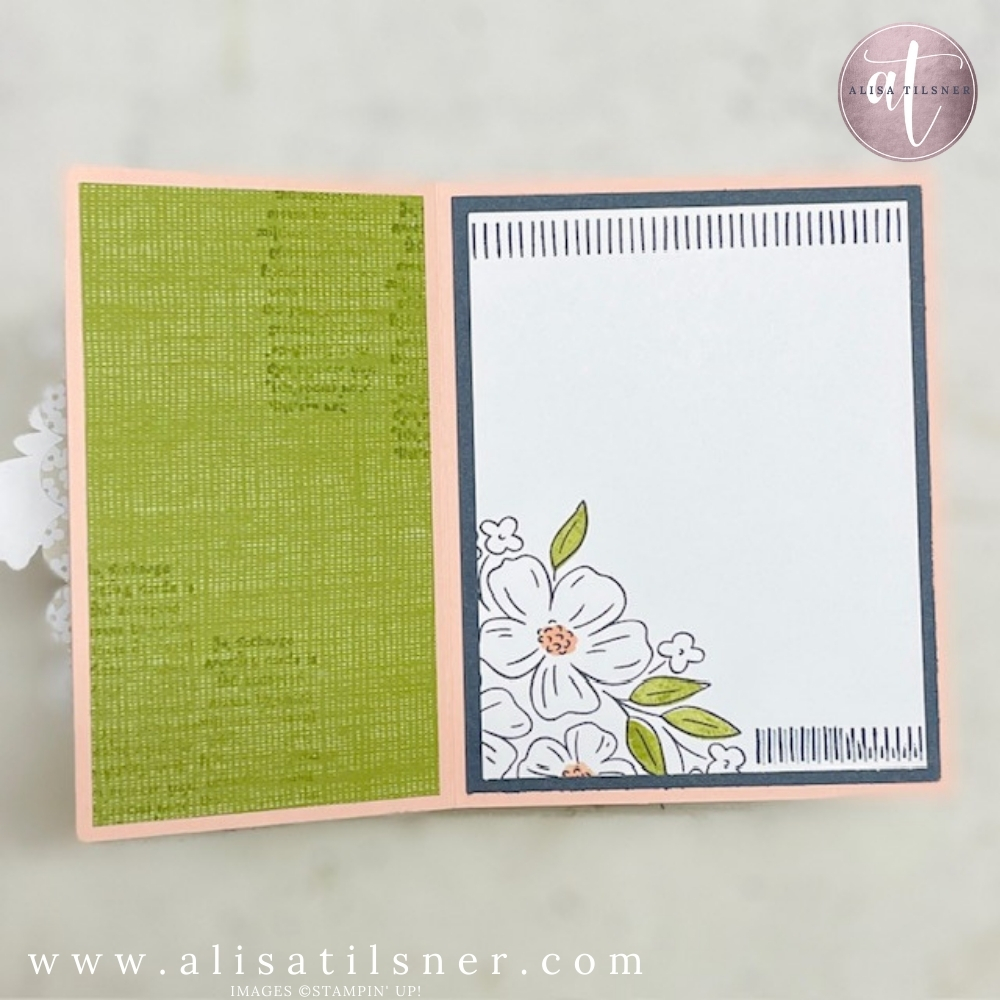
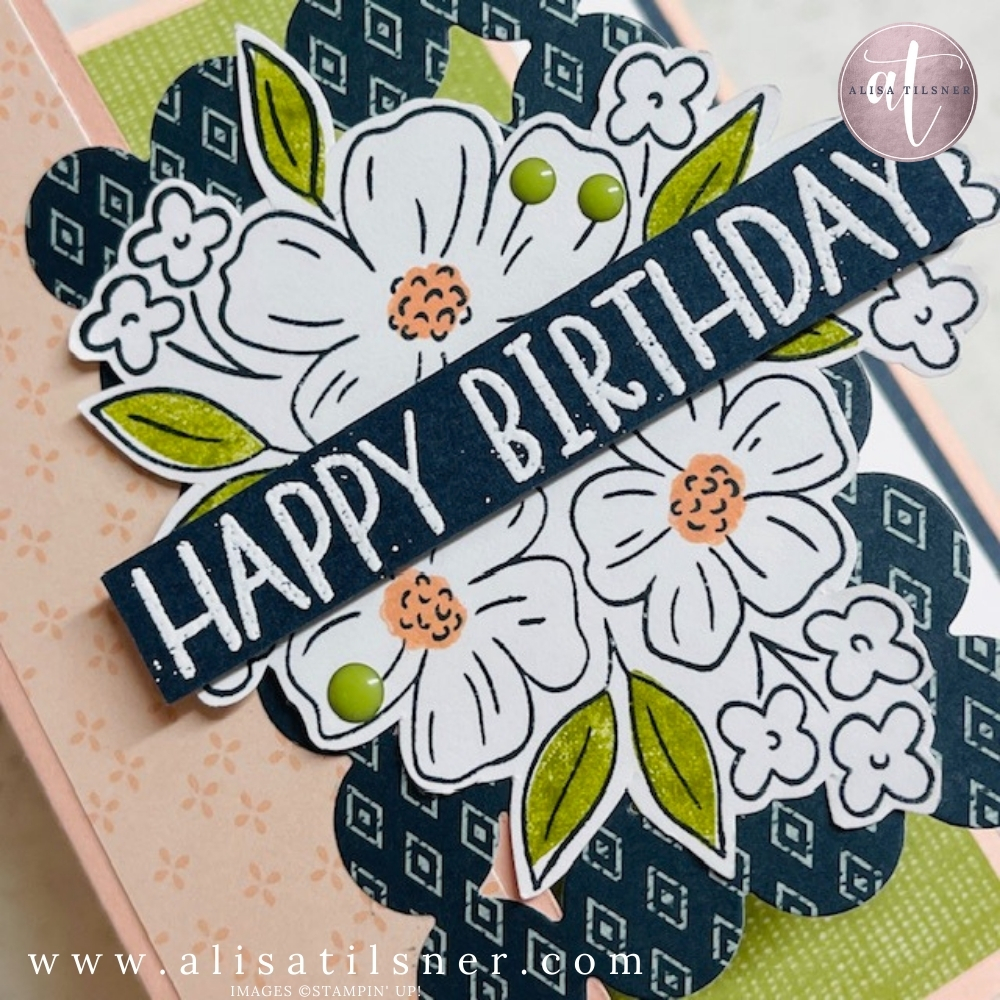
Stampin’ Up!’s first ever Virtual Card Making Retreat includes an exclusive stamp set (it’s literally named Virtual Card Making Retreat). I fell in love with the line-art florals straight away—perfect for colouring, but also gorgeous left mostly white for a crisp, modern look. For this card, I kept the flowers white and added just enough colour by stamping the solid centres and solid leaves over the outlines. It’s a simple trick that gives dimension without pulling out a full colouring kit.
Pro tip: If you want the centres a little bolder, stamp once, then stamp again (or “double stamp”) to build intensity.
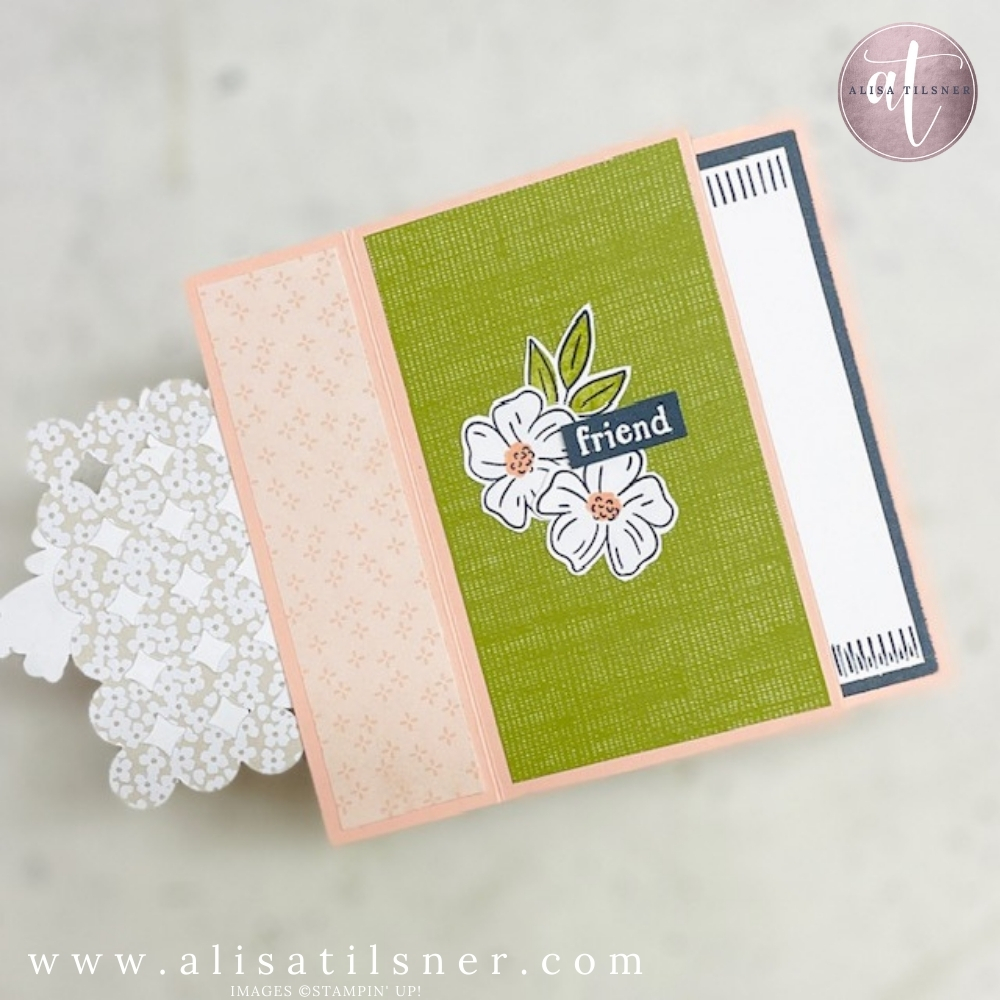
The fun fold: an easy “wonky M” book
This fold creates a cute, three-panel “book” that opens like pages—great for birthdays, thank you cards, or even mini photo cards.
Card base (Petal Pink):
- Cut: 11½” x 5″ (approx. 29.2cm x 12.7cm)
- Score at: 1½”, 4½”, 7½” (approx. 3.8cm, 11.4cm, 19.1cm)
Fold in a valley–mountain–valley (it looks like a wonky “M”). Turn it over, flatten it, then add adhesive to one of the two matching panels and close it up. That’s what creates the “little book” effect.
Layering made easy (no guesswork)
If you’re newer to layering, here’s the shortcut: I typically drop each layer by ¼” so you get an even border.
For example, one of my front panels started at 1½” x 5″, then I reduced it to 1¼” x 4¾” for a tidy margin. You can adjust this depending on whether you like a skinny border or a chunkier one.
Bringing in Lovely Blossoms DSP + Lovely Arrangements dies
I used three patterns from the Lovely Blossoms DSP to give the card movement without extra stamping. It’s one of those papers that does the heavy lifting for you—especially when you want a card that looks “finished” quickly.
Behind the focal image, I die-cut a circle accent using a Lovely Arrangements die that cuts little shapes to create texture without adding bulk. It’s such a good way to add interest while keeping the design clean.
Finishing touches that elevate the whole card
- Heat embossed sentiment in white (a bold “Happy Birthday” looks amazing against the darker DSP)
- Moody palette glossy dots (Secret Sea, Old Olive, Cloud Cover + white) for quick polish
- Optional: add Wink of Stella to the stamped areas if you want a soft sparkle without changing the colour scheme
Why you’ll love making this 3 Page Fun Fold Card
This project is ideal when you want something interactive but still simple enough to batch-make. Plus, it’s a great way to mix and match: swap the DSP, change the sentiment, or add an extra mini cluster tucked behind the focal panel for even more “wow”.
If you’d like the full written measurements and steps, they’ll be included in my newsletter and added to my Freebie Library (make sure you’re subscribed via my website so you can access it).
Cheers for Now – Alisa Tilsner

- Shop my ONLINE STORE
- Join The Artful Stampers Team – Happy Shoppers,
Hobbiest , Part Time and Full Time welcome! - Creative Card Makers Club
- Watch me on YouTube
- Socialise with me on FaceBook
- Email Me