Scrap-Busting Shadow Block Card with Painted Illusions Designer Series Paper
If you’ve got a growing pile of patterned paper scraps that are too pretty to throw away (but too small to “do anything with”), today’s Thursday Live card is going to be your new favourite go-to.
In my Thursday Live on 19 February, I cased this idea from a creator I spotted on Pinterest (credit to Tina Zink). I loved it instantly because it’s one of those layouts that looks detailed and deliberate, yet it’s built almost entirely from leftovers.
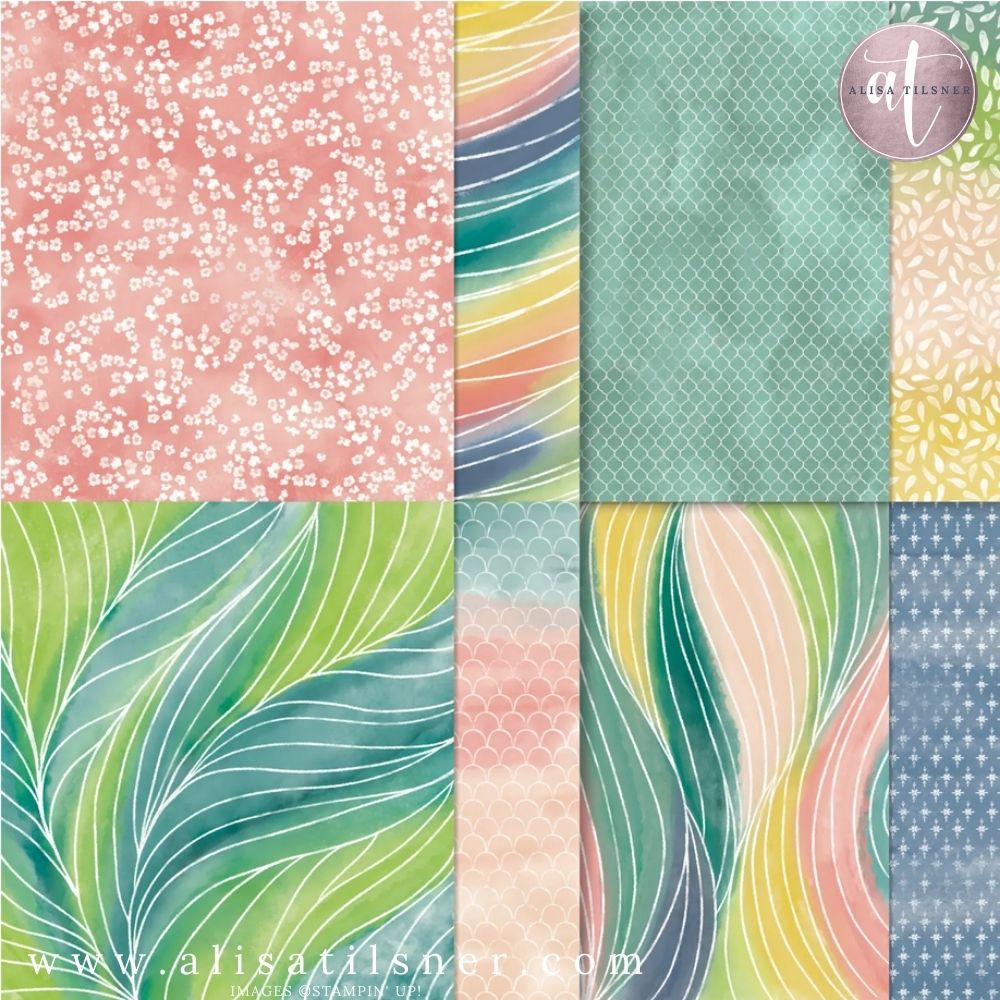
And because I used Stampin Up Painted Illusions DSP (February Product of the Month), the finished card has that vibrant, artistic feel that makes simple shapes look high-end.
Why Stampin Up Painted Illusions DSP is perfect for this technique
Painted Illusions is bold, colourful, and busy in the best possible way. For this layout, you actually want patterns that can hold their own in tiny pieces — so watercolour washes, tight florals, and painterly textures are ideal. When the prints are strong, even a 1-inch square looks intentional.
This paper pack is also a little different in configuration: it features four double-sided patterns, and you get three sheets of each design in a pack. That makes it brilliant for scrap-friendly projects and repetition cards.
The key technique: offset “shadowed” squares
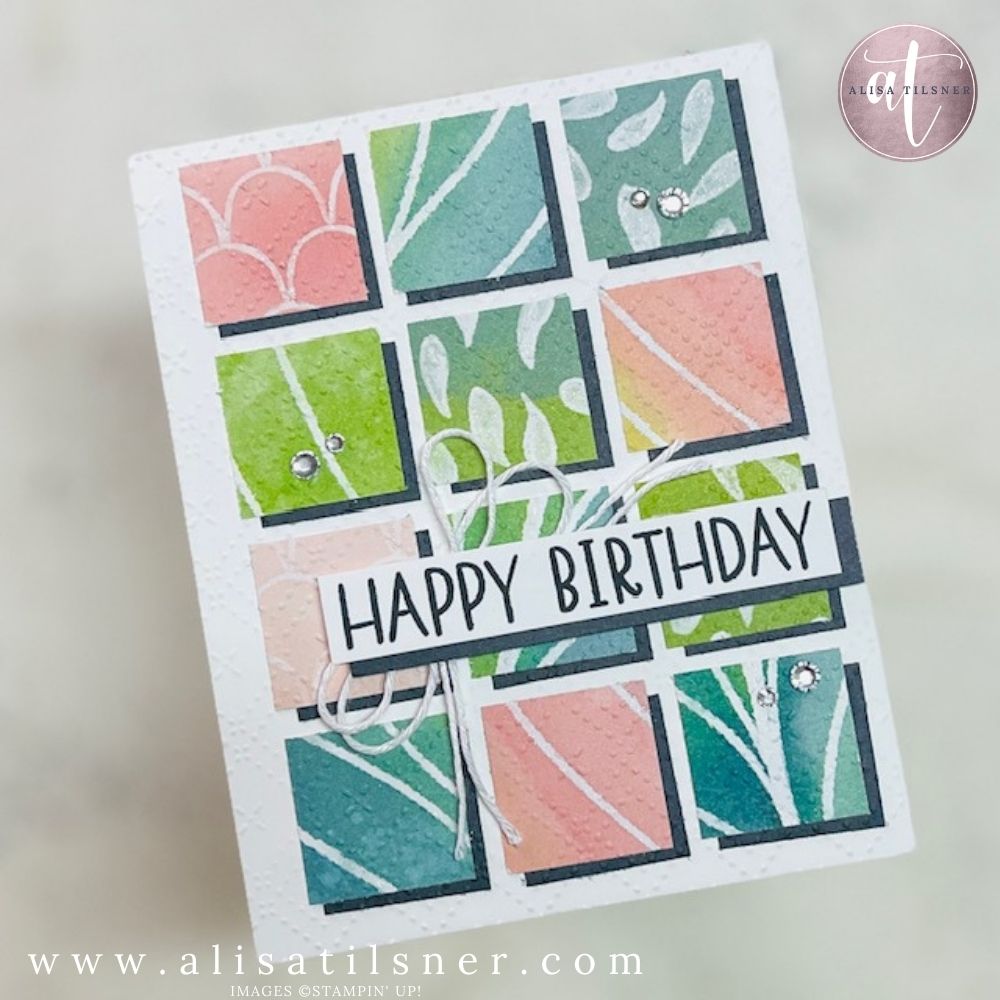
To create the Shadow Block Technique, I cut a stack of 1-inch squares from the Stampin Up Painted Illusions DSP. Then I cut matching 1-inch squares from Secret Sea two tone cardstock (you could use black, but Secret Sea gives a slightly softer, inky alternative that still pops).
Here’s the trick:
- Adhere each patterned square to a Secret Sea square, slightly offset so a thin border shows on two sides.
- Don’t stress about perfection. A few slightly uneven borders still look amazing once the full panel comes together.
Once you’ve got a pile of “shadowed squares,” you simply arrange them into a pleasing mix of colours and patterns, then adhere them to a panel the same size as your card front.
Tip: Before sticking everything down, do a quick “mix and shuffle” so you’re not clustering all the pinks or all the blues together.
Add sparkle in the easiest way possible
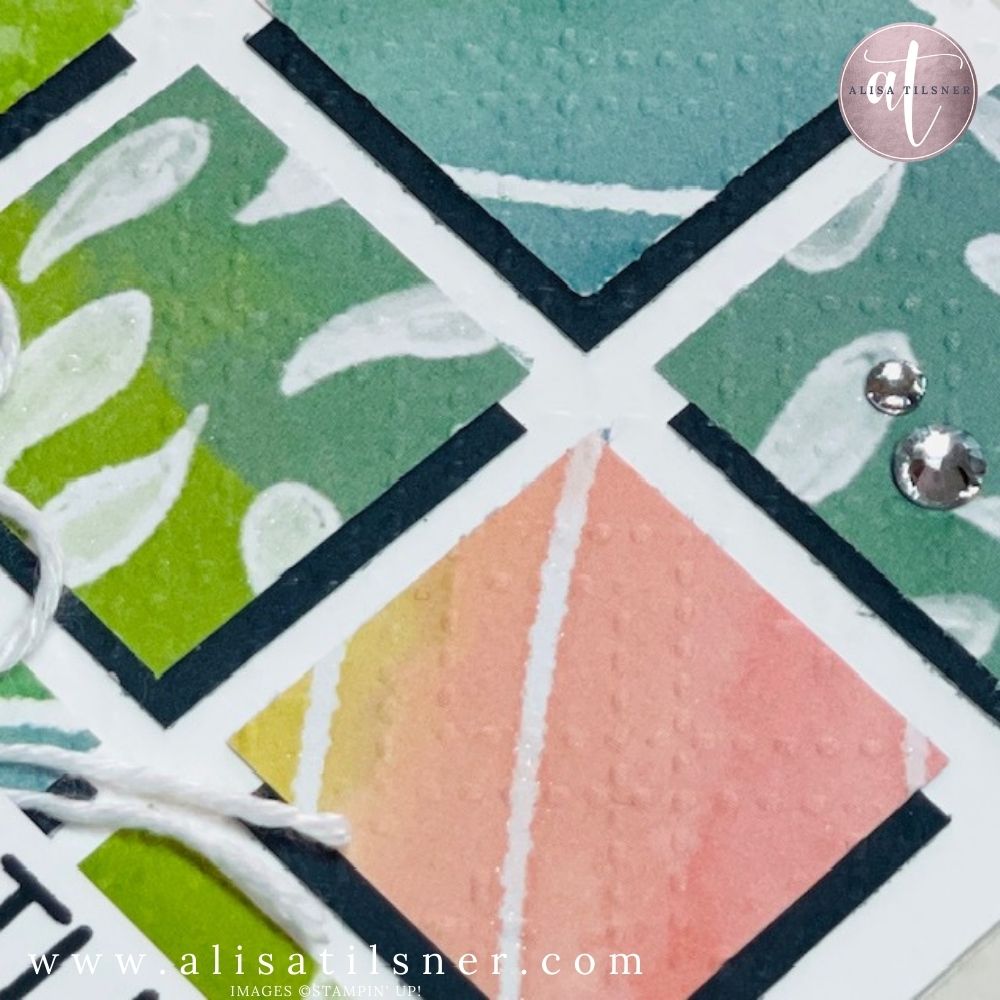
One detail that makes this card feel extra special is a quick swipe of Wink of Stella over the white areas/lines in the designs. It’s subtle in real life, but it adds that little shimmer that catches the light and elevates the whole background.
I also plan to add a second coat of Wink of Stella after filming — because more shine never hurts.
Emboss the whole panel for instant texture
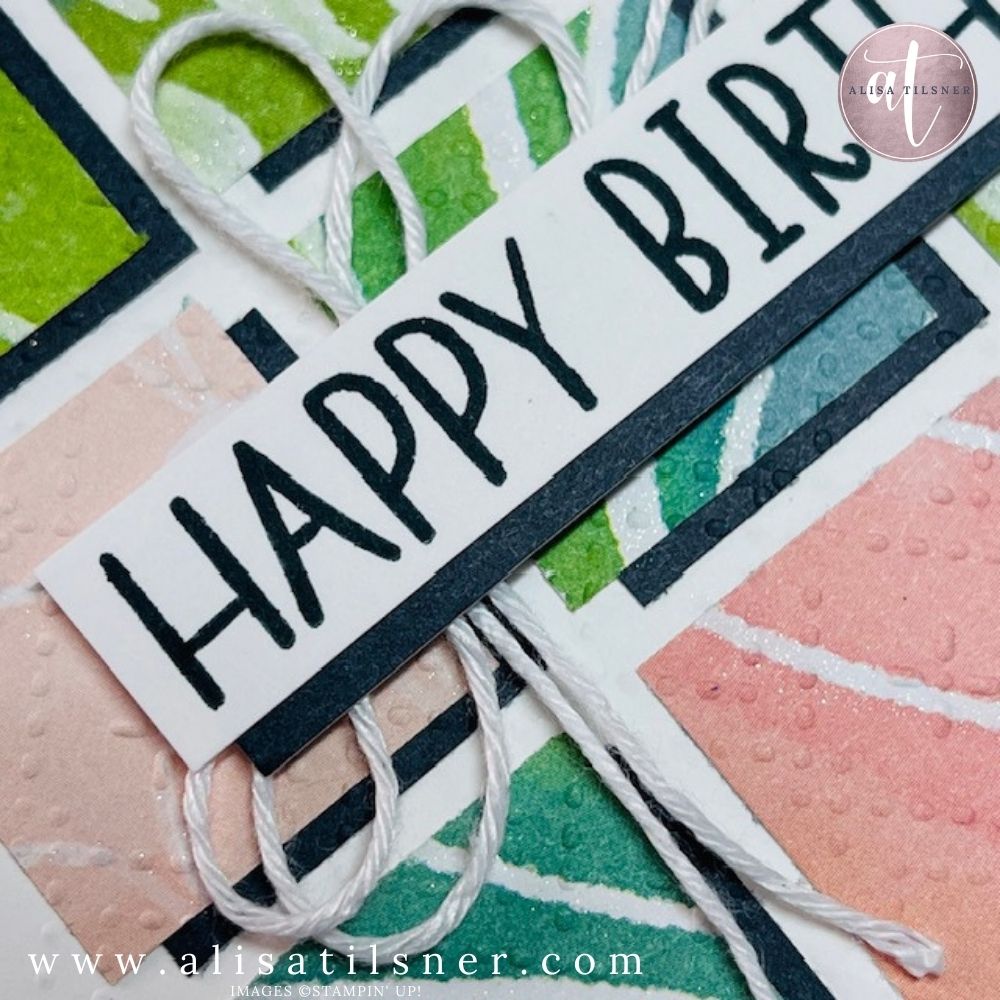
After the squares were adhered, I ran the entire panel through an embossing folder (I chose Beautiful Pattern). The texture is subtle but it’s the thing that takes this from “scraps card” to “wow, that’s clever.”
Pro tip: Embossing after assembling helps everything feel cohesive, like it was designed as one piece.
Finishing touches that pull it all together
To match the shadow effect, I stamped a bold Happy Birthday in Secret Sea on white cardstock, then added a narrow Secret Sea “shadow strip” behind the sentiment. I tucked in a simple double bow with twine behind the greeting and finished with rhinestones (yes, I went wild and used more than three).
If you’re in Australia, don’t forget:
- Spend $125 and you can grab Painted Illusions DSP for $9.
- If you’re considering joining, the current offer includes a free Stampin’ Positioner in your Starter Kit.
This is one of those designs you’ll make once… and then keep coming back to every time your scrap pile starts judging you.
Cheers for Now

- Shop my ONLINE STORE
- Join The Artful Stampers Team – Happy Shoppers,
Hobbiest , Part Time and Full Time welcome! - Creative Card Makers Club
- Watch me on YouTube
- Socialise with me on FaceBook
- Email Me