Quick & Elegant Cardmaking Idea: No-Colour Technique with the Flowers Fair Stamp Set
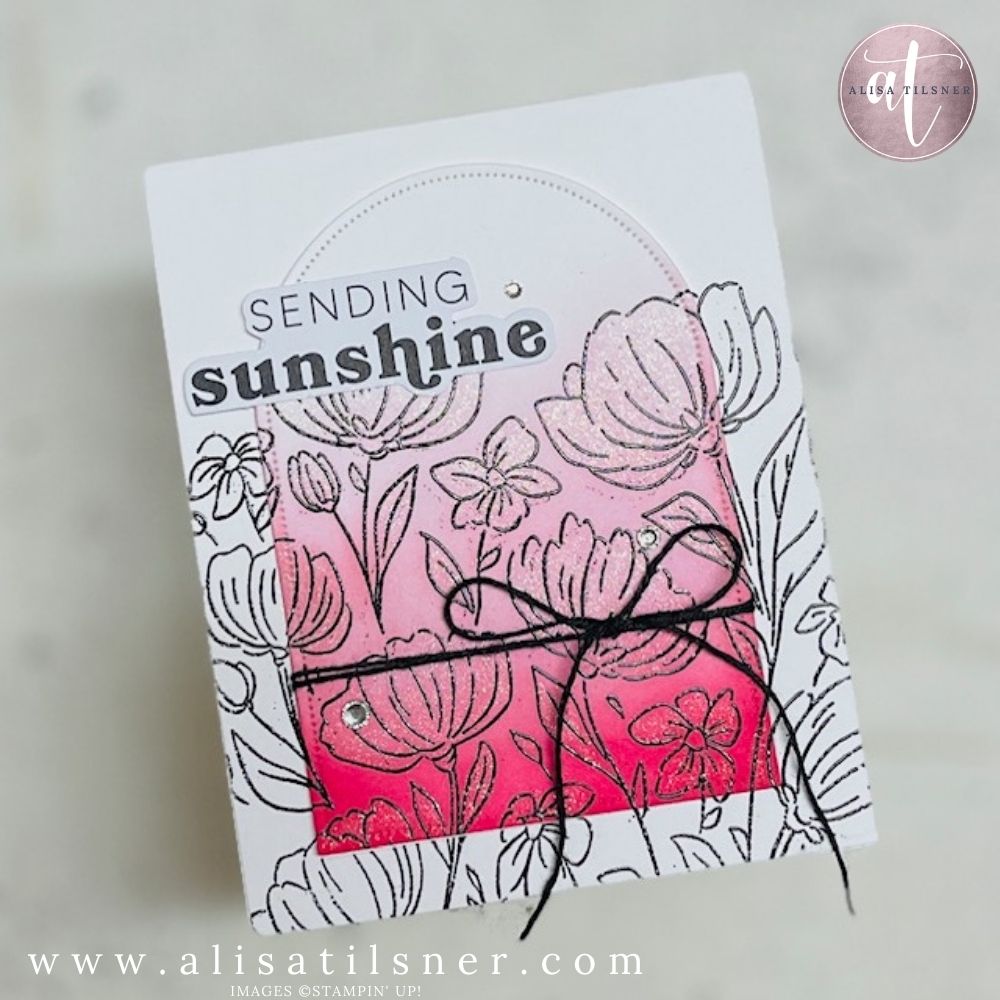
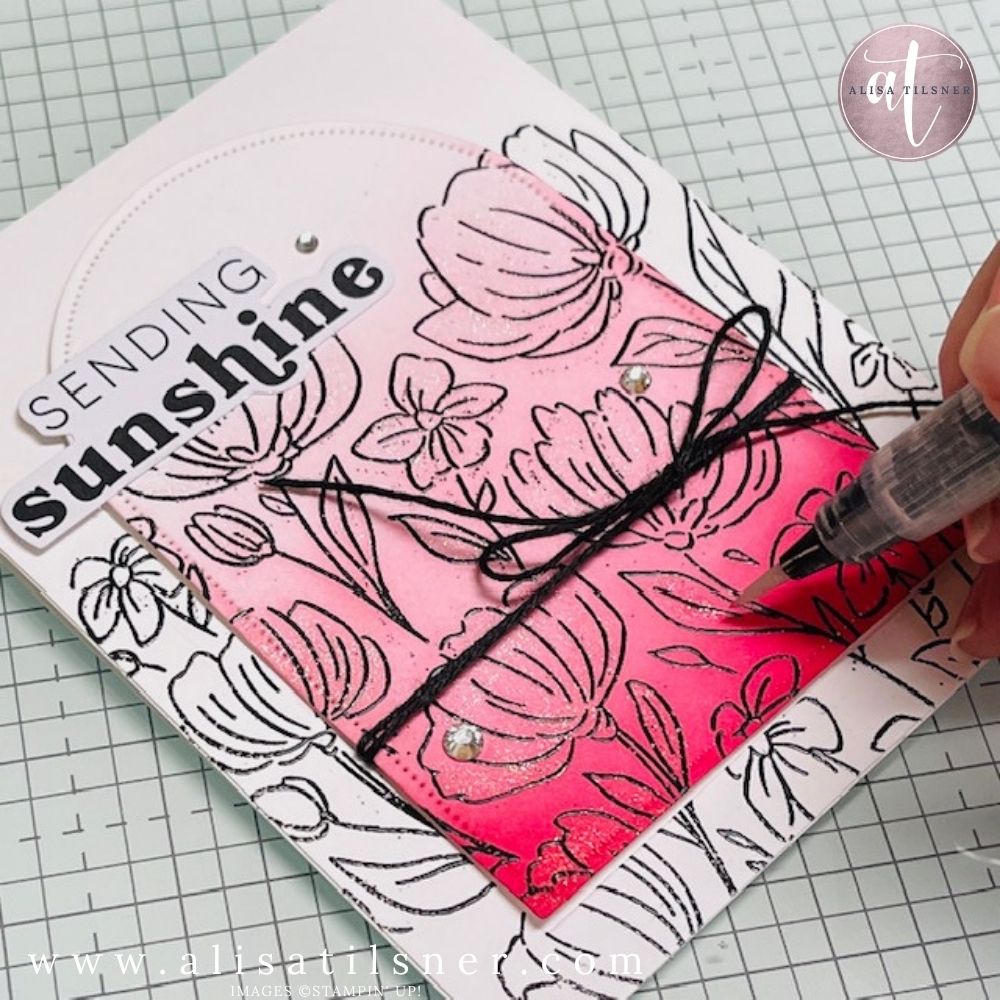
In this week’s Thursday Live, I created a quick, high-impact card using a simple spotlight-style technique with the Stampin Up Flowers Fair Stamp Set. It’s the perfect solution when you want something that looks detailed and artistic, without spending hours colouring.
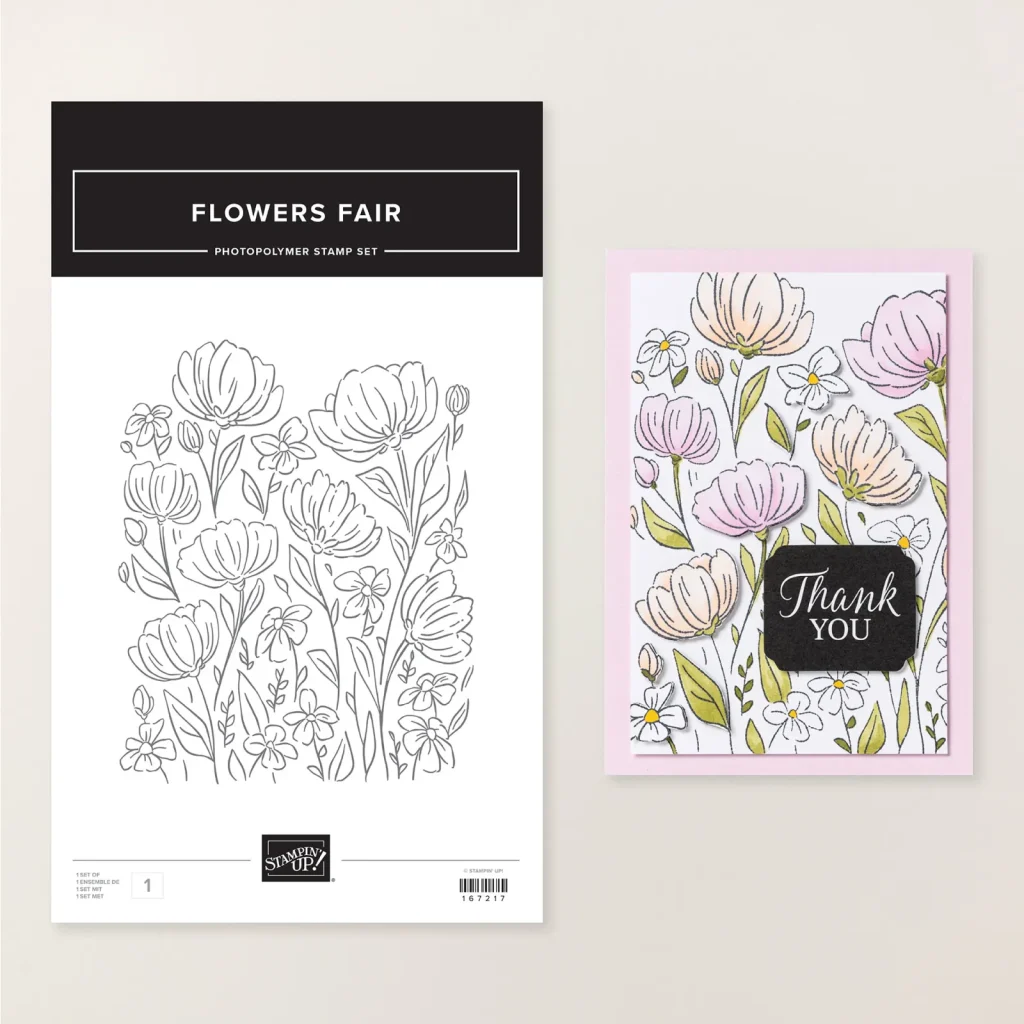
Why the stampin up flowers fair stamp set Works Perfectly for This Technique
The Flowers Fair Stamp Set features detailed, sketch-style imagery that naturally lends itself to a mixed media look.
Instead of colouring the entire image, we let the design do the work — highlighting just a section with ink blending while leaving the rest clean and minimal.
This creates contrast, draws the eye, and gives you that “spotlight” effect without any complicated masking.
It’s a brilliant way to:
- Use detailed stamps quickly
- Stretch your supplies further
- Create cards that feel artistic and intentional
The Key Technique: Stamp First, Then Die Cut
One of the biggest time-saving tips from this project is the order of steps.
Rather than cutting your shape first and trying to line everything up afterwards, stamp your full image first, then die cut your focal shape.
This gives you:
- Better placement control
- Cleaner alignment
- Less frustration overall
For this card, I used the Everyday Arches Dies to cut a central arch, which becomes the focal point of the design.
Elevating a Simple Card with Heat Embossing
Because the layout itself is quite clean, I wanted to add a little extra detail — so instead of stamping in black ink, I heat embossed the image in black.
This small change makes a big difference.
Heat embossing:
- Adds a subtle raised texture
- Deepens the black for stronger contrast
- Instantly elevates a simple design
If you’re ever worried a card feels “too plain,” this is one of the easiest ways to step it up.
Ink Blending Without Overthinking It
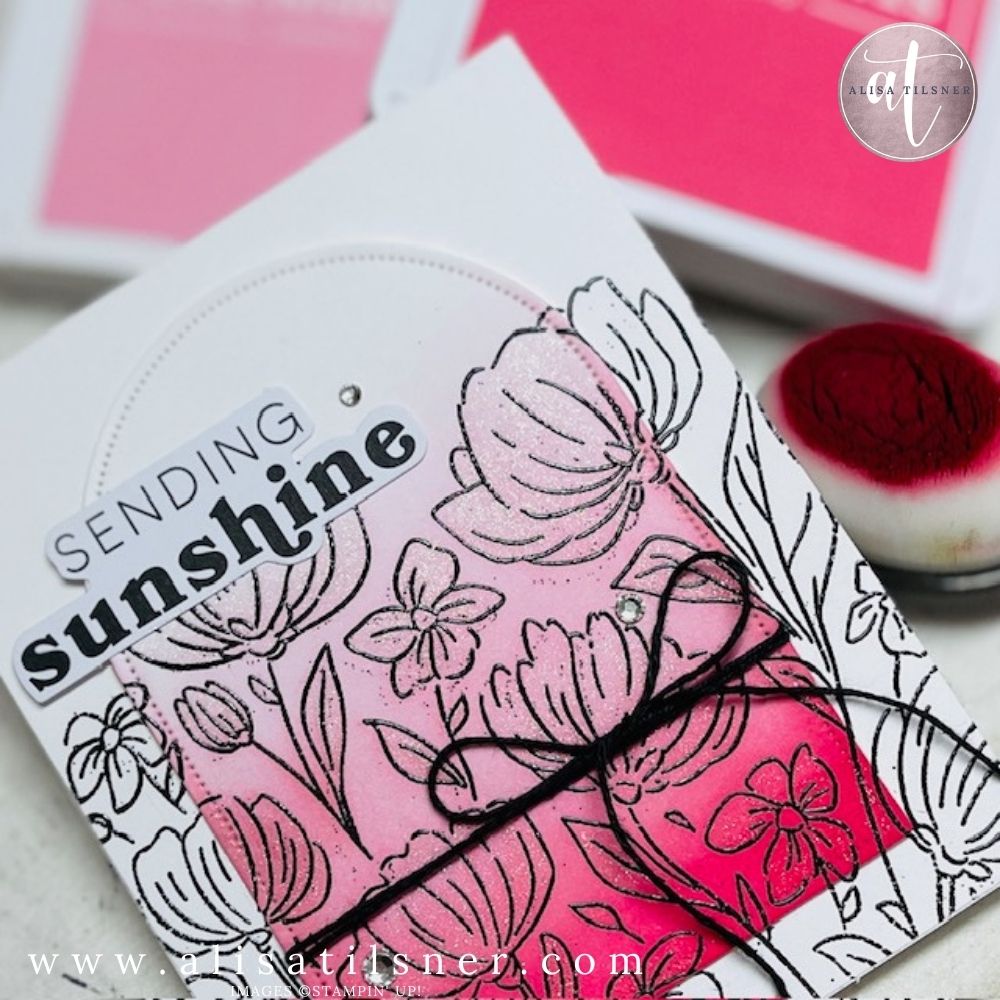
For the spotlight section, I used a soft ombré blend with Pretty in Pink and Strawberry Slush.
Here’s a simple tip that makes a huge difference:
Start with your hand close to the brush for stronger colour, then move your hand further back on the handle to lighten your pressure.
This naturally creates a smooth fade without harsh lines — no overthinking required.
Finishing Touches That Make It Feel Complete
Even a clean and simple card benefits from a few thoughtful details.
On this card, I added:
- A black twine wrap and bow for contrast
- A pre-made sentiment to keep it quick
- A touch of Wink of Stella for subtle shimmer
- A few rhinestones for balance and sparkle
These small elements take the card from “nice” to “finished.”
Perfect for Quick Cards or Batch Making
This layout is ideal when you need:
- A quick card that still looks impressive
- A design you can easily repeat
- A way to use detailed stamps without the time commitment
Pair it with a stamping platform, and you can create multiple cards in one sitting with consistent results every time.
Want the Full Tutorial?
If you’d like the full written tutorial (including measurements in inches and centimetres), make sure you’re on my email list.
You’ll also get access to my Freebie Library with over 60+ card tutorials, so you’ll never run out of ideas for your stamps again.
If you’ve been sitting on the Flowers Fair Stamp Set because you “don’t have time to colour,” this is your sign.
You don’t need hours.
You just need a clever technique — and the right stamp set.
Cheers for Now

- Shop my ONLINE STORE
- Join The Artful Stampers Team – Happy Shoppers,
Hobbiest , Part Time and Full Time welcome! - Creative Card Makers Club
- Watch me on YouTube
- Socialise with me on FaceBook
- Email Me