
Simple Flip-Up Card Tutorial
If you love interactive cards but don’t want anything overly complicated, this week’s Thursday Live Flip Up Card is such a fun one to try. This is one of those cards that looks far more impressive than it actually is to make.
The mechanism itself is incredibly simple once you understand how the folds work.
I originally made this card during our team Stamp Night earlier in the week, and after making a few different versions to test the mechanism, I knew I had to recreate it live. I still don’t entirely know what to call it — flip-up pop-up card, flipping pop-up card… something along those lines!
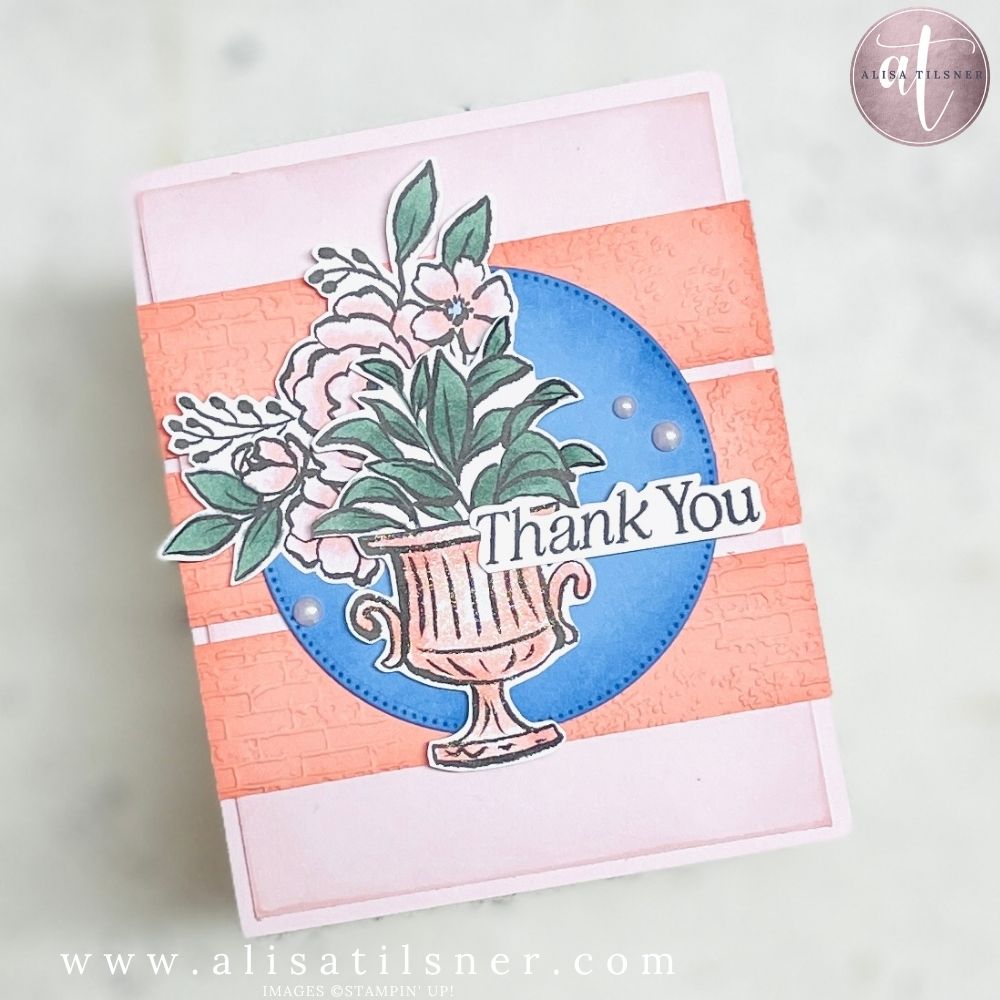
For this card, I paired some leftover floral elements with the beautiful black-and-white images from the Artisan Sketch Garden Designer Series Paper. These images are perfect for colouring with Stampin’ Blends because they’re designed specifically for cutting out and customising
The Secret to the Pop-Up Mechanism
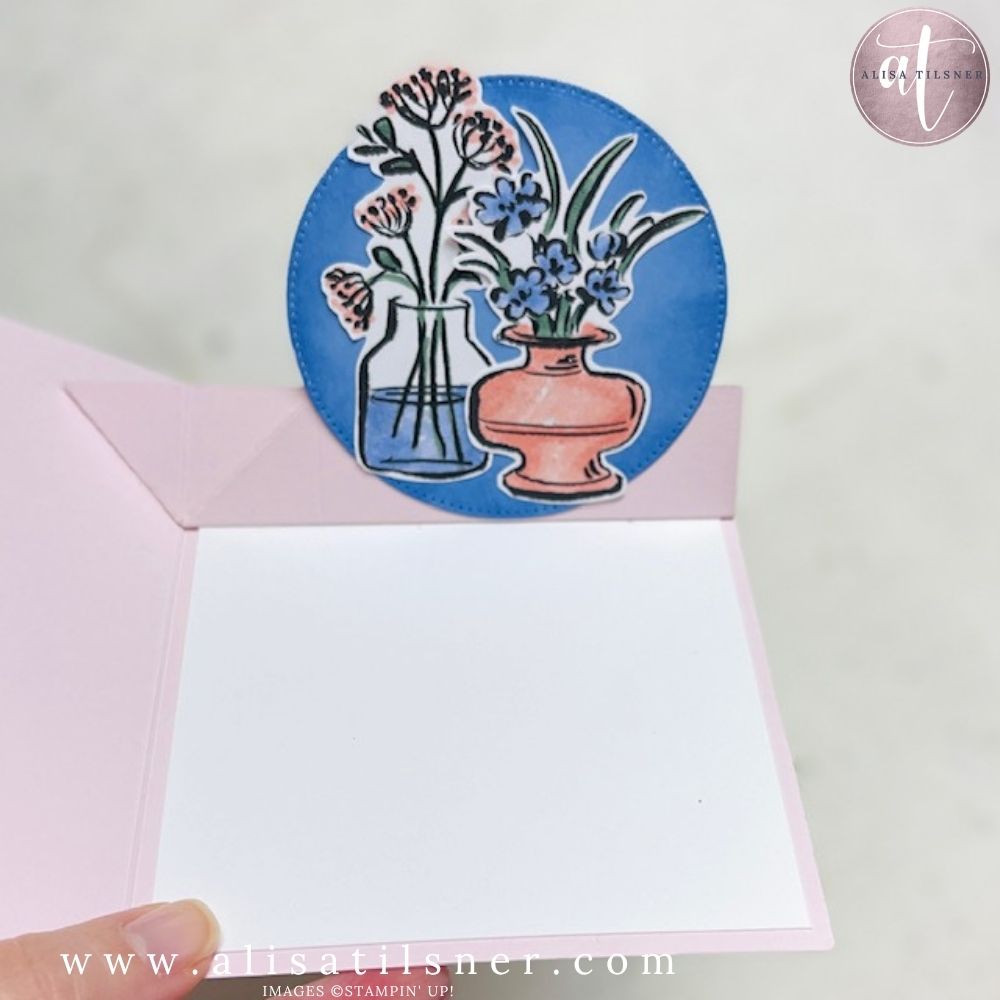
The mechanism itself starts with a small scored panel that creates the flip-up action inside the card. During the live, I suggested creating a “skeleton template” version first using scrap cardstock in different colours so you can clearly see where all the folds and cuts go.
One important tip I shared was to think carefully about the size and placement of your pop-up panel before adhering it down. If your focal image is too large or placed too low, the mechanism can catch when the card closes.
Another important detail — this design works best with a side-folding card base rather than a top-folding card. Otherwise, your pop-up opens sideways instead of upwards.
And if you want a writing panel inside your card, make sure you adhere that first before adding the mechanism.
Soft Colouring with the New In Colors
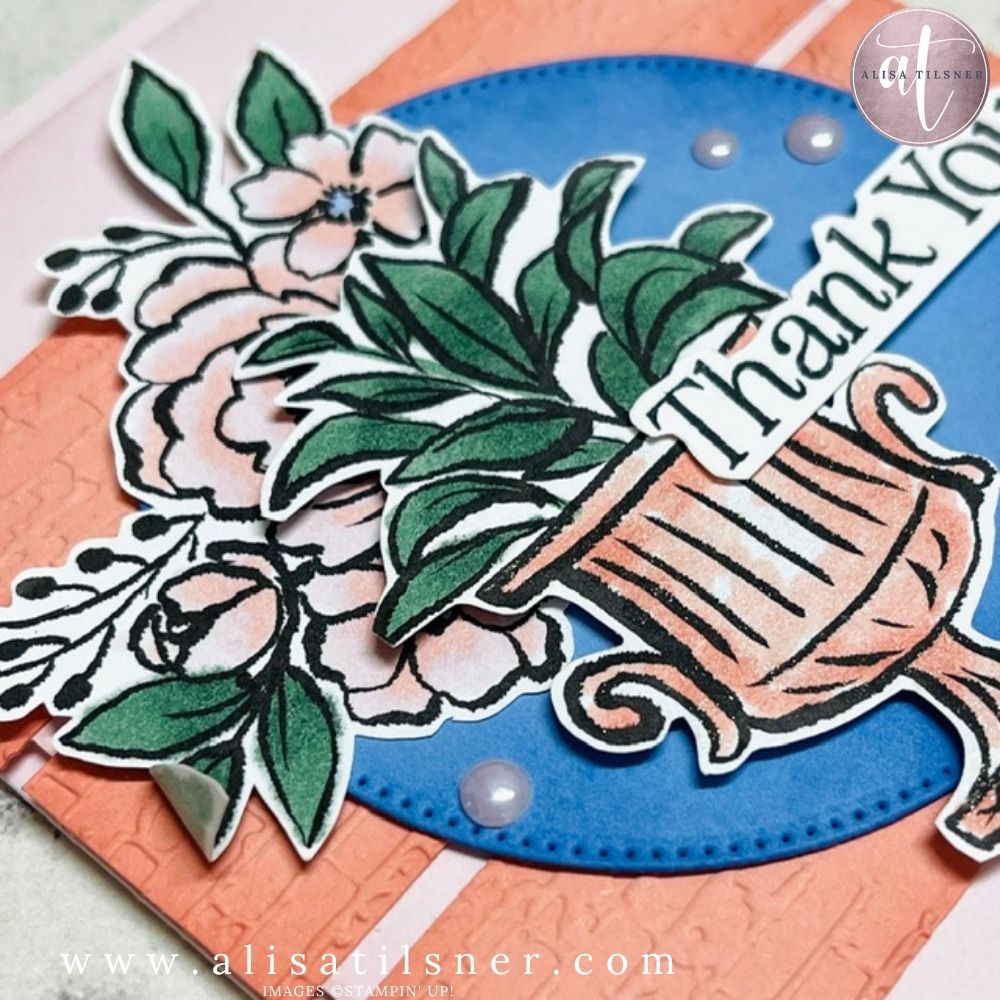
For today’s card, I used a really soft combination of Barely Blush, Crisp Cantaloupe, and the gorgeous new Hydrangea Hue. The flowers were coloured with Stampin’ Blends, adding darker tones into the deepest parts of the petals for extra dimension.
One thing I mentioned during the live — Hydrangea Hue looks very purple when first applied with Blends, but once it dries, it softens into that beautiful blue-toned colour we expect.
I also added some light ink blending around the edges of the cardstock layers and finished everything with Wink of Stella because, honestly, I can rarely resist adding a little sparkle
Why The Flip Up Card Works So Well
Interactive cards always feel extra special for the recipient, but this mechanism folds completely flat for posting and doesn’t require any complicated engineering.
It’s also a fantastic design for using:
- Paper scraps
- Leftover kit pieces
- Die cuts
- Fussy-cut florals
- Small sentiments
And once you make one template, you can recreate the design over and over again with different papers and themes. I highly recommend keeping your original “skeleton template” with notes written on the back so you can easily remember the folds and measurements later.
If you’d like the full written measurements and instructions, they’ve been added to my Freebie Library.
You can Shop The Full List of Items HERE
Cheers for Now

- Shop my ONLINE STORE
- Join The Artful Stampers Team – Happy Shoppers,
Hobbiest , Part Time and Full Time welcome! - Creative Card Makers Club
- Watch me on YouTube
- Socialise with me on FaceBook
- Email Me