
How to use a Stamp-a-ma-jig
Karyn emailed me and asked if I could do a quick tutorial on how to use a Stamp-a-ma-jig. So here it is for Karyn and anyone else who needs a visual before deciding on whether to purchase one.
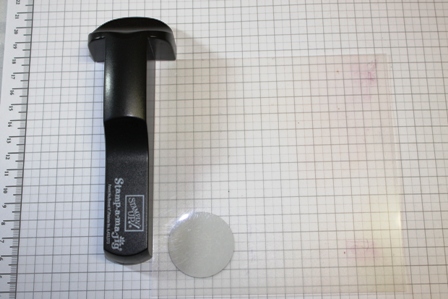
Step 1:Â Place your Imaging Sheet right into the corner of the handle.
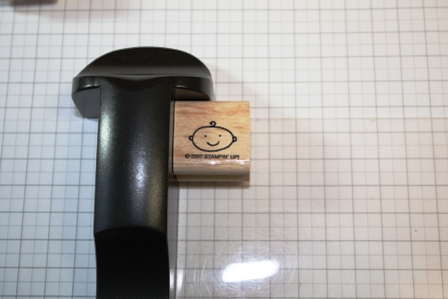
Step 2:Â Ink up your stamp and stamp an image onto the sheet, making sure that the stamp is also right up in the corner of the handle.
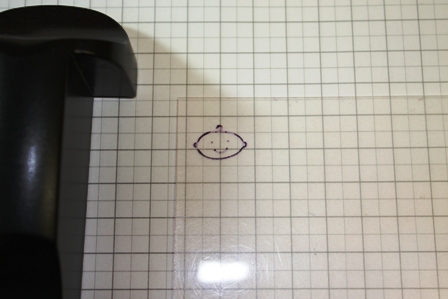
Step 3:Â You now have an image on your sheet.
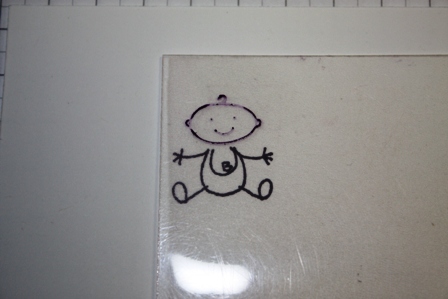
Step 4: Take your imaging sheet and place it on your cardstock, lining up the image in the position you would like your stamped image to be. In this case I want the head on the body.
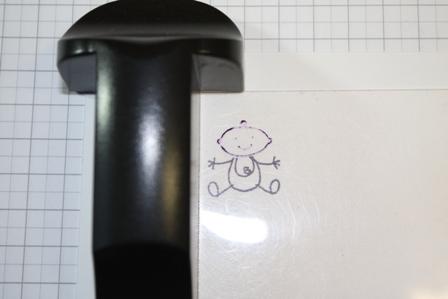
Step 5:Â Line the handle up with the edge of the imaging sheet.
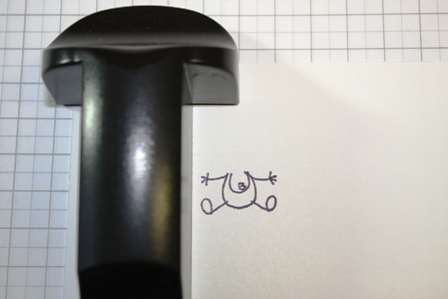
Step 6:Â Remove the imaging sheet, taking care not to move the handle.
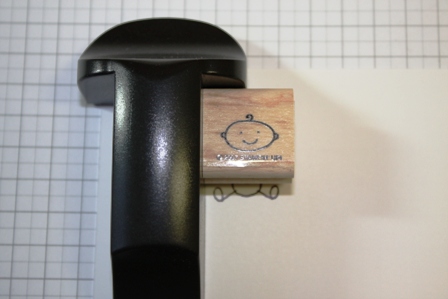
Step 7:Â Ink up the stamp again and stamp onto the card, making sure the stamp is right up in the corner of the handle.
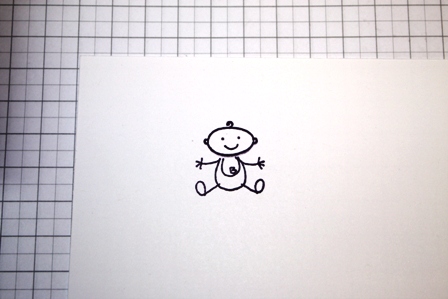
Step 8:Â Here’s your final image ready to colour.
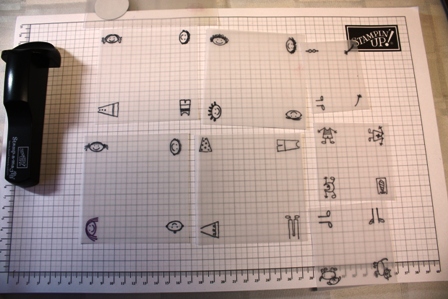
TIP: If you have All In The Family set, use the Stamp-a-ma-jig, Stazon and Vellum to make yourself permanent imaging sheets. It will save you alot of time.
Alisa,
Wow the new STAMPS by mail look great, have been
trying them out.
Really appreciated the
“How to use the Stamp-a-ma-jig” set out so visually.
Now will have to give myself a few lessons on how to
use correctly
Hi Alisa, went to a workshop today and used the stamp-a-ma-jig. I have had one for awhile and now I promise I will use it so much more. Love the idea for “All in the Family” set, must do this. Thanks Marlene