
Design it with Designer Series Paper – January

Welcome to another Design it with Designer Series Paper Blog Hop. We are an international design team of Stampin’ Up! Demonstrators who have come together to share projects focusing on the beautiful Designer Series Paper in the Stampin’ Up! Catalogue. Each month we are featuring a different paper. This month it is the All My Love DSP from the Occasions Catalogue. Make sure to check out all the blogs in the hop for a different idea using this month’s featured DSP!
For my card, the All My Love DSP sits quietly in the background of a fairly busy card. It’s such a great pack of paper, with soft romantic flower images, along with patterns and hearts.
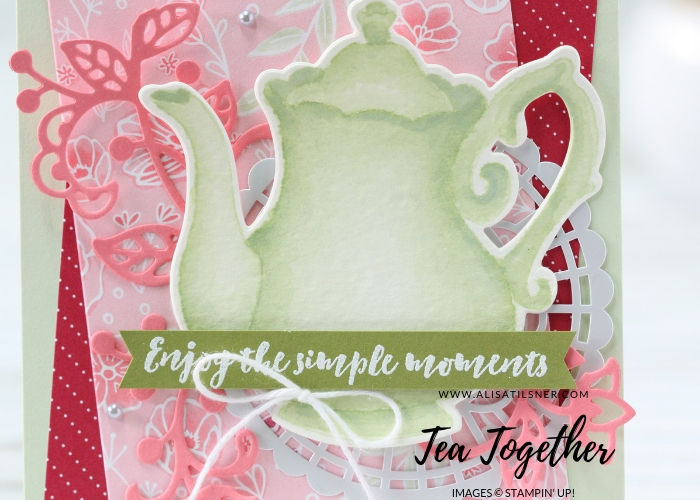
I’ve teamed my card up, not with the matching suite items, but the Tea Together Stamp Set.
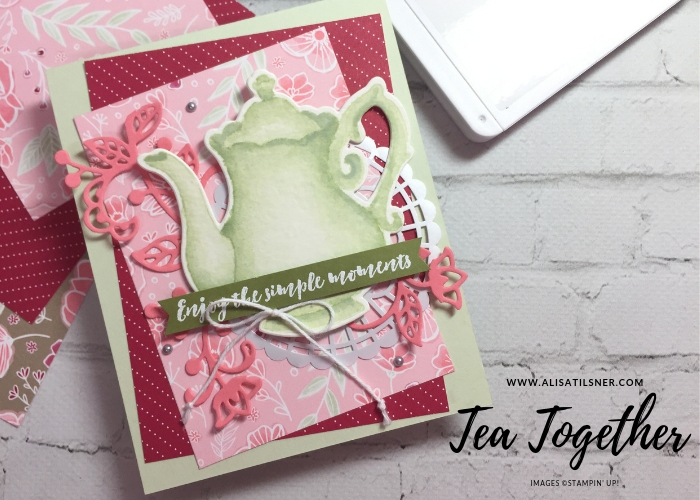
You would have seen how I coloured the teapot in my last post called No Line Water Colouring.
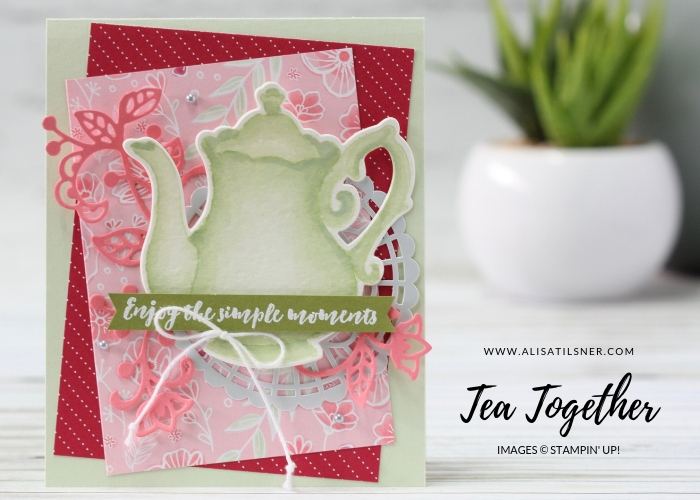
Today I have 2 videos to share with you. A speedy version and the full tutorial. Something for everyone!
The first is the Speedy Version
And the second is the Full Version.
Here are the materials list and instructions so you can recreate the card yourself.
- Tea Together Stamp Set
- Tea Time Framelits (SAB)
- Home to Roost Stamp Set (SAB)
- All My Love Designer Series Paper – 9cm x 12cm, 8cm x 11cm
- Flourish Thinlits
- Watercolour Paper
- Soft Seafoam Card – 10.5cm x 26cm
- Old Olive Card – Scrap
- Flirty Flamingo Card
- Soft Seafoam Ink
- Versamark Ink
- Aquapainter
- White Embossing Powder
- Heat Tool
- Pearlized Doilies
- Metallic Pearls
- Whisper White Bakers Twine
- Stamp and colour teapot with Soft Seafoam ink as shown in
previous post, cut out withmatching die. - Stamp and White Emboss Sentiment onto Old Olive Card. Trim to suit, cut a V into each end.
- Fold Soft Seafoam Card base in half.
- Adhere All My Love DSP to
card front, placing them on opposite angles. - Adhere Pearlized Doily to
card front. - Adhere Teapot to card front with Dimensionals.
- Cut a Flourish from the Flourish Die with Flirty Flamingo Card.
- Snip Flourish into 3 pieces and adhere behind teapot.
- Adhere sentiment to
teapot withdimensionals . - Cut a piece of Bakers Twine to 20cm, tie into a bow, adhere below
sentiment . - Attach 3 metallic pearls to card front.
It’s time to see what the rest of the Design Team has made using the Colour Collection DSP. Make sure to visit everyone to see all the fun things you can do with this paper.

Shop my Online Store
Join The Artful Stampers Team – Business, Hobby and Happy Shoppers Welcome
NEW Monthly Card Making Kits – Join any time
Watch me on YouTube
Socialise with me on Facebook
Get Nailed – 100% Real Nail Polish Wraps
This is so beyond stunning! I wasn’t really interested in the teapot set until seeing your no-line watercoloring! You are so talented!