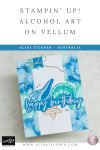
Alcohol Art on Vellum with Stampin’ Blends (No Reinkers Needed)
If you’ve been waiting for vellum to come back into your craft room, this is the perfect technique to try first. In today’s Thursday Live cardmaking session, I played with an Alcohol Art background on vellum using something you probably already own: Stampin’ Blends. No alcohol ink reinkers required, and you still get that gorgeous, organic, “watery” movement that traditional alcohol ink techniques are known for.
The best part? You can keep it soft and subtle, or push it into bold, high-contrast colour depending on how you apply the alcohol.
What you’ll need for Alcohol Art on Vellum
To recreate this look, gather:
- Vellum (cut slightly larger than your finished panel so you can trim clean edges)
- Isopropyl alcohol (high percentage is best)
- A paintbrush (I used a size 10, but different sizes create different effects)
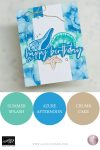
- Stampin’ Blends (I used Azure Afternoon (Dark) and Summer Splash (Dark))
- Optional: a small air puffer (yes, the baby “ear/nose” style works brilliantly!)
A quick tip from my testing: you want as high an alcohol content as possible. The more water in the mix, the more likely you’ll run into issues when it interacts with alcohol marker ink.
Technique 1: Controlled “pouncing” with a paintbrush
This is the method I use when I want control over where the colour travels.
- Scribble a small patch of Stampin’ Blends colour onto vellum (brush tip works well).
- Dip your paintbrush into isopropyl alcohol.
- Pounce (tap) the alcohol over the ink. Watch it spread and separate into those beautiful, feathery textures.
- Add a second colour beside it and pounce again, blending where the two meet.
- Let it dry fully before deciding if you want to deepen any areas.
Pro tip: the wetter your brush, the more the ink will move and the broader your lines will be. Want tighter detail and less spread? Use a drier brush.
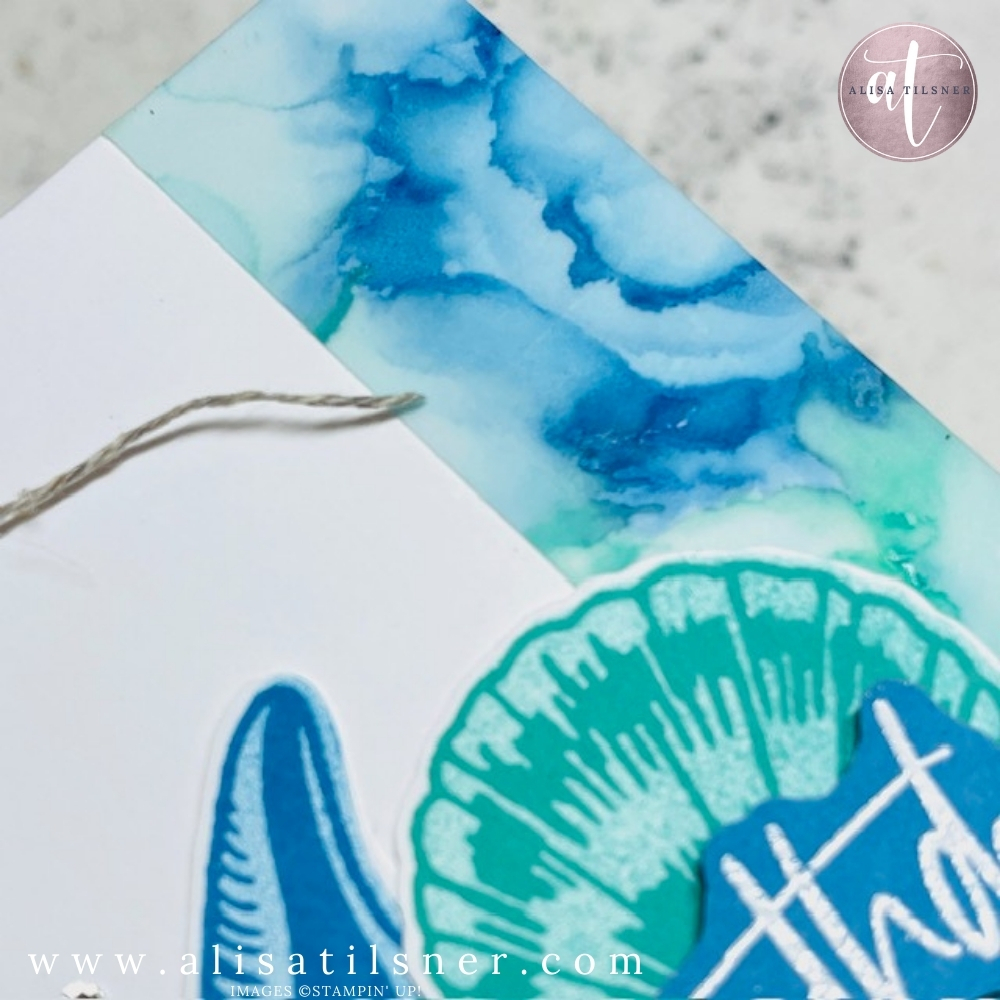
Technique 2: Big puddles + an air puffer for dramatic movement
If you love bold backgrounds, this version is so satisfying.
- Add a larger scribble of colour (think: a “puddle” of ink).
- Drop a generous amount of isopropyl alcohol onto it while it’s still wet.
- Use an air puffer to push the colour outward.
This creates those striking rings and “concentric” style patterns that look almost like marbled ocean currents. It’s perfect for sea-inspired projects, and it’s the method I ended up loving most for today’s card.
The card: Shell Collecting Stamp Set + beachy colour palette
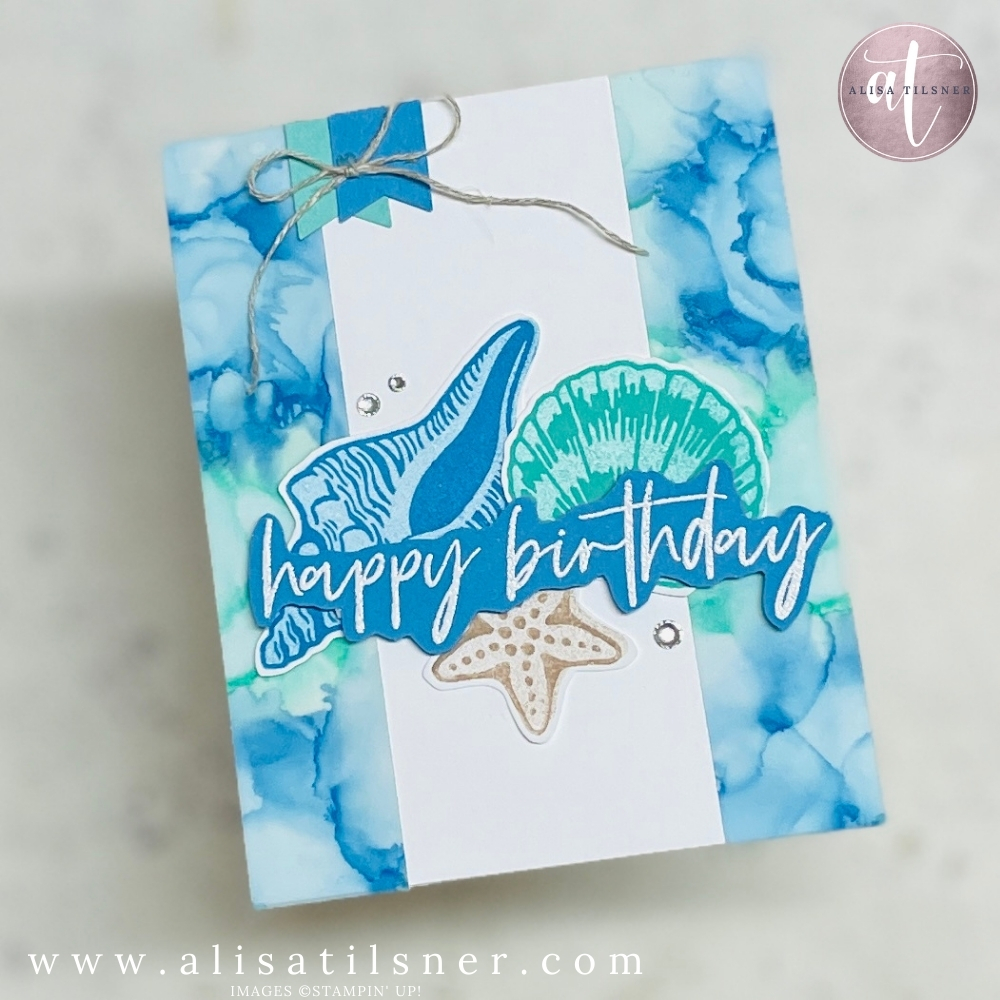
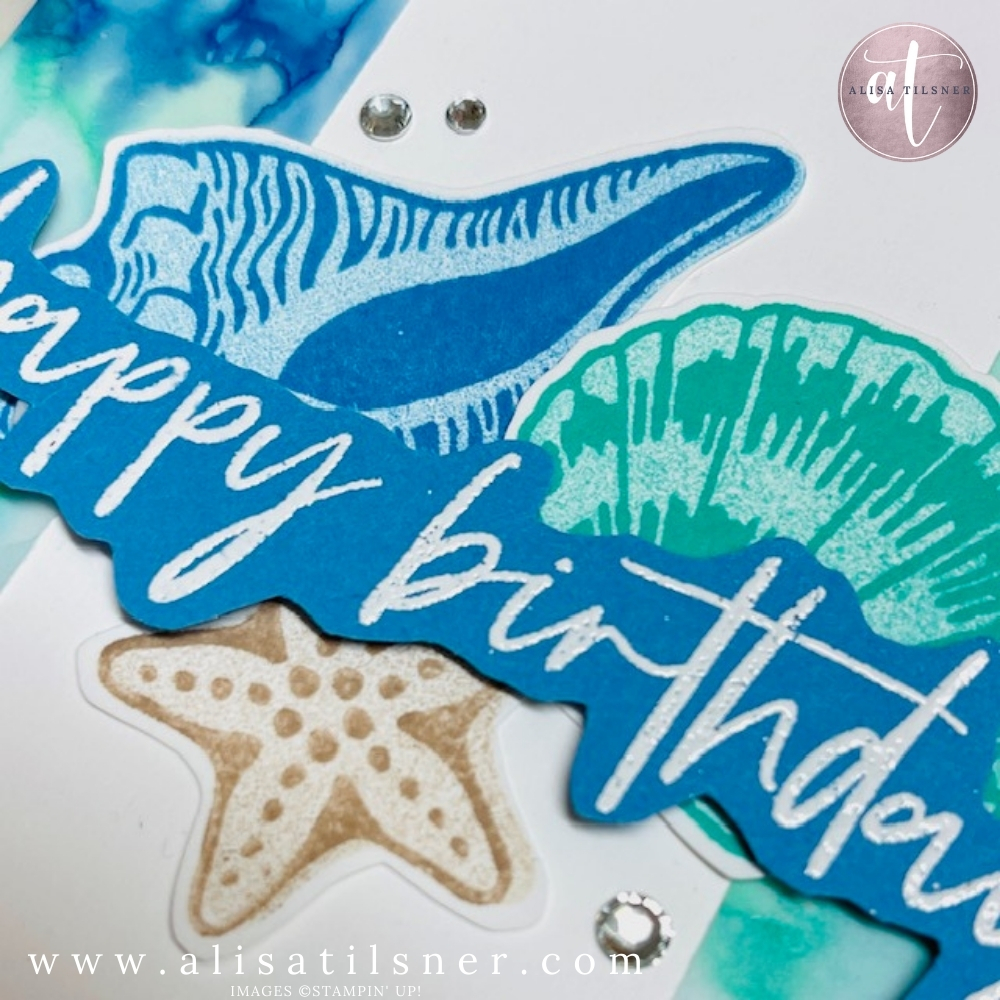
Once my alcohol art on vellum panels were dry, I paired them with the Stampin Up Shell Collecting stamp set. These shells stamp larger than you expect from the case front, and the detail is stunning once ink hits paper.
I stamped a mix of shells in Azure Afternoon and Summer Splash, then added a Crumb Cake starfish as a warm neutral to ground the cooler tones. Because this set is a standalone stamp set, I fussy cut the images (and yes, they’re very doable).
For the sentiment, I went big with a white heat-embossed “Happy Birthday” on Azure cardstock. A larger sentiment is a handy design trick here because it lets you spread the shell cluster wider while still keeping everything visually connected.
Finishing touches
- Adhere vellum to Basic White cardstock behind it to make the colours pop.
- Add a few rhinestones for sparkle.
- Optional: a small bow in linen thread or Crumb Cake twine helps tie the neutral starfish into the rest of the design.
If you try this technique, I’d love to see what colours you choose. It’s one of those backgrounds that looks impressive every single time, and because no two panels turn out the same, it feels like making your own custom designer paper.
If you’d like to see more Alcohol Art with Stampin’ Blends, head HERE, I have several more cards.
Cheers for now

- Shop my ONLINE STORE
- Join The Artful Stampers Team – Happy Shoppers,
Hobbiest , Part Time and Full Time welcome! - Creative Card Makers Club
- Watch me on YouTube
- Socialise with me on FaceBook
- Email Me