
Happy Birthday 2 Ways
Hi Everyone, I know it’s been awhile since I’ve shared a card, a looooong while. Today I have not one but two cards to share with you *yay – happy face* If you’re a follower of my Facebook Page, then you may have seen the quick video I did to show you what we made at Linc n Learn this week. I promised that I get them up on the blog, so here we are 🙂
We made a regular card, then we stepped it up a notch by adding a few more details to it.
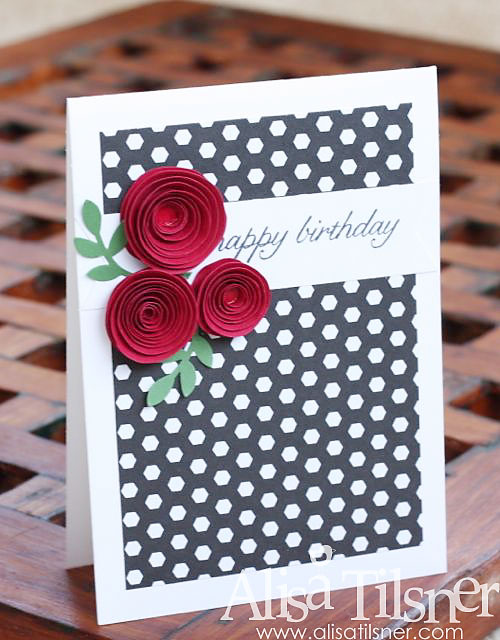
In the first card, we adhered the paper straight down onto the card base. Stamp Happy Birthday onto white card with black ink. A few rolled Roses and some leaves and we’re done. I nice and quick and easy card. The only thing that took time was the roses, but we made 6 of them in one go, so once they’re done, you’re good to go. These are the types of accessories that you could make in the evening while watching TV, and have a stash of them ready to for quick projects like this.
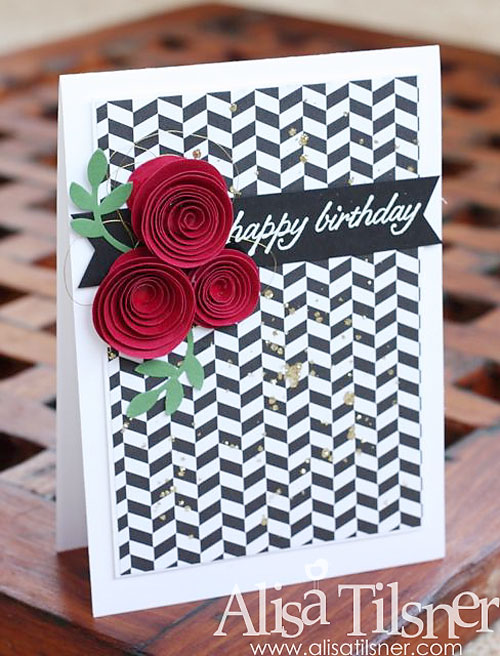
For the second card we added a little sparkle to the paper. To do this, I took a one of those little containers that Stampin’ Up! packs its accessories in, like the buttons, and added some Tombow and watered it down. I then took my aquapainter, scooped up the watery glue, and flicked it onto the paper. While the glue is still wet, sprinkle some gold glitter (did you know SU sells this – I didn’t o oh!) over it and let it dry. It’s soooo purty!! The paper is layered onto some white card to set it apart a little.
The next difference is the Sentiment. We embossed white onto black just for a bit of contrast. Before we adhered the leaves and roses, we added some metallic thread. I find this tricky but I think I’m getting better at it. I just put down some snail or fast fuse to the card, and then stick and loop and stick and loop the thread until I have the look I’m after.
Finally this whole top panel is popped up with Dimensionals 🙂
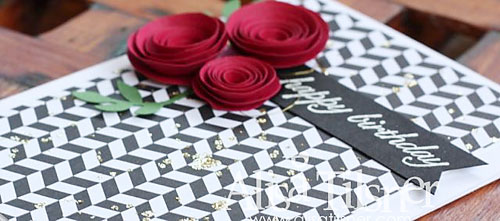
Here’s the items I’ve used.
Join my Team and get your hands on NEW Holiday Products before it goes live.
So simple and pretty! Nice work 😉 Thank you for playing along with us at Cardabilities 😉
This is so cool! Love the red flowers against the B/W background – Great!
OH WOW this is awesome! Thanks so much for joining our challenge at Cardabilities! We hope you’ll join us again real soon! Good Luck!
Darlene
Cardabilities DT
DAR’S CRAFTY CREATIONS
Your card is so eye catching.. I love the rolled roses too.. thanks for joining in with Cardabilities..
This card is stunning! I absolutely love it. I was wondering how you made the roses. I haven’t seen this done before I guess. Thank you, Michelle