
Paper Pumpkin Alternatives: How to Stretch Your Kit and Create Stunning Cards
If you’ve been curious about Stampin’ Up! Paper Pumpkin Kit, this is such a great time to dive in—especially now that it’s finally available in Australia. And if you’re anything like me, you’re not just going to make the cards as-is… you’re going to want to stretch that kit as far as possible.
That’s exactly what we did in this week’s Thursday Live—taking the elements from the kit and turning them into something completely different (and honestly, this is where the magic happens).
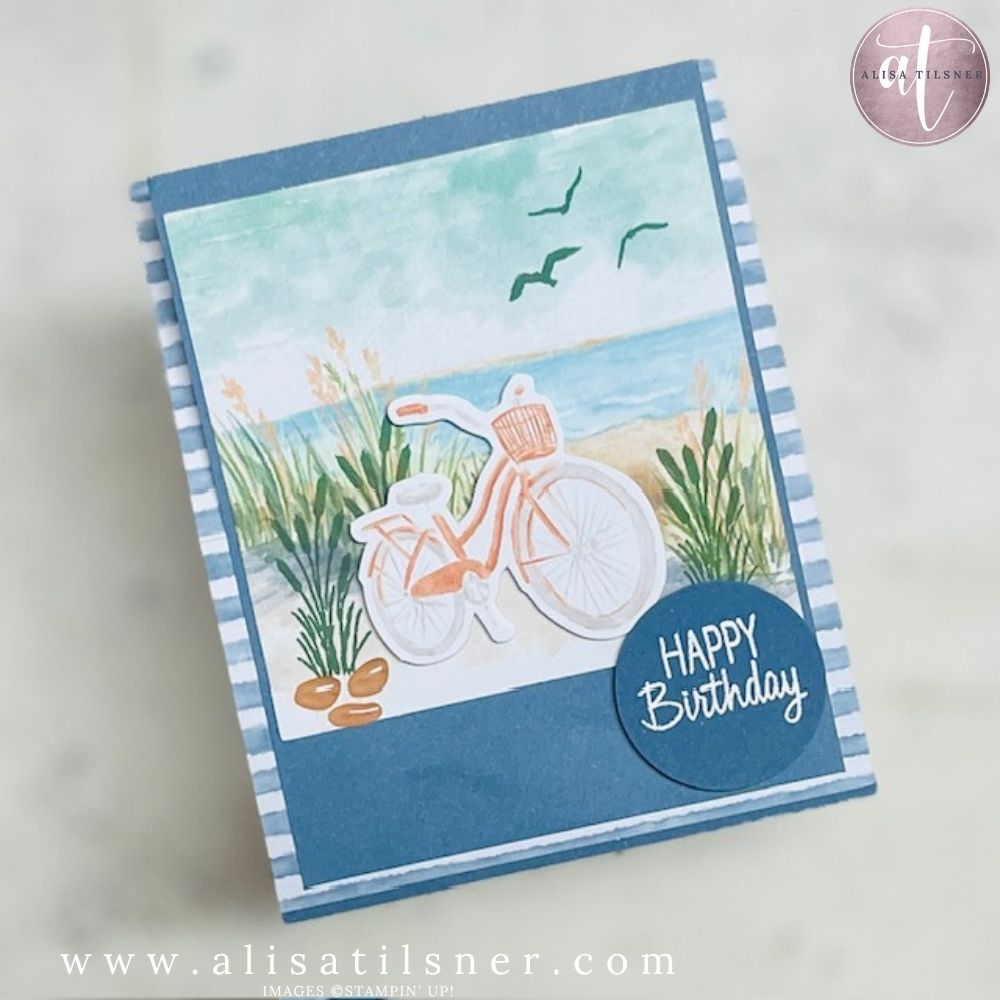
What You Get in a Paper Pumpkin Kit
One of the things I love most about Paper Pumpkin is how truly all-inclusive it is.
Inside your first kit, you’ll find:
- A clear stamping block (first month only—keep it!)
- Exclusive stamp set
- Ink spot
- Pre-cut card bases and layers
- Adhesive, dimensionals, and embellishments
- Step-by-step instructions
Everything is designed to make nine cards (three of each design), but here’s the thing…
You don’t have to follow the instructions.
And that’s where you can really start to elevate your cardmaking.
Turn Kit Pieces into Custom Card Bases
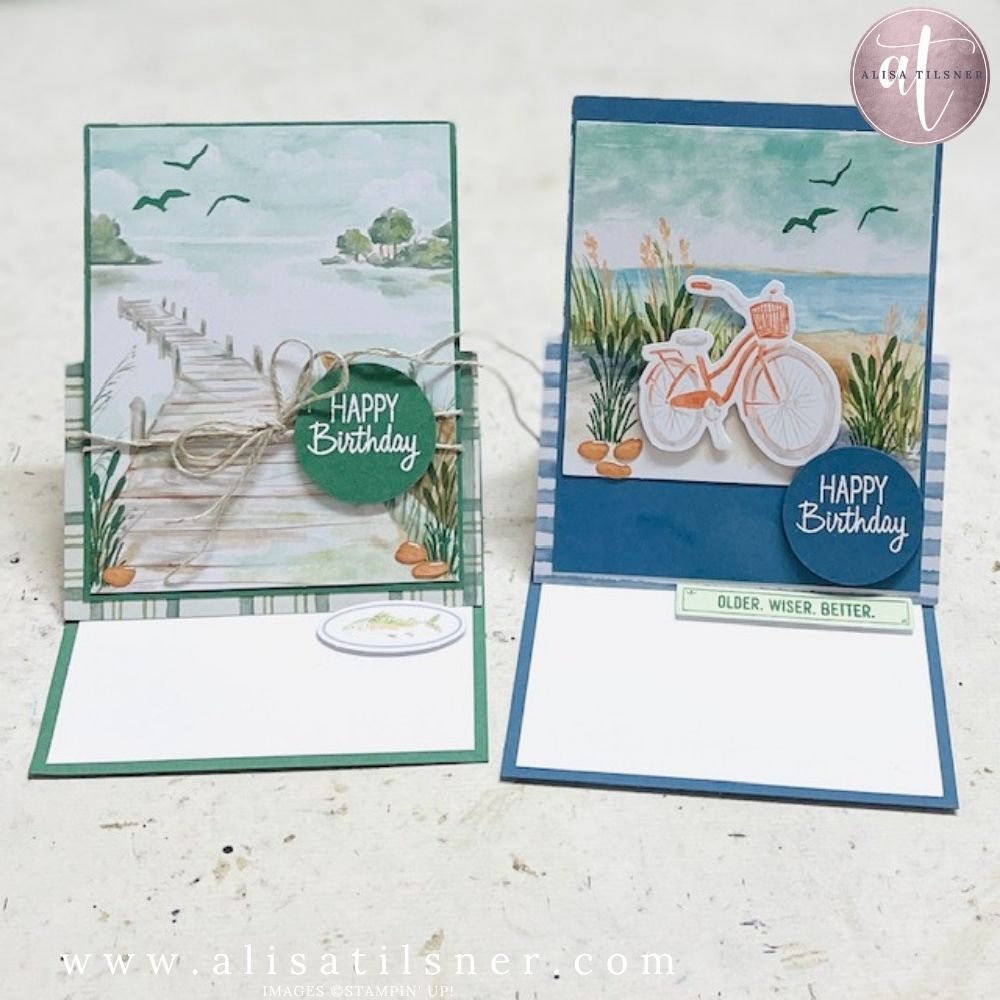
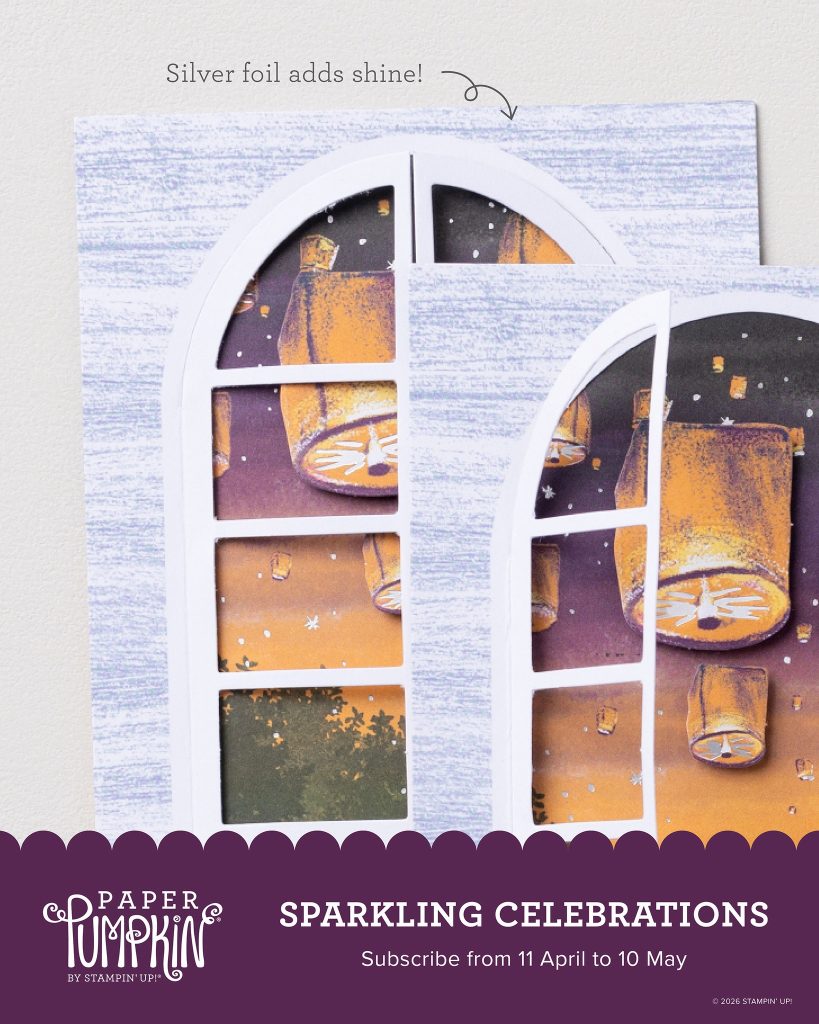
Instead of using the card bases as intended, I cut one in half and completely reworked it into a tent fold card.
This is such a simple tweak, but it changes the entire look and feel of the card.
Here’s what I did:
- Cut the original card base in half
- Scored at ½” and again at the centre (2½”)
- Created a dimensional “tent fold” design
- Used a small panel as a stopper so the card stands
This gives you a card that feels more interactive and dimensional—without needing any extra supplies.
Why You’ll Love Creating Alternatives
Because everything is pre-designed and coordinated, you can:
- Mix and match elements across designs
- Use leftover layers for new layouts
- Add just a small amount of your own cardstock to extend the kit
For this card, I only added:
- Misty Moonlight Cardstock for the base
- Basic White for layering
Everything else came straight from the kit.
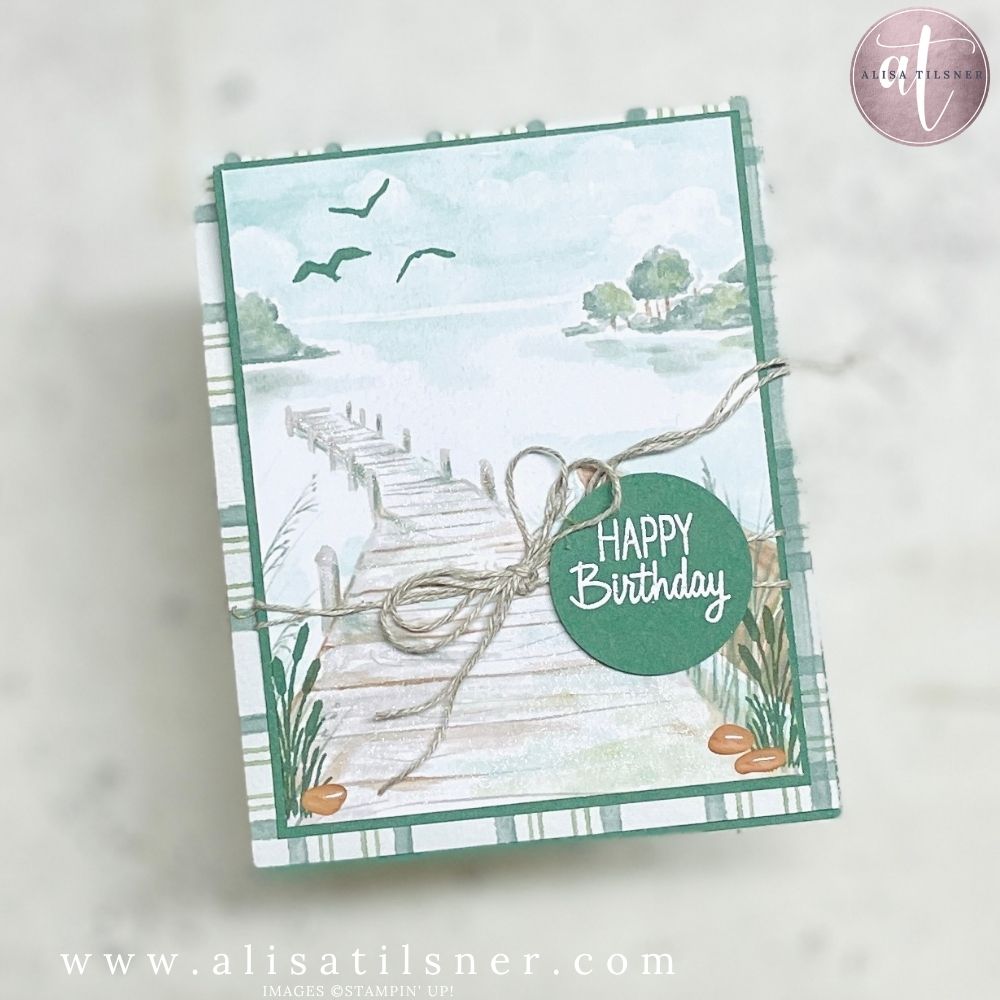
Add Depth with Simple Stamping
One of the easiest ways to take your card from “kit” to “custom” is by adding extra stamping.
In this case:
- I stamped grasses and seagulls over the printed background
- Kept the ink colour consistent for a cohesive look
- Followed the original design loosely—but added my own placement
It instantly added more depth and made the card feel less flat.
Stretch Your Kit Even Further
By the end of the session, I had:
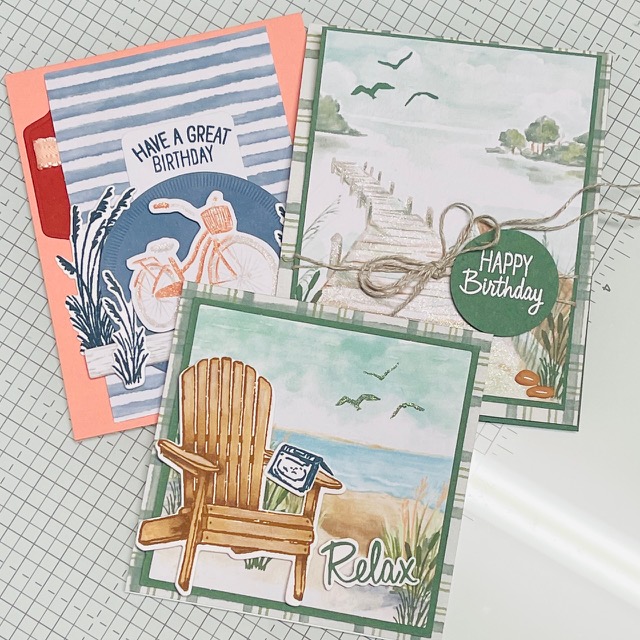
- Created multiple alternative cards
- Used both front and back of card bases
- Still had plenty of elements left to play with
And that’s the real value of Paper Pumpkin.
It’s not just nine cards… it’s a starting point for so many more.
Final Thoughts
If you’ve been sitting on the fence about trying Paper Pumpkin, this is your sign.
Whether you’re short on time, feeling a bit creatively stuck, or just want something easy to get started… this kit gives you structure and flexibility.
And if you’re an intermediate crafter like many of us—you’ll absolutely love pushing it beyond the instructions.
Because that’s where your style really starts to come through.
Cheers for now

- Shop my ONLINE STORE
- Join The Artful Stampers Team – Happy Shoppers,
Hobbiest , Part Time and Full Time welcome! - Creative Card Makers Club
- Watch me on YouTube
- Socialise with me on FaceBook
- Email Me