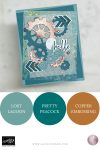
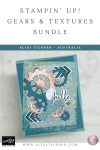
Gears & Textures Card with Nature Walk Paper
If you enjoy cards with texture, movement and a slightly industrial edge, today’s project is going to be right up your alley. In this Thursday Live cardmaking session, I worked with the Stampin Up Gears and Textures Bundle, pairing it with the stunning Nature Walk Designer Series Paper and some subtle embossing techniques to create a card that looks complex but is surprisingly approachable once you know how to build it.
This is one of those designs where you don’t need to overthink the placement. In fact, one of the biggest takeaways from this card is a mindset shift that will completely change how you work with abstract dies.

Think “florals”… even when they aren’t florals
The Stampin Up Gears and Textures Dies are packed with layered shapes, cogs and industrial-style elements. If those kinds of dies feel intimidating, here’s the trick: treat them exactly the same way you would flowers and leaves.
Create clusters.
Tuck smaller shapes underneath larger ones.
Let elements overlap naturally.
Once you stop trying to make them look “mechanical” and instead build them the way you’d build a floral arrangement, everything falls into place much more easily.
Colour palette that grounds the design
For this card, I worked with Lost Lagoon and Pretty Peacock as the core colours, pulling them directly from the Nature Walk DSP. This paper is absolutely divine – richly detailed, organic and perfect for cards that lean into texture.
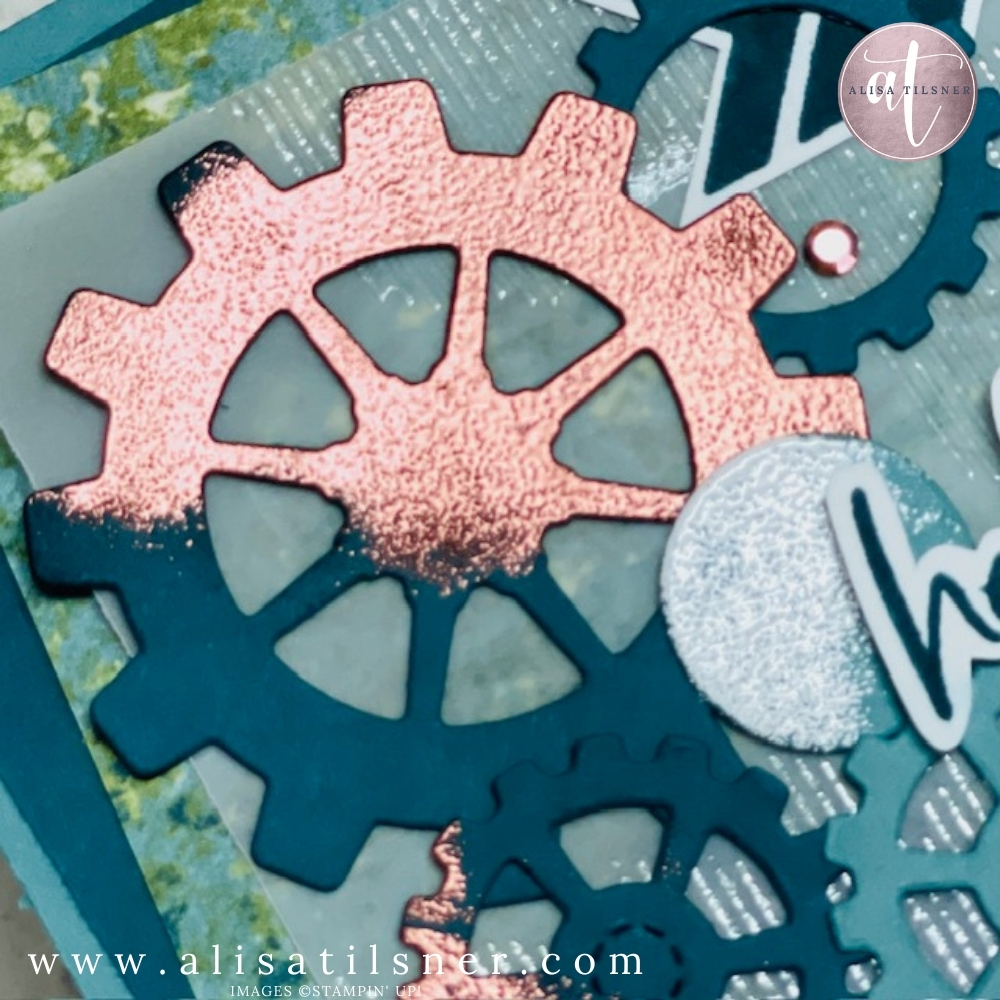
Because the paper itself is quite busy, I added a layer of vellum over the top. This softens the background without hiding it, allowing the die-cut elements to stand out while still letting the paper shine through.
If you ever feel like your background is “too much”, vellum is your best friend.

Adding shine with embossing (without overpowering the card)
Texture really comes to life with embossing, and I used two different approaches here:
- Copper embossing powder on the die-cut elements to tie in with the earthy tones of the DSP
- Clear embossing over a subtle stripe pattern stamped onto vellum
That clear embossing is one of those quiet techniques that makes a huge difference. You don’t notice it straight away, but when the light catches it on a shelf or mantle, it adds a beautiful glimmer without stealing focus from the main design.

Small details that lift the whole card
To finish the card, I added a simple “Hello” sentiment from the Fabulous Sayings stamp set (January Product of the Month). This set is a brilliant staple – slightly larger sentiments that work beautifully on textured and layered cards.
Instead of piling on embellishments, I kept it clean with a few metallic adhesive-backed gems. Just three small accents were enough to echo the shine of the embossing and complete the design.
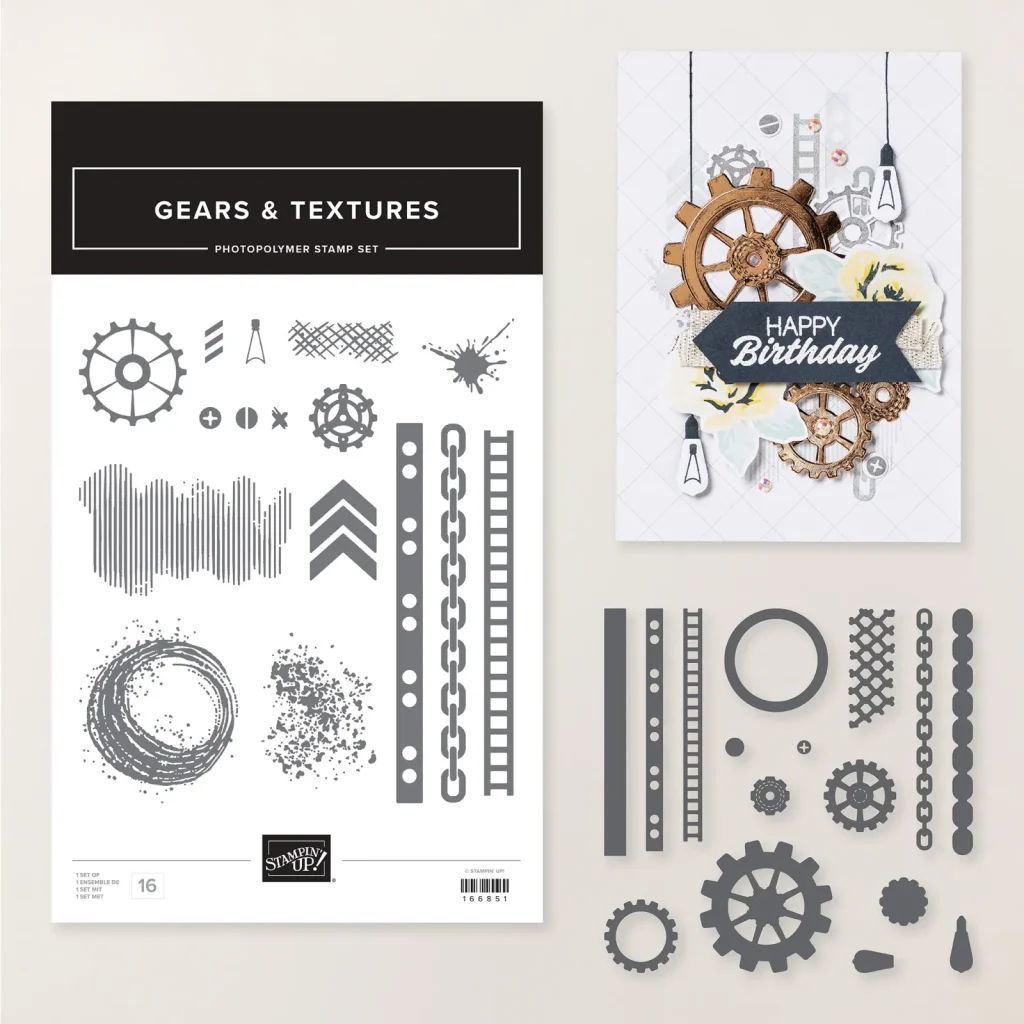
Why the Stampin Up Gears & Textures Bundle deserves a place in your craft room
This bundle is far more versatile than it looks at first glance. Yes, it’s fantastic for masculine and industrial-style cards, but it also works beautifully for modern, mixed-media designs when paired with the right paper and colours.
If you love:
- Texture without bulk
- Layered die-cut clusters
- Cards that feel artistic rather than “cute”
…then this is a bundle you’ll reach for again and again.
Full measurements and step-by-step instructions for this card are available in my Freebie Library, which you can access when you sign up for my newsletter. This project will be added as tutorial #160.
Until next Thursday, happy stamping – and remember, if in doubt, build your dies like flowers.

- Shop my ONLINE STORE
- Join The Artful Stampers Team – Happy Shoppers,
Hobbiest , Part Time and Full Time welcome! - Creative Card Makers Club
- Watch me on YouTube
- Socialise with me on FaceBook
- Email Me