
Partial Hot Foiling Technique – A Simple Way to Add Elegant Shine to Your Handmade Cards
The wait is finally over! The brand-new Stampin Up Hot Foil System is here, and I couldn’t wait to dive in and start experimenting.
As with any new crafting tool, there was definitely a bit of learning along the way (you’ll see that if you watched the live!), but that’s part of the fun. Today I’m sharing one of my very first techniques using the new Stampin Up Hot Foil System – partial hot foiling.
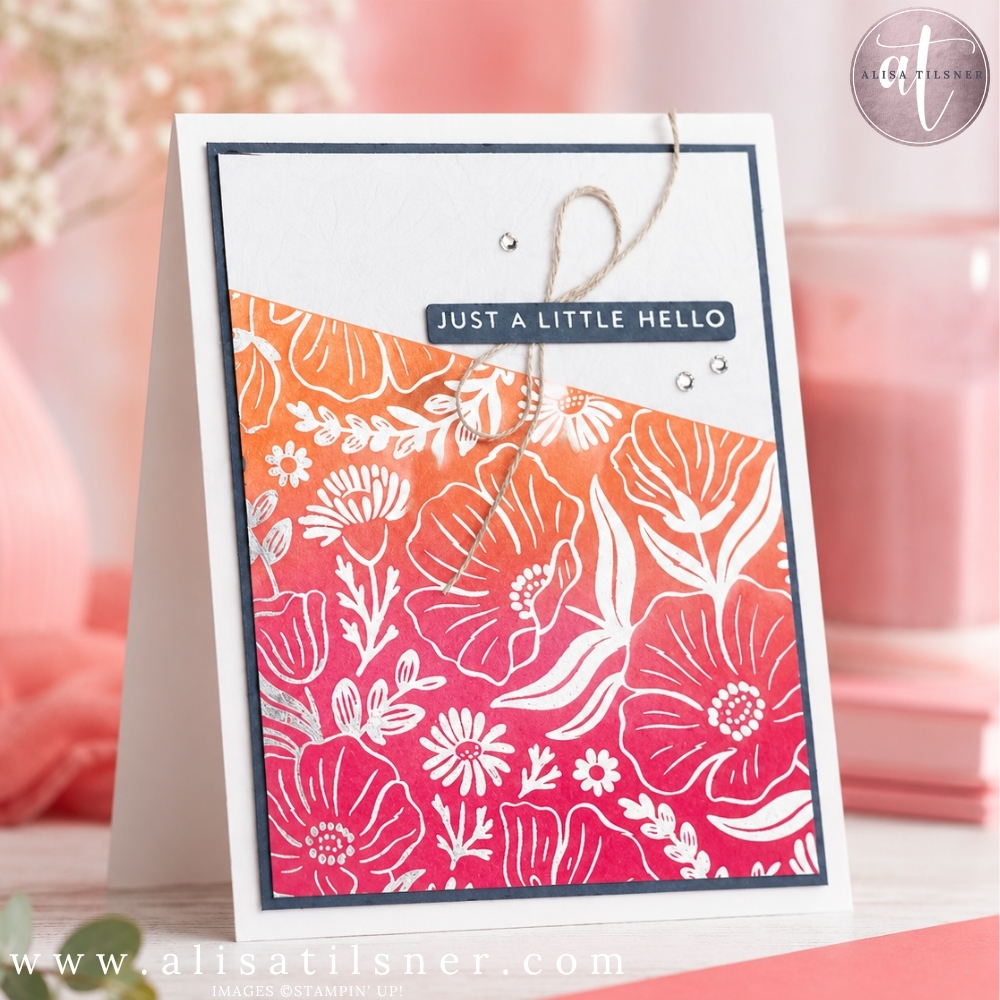
Rather than covering an entire card front with foil, this technique lets you add a beautiful foiled accent to just one section of your design. It creates an elegant focal point while leaving plenty of room for ink blending, stamping or other embellishments.
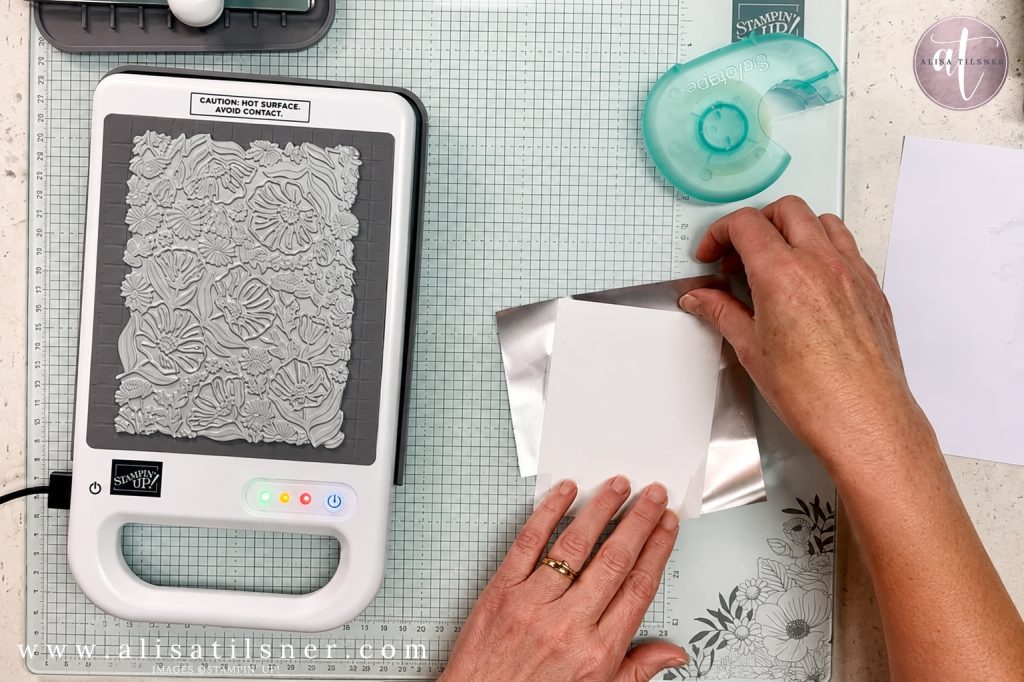
For this card I used the Garden Silhouette Hot Foil Plate together with Silver Hot Foil to create a delicate floral image across one corner of the card. I placed the shiny down and laid my card on an angle and secured it with sticky tape (no, it didn’t melt). I then trimmed off the excess foil, and saved it for the Sweetly Sentimental Hot Foiling.
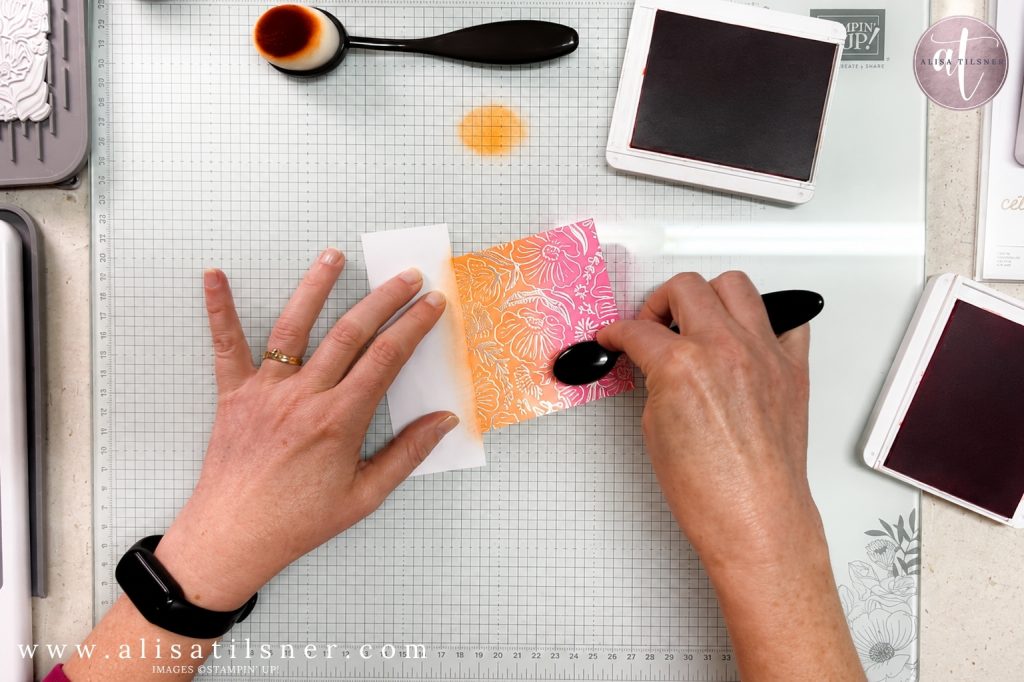
Once the foiling was complete, I masked off the design and added ink blending using Strawberry Slush and Timid Tiger, inspired by this week’s Colour Inkspiration challenge. The bright pink and orange combination pairs beautifully with the crisp silver foiling and creates a fresh, modern look.
To finish the design, I added a simple foiled “Just a Little Hello” sentiment and a few rhinestones. Sometimes a clean and simple layout allows the foiling to become the real star of the project.
Tips I Learnt During My First Play with the Stampin Up Hot foil system
As this was only my third time using the Hot Foil System, I thought I’d share a few things I discovered along the way.
- Rolling the sandwich through your Stampin’ Cut & Emboss Machine slowly gave the best results.
- Basic White Cardstock foiled beautifully, even though Stampin’ Up! recommends trying Two-Tone Cardstock as well.
- Vellum also produced gorgeous foiled results and is definitely worth experimenting with.
- If you’re only foiling part of a plate, covering the exposed section with copy paper helped protect the shim without causing any issues.
- Keep all of your leftover foil pieces. They’re perfect for experimenting with other techniques later.
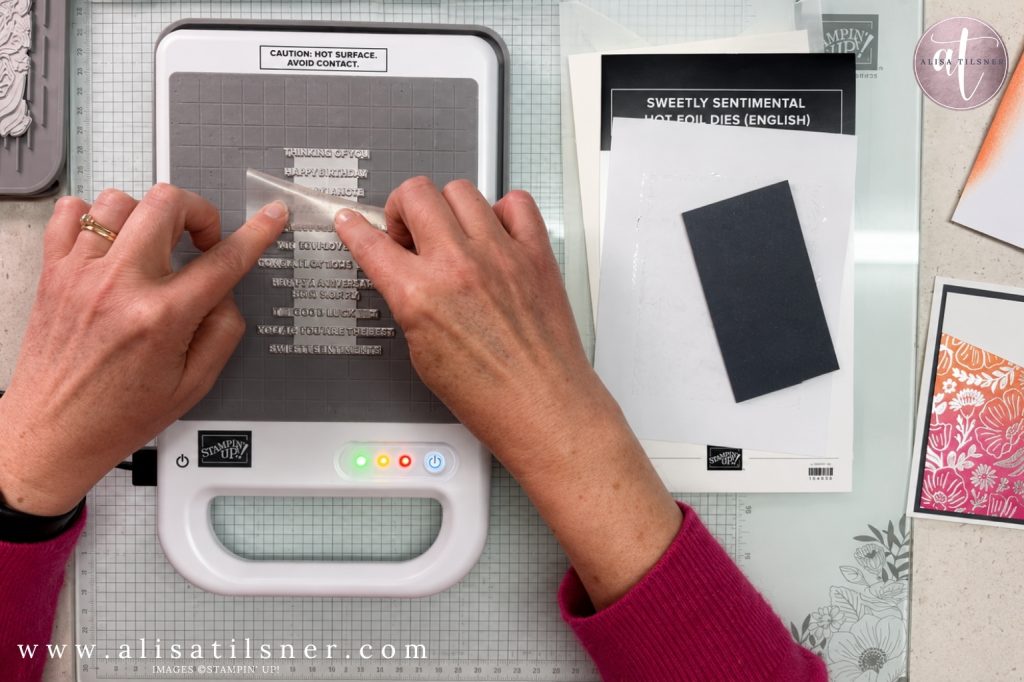
Don’t Throw Away the Negative Foil!
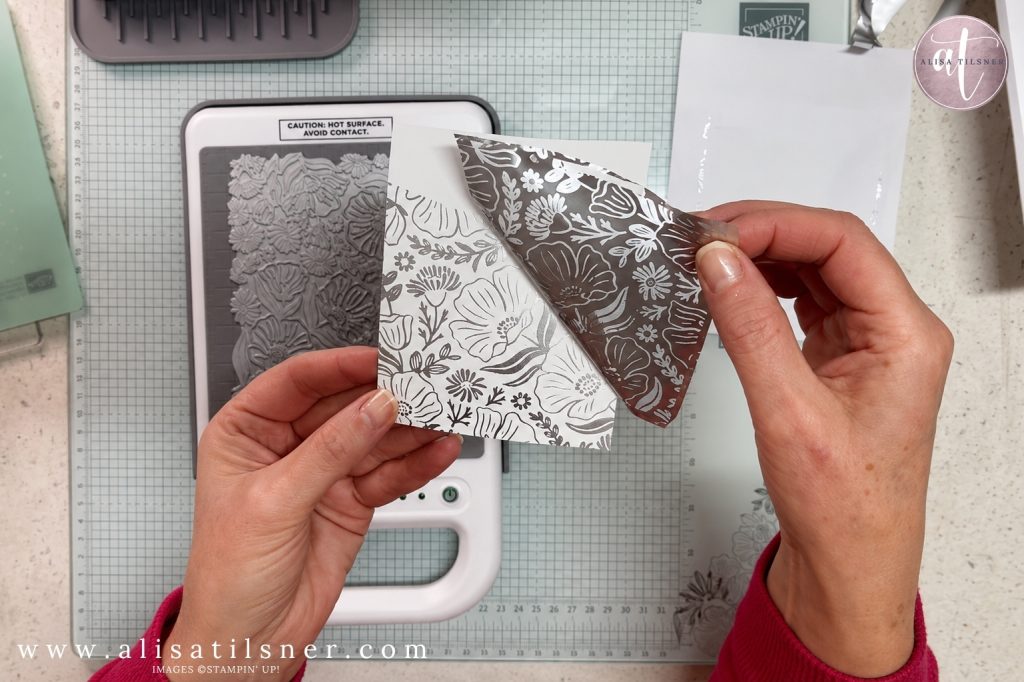
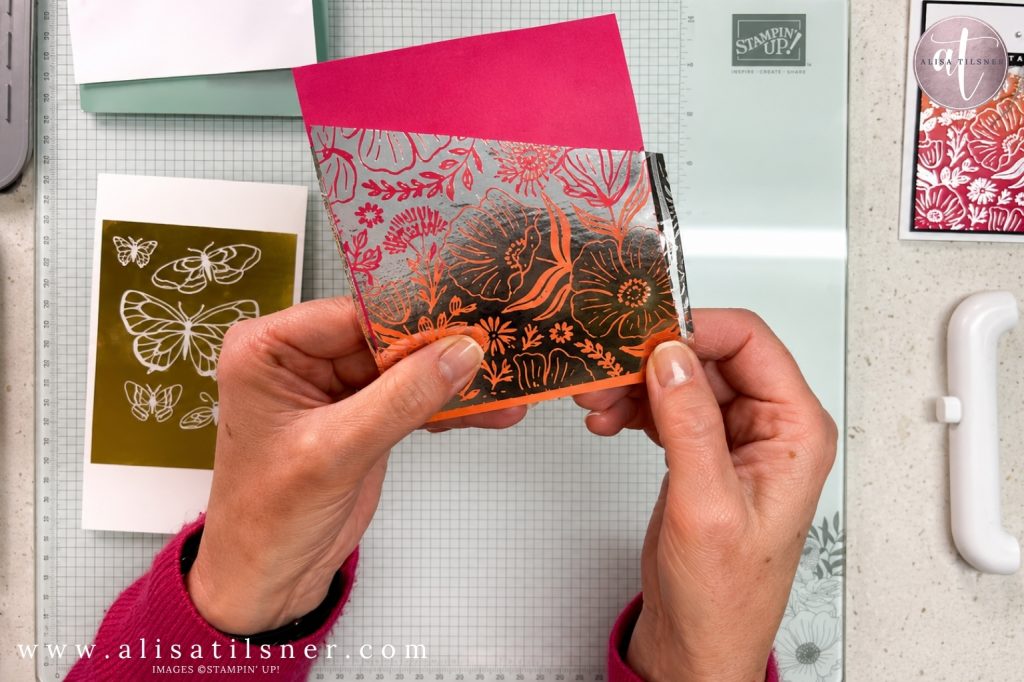
One of the most interesting discoveries during today’s live was experimenting with the leftover (negative) foil.
Instead of discarding it, I used it to create a second foiled image. It was a great reminder that many of the “waste” pieces from hot foiling can become beautiful backgrounds or feature elements for future cards.
I also discovered that the negative foil includes a protective plastic film. Removing it without leaving a small border can sometimes lift parts of the foil, so it’s worth experimenting to find the finish you prefer. Every play session teaches you something new!
Want to Recreate This Card?
If you’d like to make this project yourself, be sure you’re subscribed to my newsletter.
You’ll receive access to my growing Free PDF Tutorial Library, where this project will be added with:
- Full metric and imperial measurements
- Complete supply list
- Step-by-step written instructions
- Tutorials from many of my previous weekly live classes
The library continues to grow each week, giving you plenty of inspiration whenever you’re ready to create.
If you’re just getting started with hot foiling, don’t be afraid to experiment. Some of the best techniques come from simply asking, “I wonder what would happen if…?” This partial hot foiling technique is a perfect example, and I think you’ll love adding it to your own card-making projects.
Cheers for Now

- Shop my ONLINE STORE
- Join The Artful Stampers Team – Happy Shoppers,
Hobbiest , Part Time and Full Time welcome! - Creative Card Makers Club
- Watch me on YouTube
- Socialise with me on FaceBook
- Email Me