Create a Stunning Vintage Card with the Stampin’ Up! Layers of Beauty Set
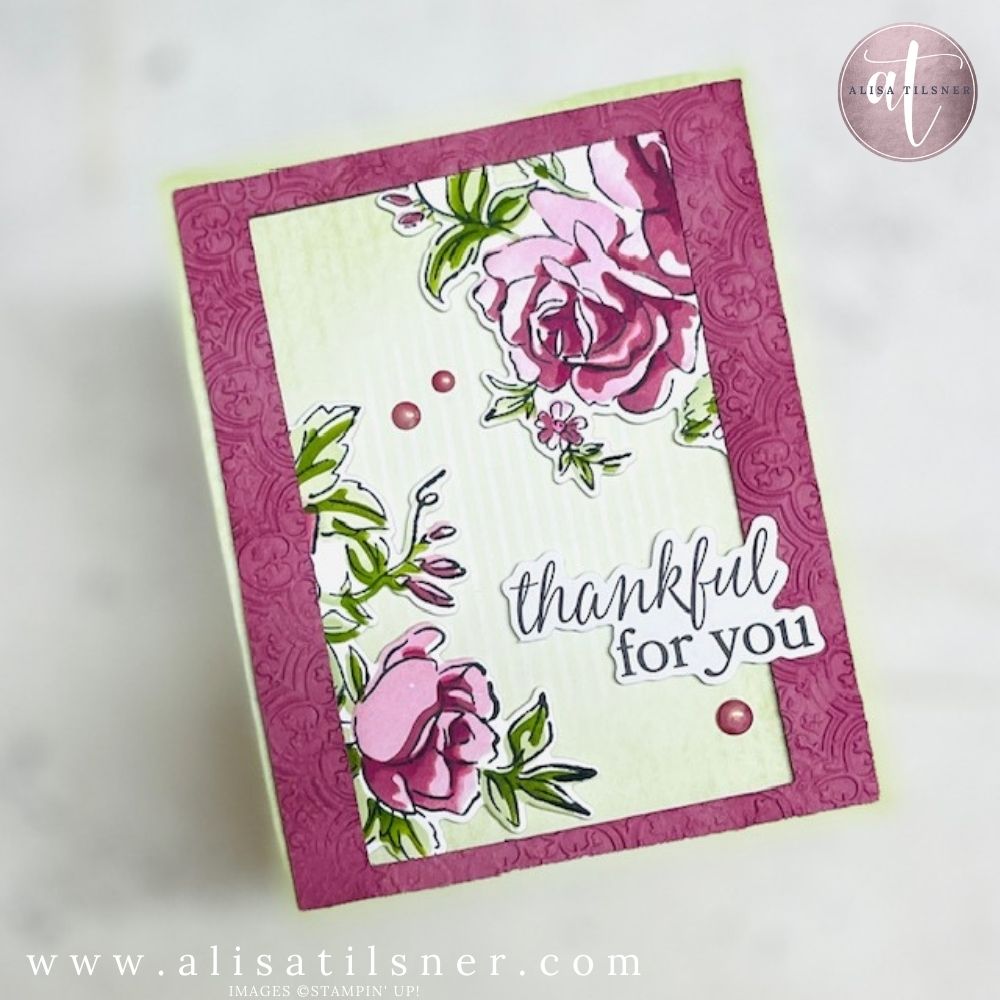
If you’re looking for a timeless floral stamp set that never goes out of style, the Stampin Up Layers of Beauty Bundle is one you’ll want to keep on your crafting table. I recently revisited this beautiful set during my Thursday Live and created a vintage-inspired card that’s perfect for any occasion.
Why I Love the Stampin Up Layers of Beauty Bundle
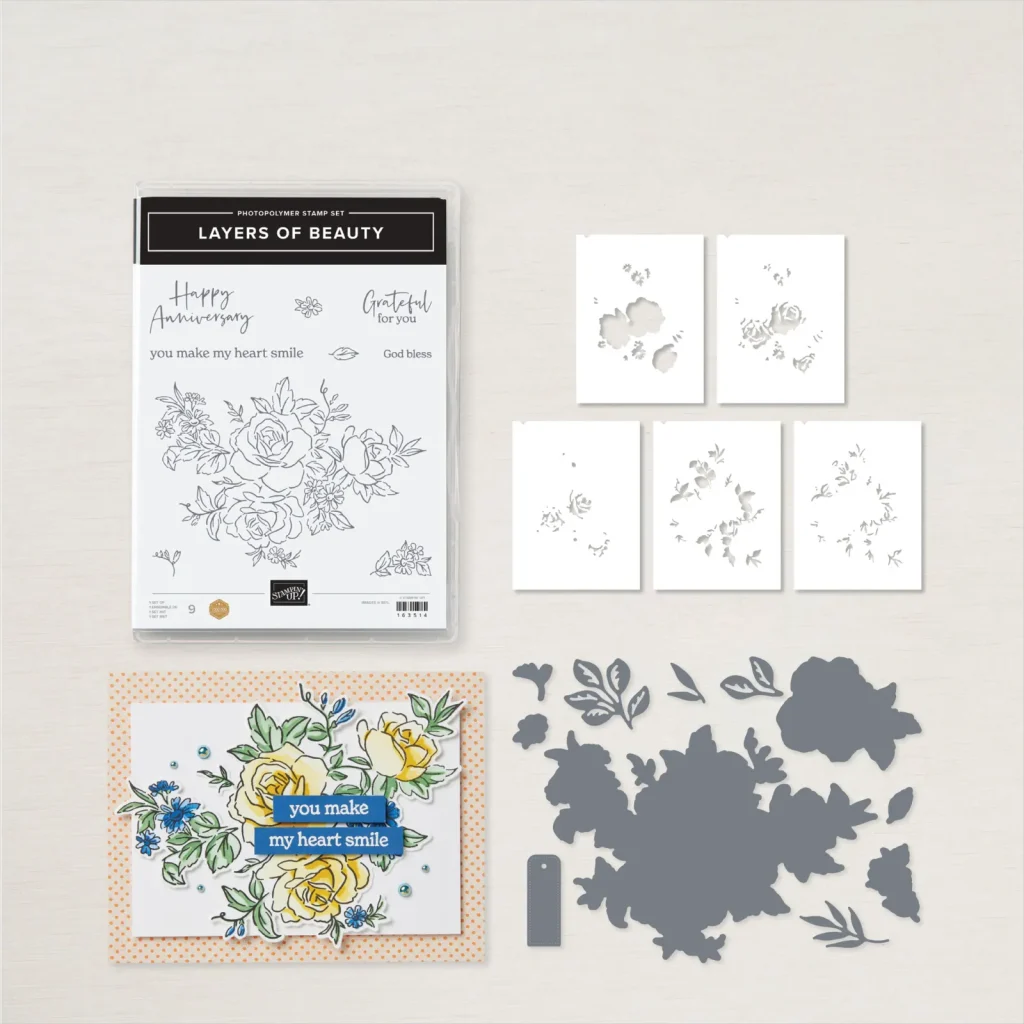
The Layers of Beauty Stamp Set and Stencils is a layering dream, allowing you to achieve a beautifully shaded floral design without the need for intense colouring. Whether you’re a seasoned stamper or prefer quick and easy techniques, the stencils make adding depth and dimension effortless.
Plus, I’ve got exciting news — the Layers of Beauty set is sticking around in the new Stampin’ Up! catalogue, giving us even more opportunities to play with this stunning floral set.
My Colour Palette with The Colour Companion
I wanted a vintage vibe for this card, so I turned to my Colour Companion — a colour-picking tool I created that’s free when you sign up for my newsletter. I asked it for suggestions that would complement a vintage-style rose and was given this perfect colour combination:
- Bubble Bath – Soft and delicate for the base layer of the petals
- Moody Mauve – A beautiful mid-tone to give richness and depth
- Berry Burst – Suggested for the darkest shade, but I switched to Blackberry Bliss for a more dramatic finish
For the leaves:
- Soft Sea Foam – A light, fresh green
- Mossy Meadow – A deep, contrasting green to add dimension
Card Design and Techniques
To achieve the vintage look, I used the stencils from the Layers of Beauty Bundle. I started by blending Bubble Bath lightly over the first layer, followed by Moody Mauve to deepen the petals. I then added a subtle touch of Blackberry Bliss to the centre for contrast.
For the leaves, Soft Sea Foam added a gentle base, while Mossy Meadow brought in the darker shadows. If you’re new to blending or prefer not to colour with Stampin’ Blends, these stencils are a fantastic alternative that gives professional results.
Adding Texture and Layers
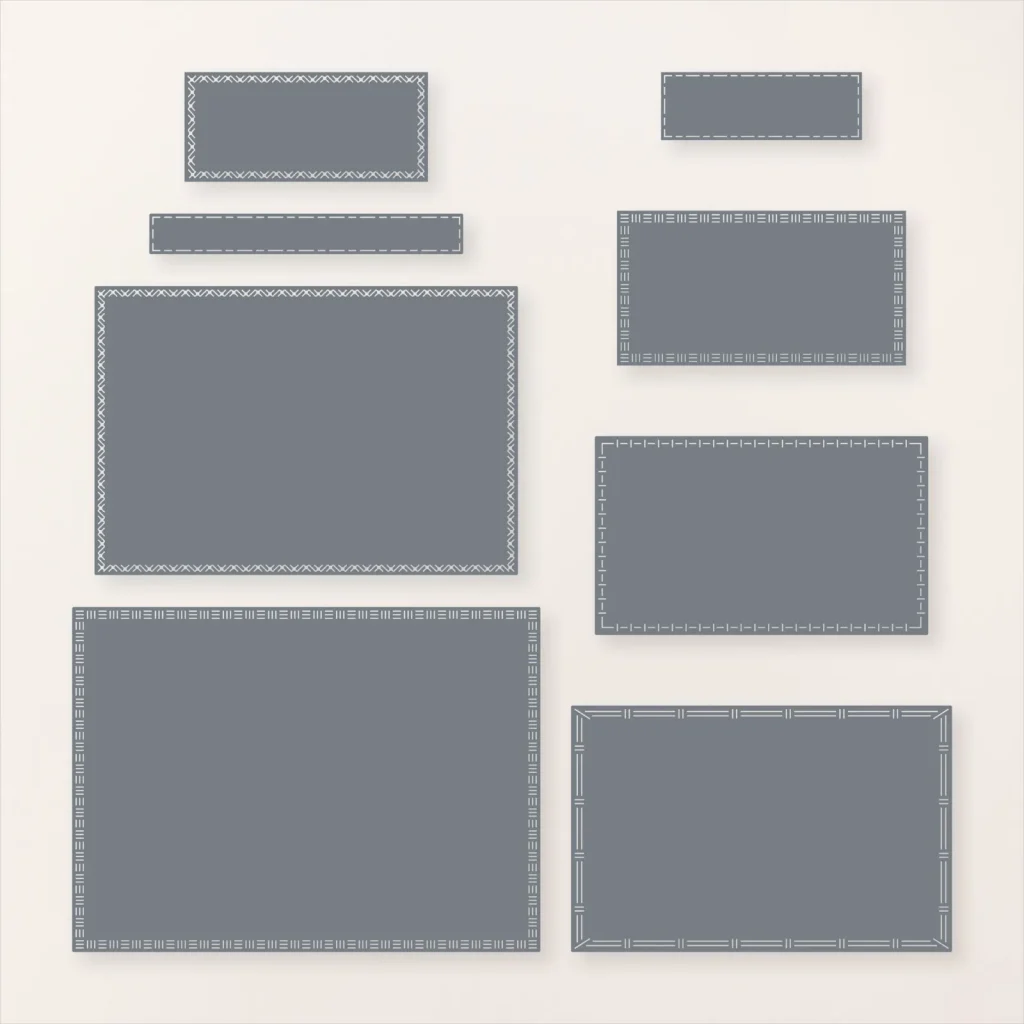
To give my card more interest, I used the Textured Notes Dies for the frame and embossed a piece of Moody Mauve cardstock with the Distressed Tile Embossing Folder. I lightly blended ink over the embossing to bring out the texture.
Instead of adhering my stencilled roses directly to the base, I attached them to the frame and popped the entire piece up using dimensionals. This gives a beautiful dimensional effect that elevates the design.
Sentiment and Finishing Touches
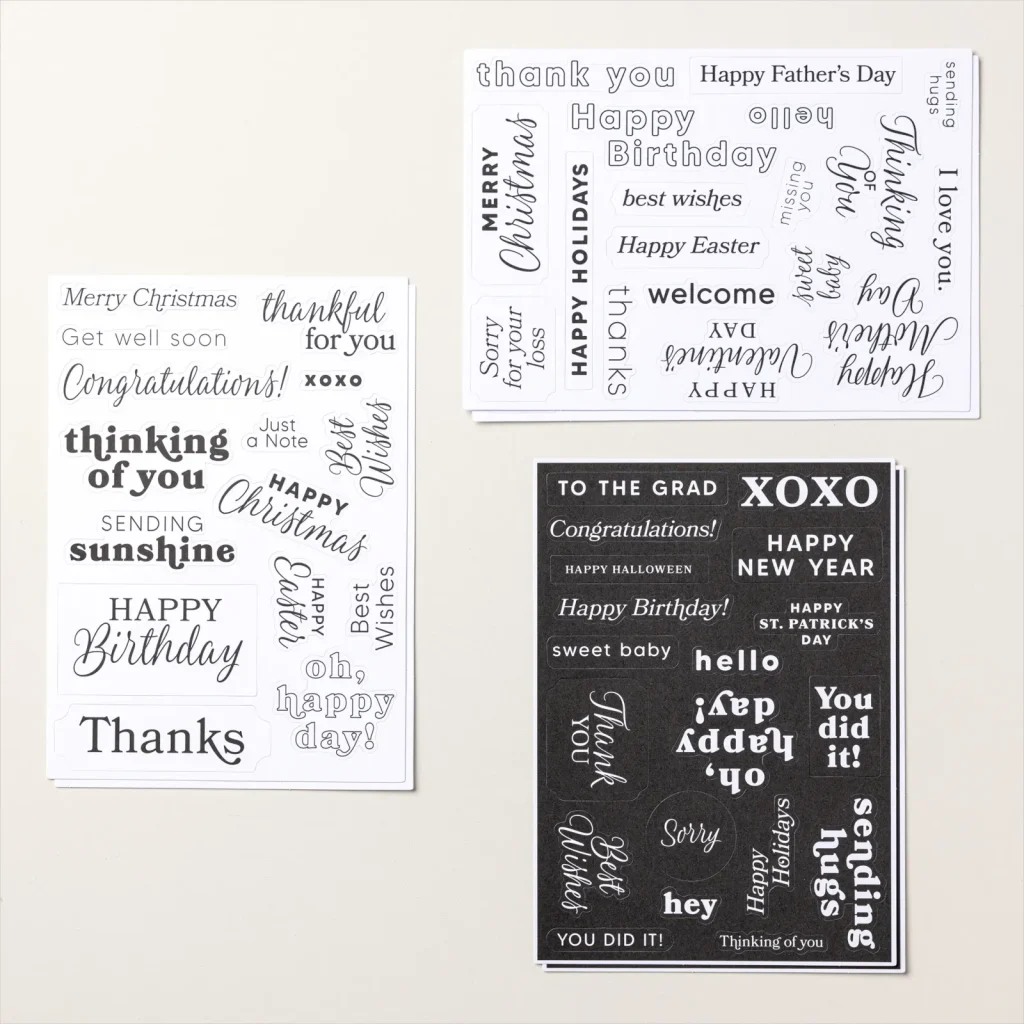
For the sentiment, I pulled from the Greetings for All Mix and Match Ephemera Pack and chose a simple “Thankful for You” to complete the card. These pre-made sentiments are brilliant when you’re looking for quick and easy options.
To finish, I added a few Antique Pearls coloured with my Moody Mauve Stampin’ Blend to bring in a little extra shine without overwhelming the card.
Pro Tip: Use Your Off-Cuts
I had a few leftover pieces after cutting my floral image, which I used on the inside of the card to tie the design together. Don’t discard your extras — they make fantastic embellishments for inserts!
Ready to Try It Yourself?
If you’d like the full tutorial for this card, make sure you’re subscribed to my newsletter. You’ll not only receive the Colour Companion to help you choose stunning combinations for future projects but also get step-by-step instructions for my Thursday Live projects delivered straight to your inbox.
Get Your Hands on the Layers of Beauty Bundle
The Stampin Up Layers of Beauty Bundle is a must-have if you love creating classic, elegant cards. Shop now to ensure this set makes its way to your craft space before it disappears!
If you’re in Australia, head on over to my Online Store to grab your goodies and start crafting your own beautiful floral cards today!
Cheers for now

- Shop my ONLINE STORE
- Join The Artful Stampers Team – Happy Shoppers,
Hobbiest , Part Time and Full Time welcome! - Creative Card Makers Club
- Watch me on YouTube
- Socialise with me on FaceBook
- Email Me