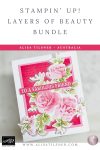
Layers of Beauty with a Linen Twist
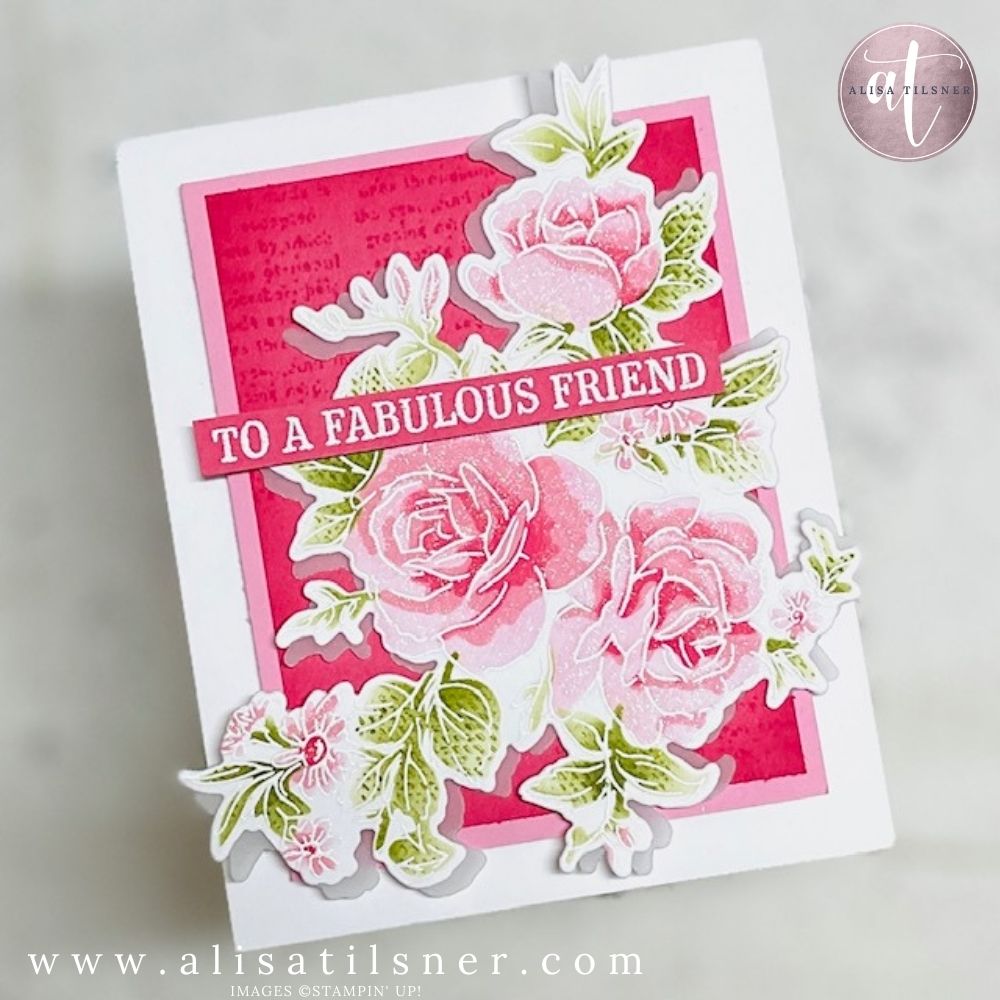
If you love floral cards but also love trying something different, this Thursday session was a perfect example of how one small “why not?” moment can turn into a brand-new technique you’ll want to repeat. I pulled out the Stampin Up Layers of Beauty Bundle (stamps + dies) and, importantly, the Layering Stencils—because they make colouring a detailed floral image feel effortless, even when you’re crafting live and “winging it” as you go.
And … I also brought in a new favourite: Lasting Linen. Not as a background stamp like you might expect, but as a subtle texture through the stencil (more on that in a second).
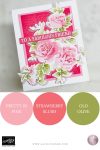
The colour combo: Pretty in Pink + Strawberry Slush (with Old Olive)
This card was all about soft, romantic colour with a fresh contrast. I used:
- Pretty in Pink (Stencil 1 & 2)
- Strawberry Slush (Stencil 3)
- Old Olive (Stencil 4)
- Basic White (card base and heat embossing)
- Vellum (a soft underlay)
A quick note if you adore Pretty in Pink: it’s an In Color that’s due to retire soon, and it pairs so beautifully with Strawberry Slush. If this combo is your style, it’s worth grabbing extra cardstock (and even a reinker) so you can keep creating with it.
Step one: White heat embossing changes everything
Instead of stamping the floral outline in ink, I stamped the main image in VersaMark and heat-embossed it in white. That embossed line does two things:
- It creates a crisp “no bleed” barrier for your stencilled colour.
- It gives the finished flower a soft, elegant definition—especially on white cardstock.
Step two: Stencil colouring, but with deliberate intensity
I started with a light Pretty in Pink layer, then went heavier with the next stencil pass (yes, I’m heavy-handed with blending… always have been!). Then Strawberry Slush went into the small flower centres using a tiny detail brush.
A tip I shared on the live: if you’re watching on your phone, you can zoom right in when I lift projects up—so you can actually see those layered stencil details clearly.
The “new” technique: stamping Lasting Linen through the stencil
This was the moment I wasn’t sure would work… and it absolutely did.
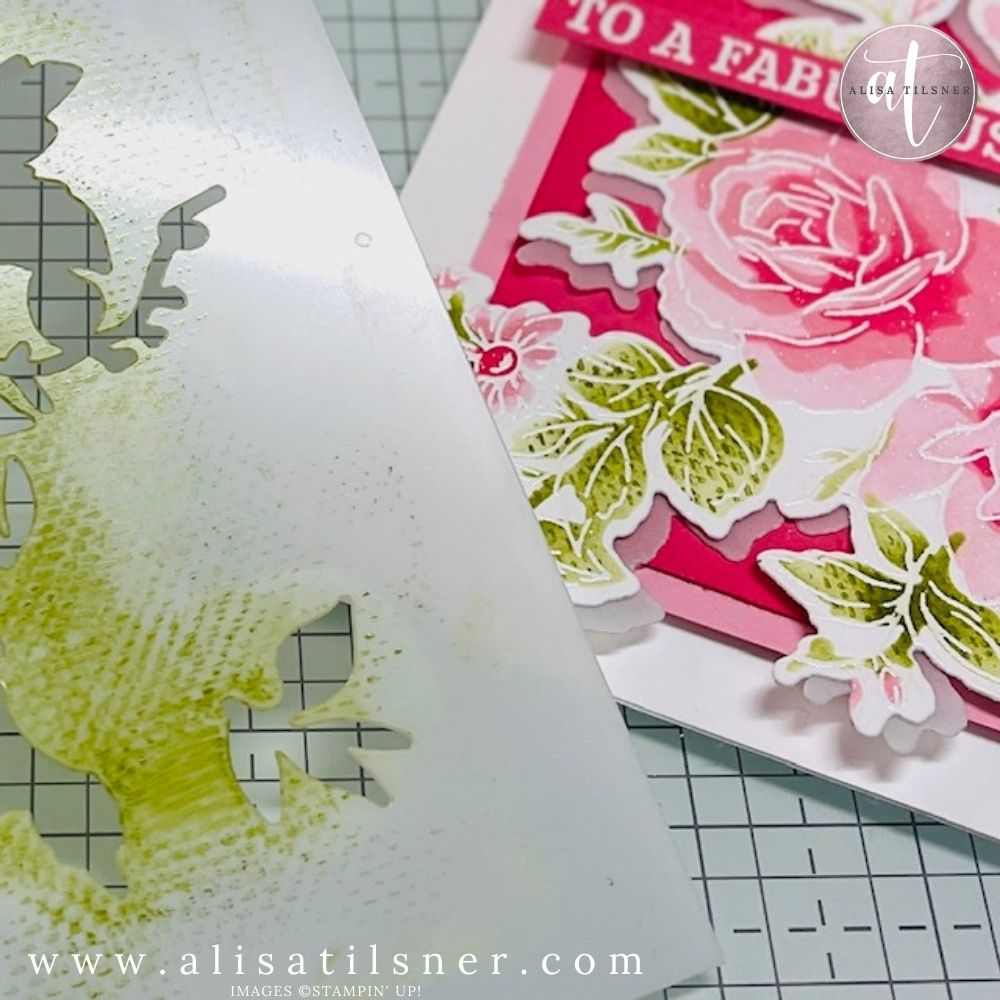
After blending the leaves with Old Olive, I left the stencil in place, inked up the Lasting Linen stamp (also in Old Olive), then pressed it over the stencil using my fingers—not a block.
Why finger-pressing matters: the stencil creates a tiny raised edge. By keeping the stamp flexible and pressing with your fingertips, you can push the texture into those openings and transfer the pattern only onto the leaf areas. It creates a beautiful, barely-there fabric texture that looks sophisticated rather than “stamped”.
If you try this, remember:
- Don’t mount the stamp.
- Use your fingertips to press into the stencil openings.
- Expect it to be subtle (that’s the magic).
Die cutting and soft layering with vellum
Once the floral piece was die cut, I cut the same shape from vellum and layered it behind the flower. This kept the design light and airy—perfect for this colour palette—and helped soften the transition over the stamped background layer.
The layout stayed intentionally simple so the flower could be the hero: layered panels of Strawberry Slush and Pretty in Pink, a softly stamped background detail, then the floral die cut on top.
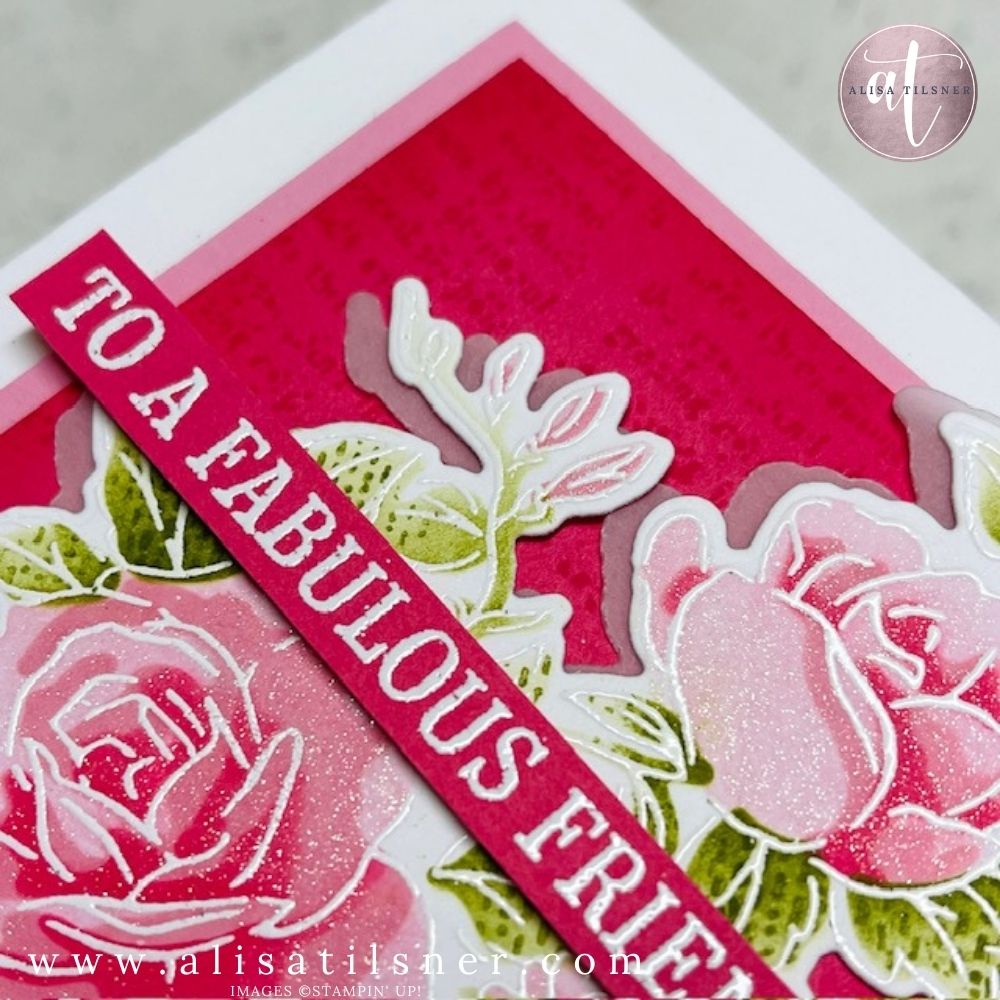
Finishing touches: Wink of Stella, every time
Instead of adding heavy embellishments, I added Wink of Stella to the flower petals for a delicate sparkle that catches the light without changing the feel of the card.
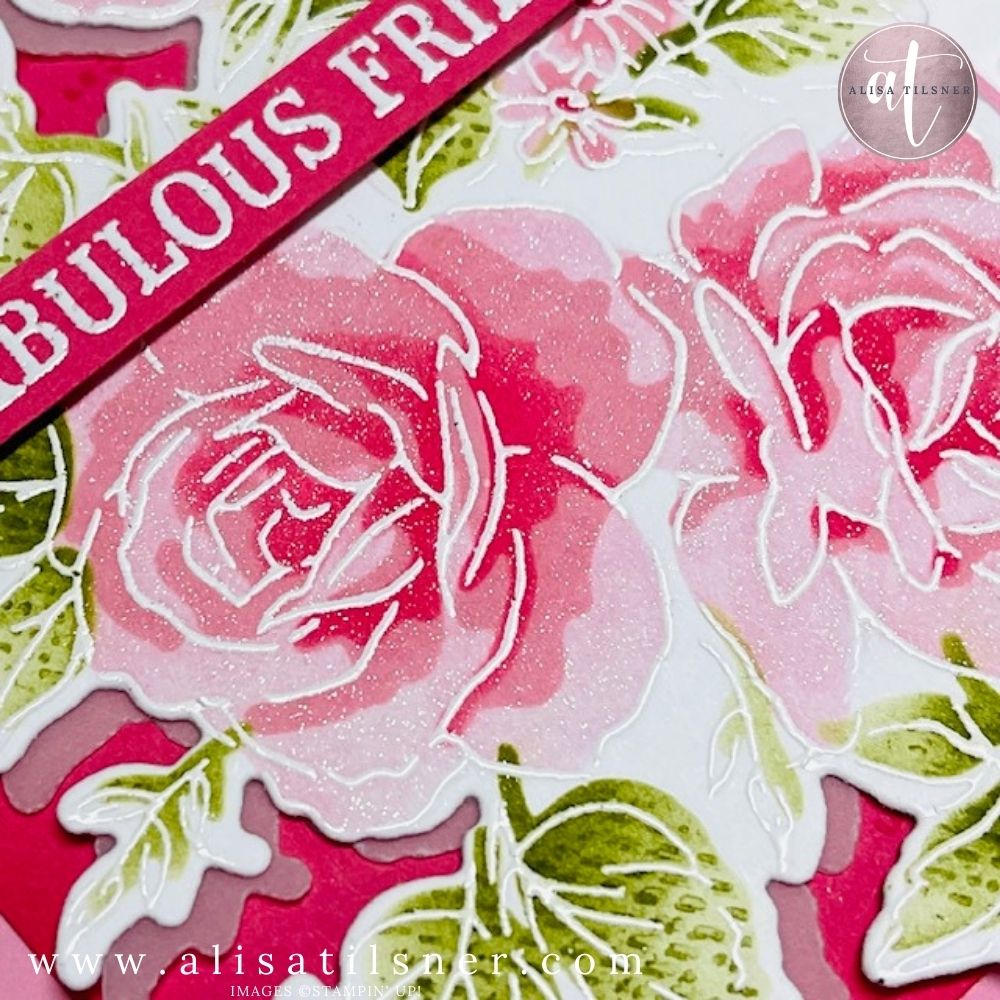
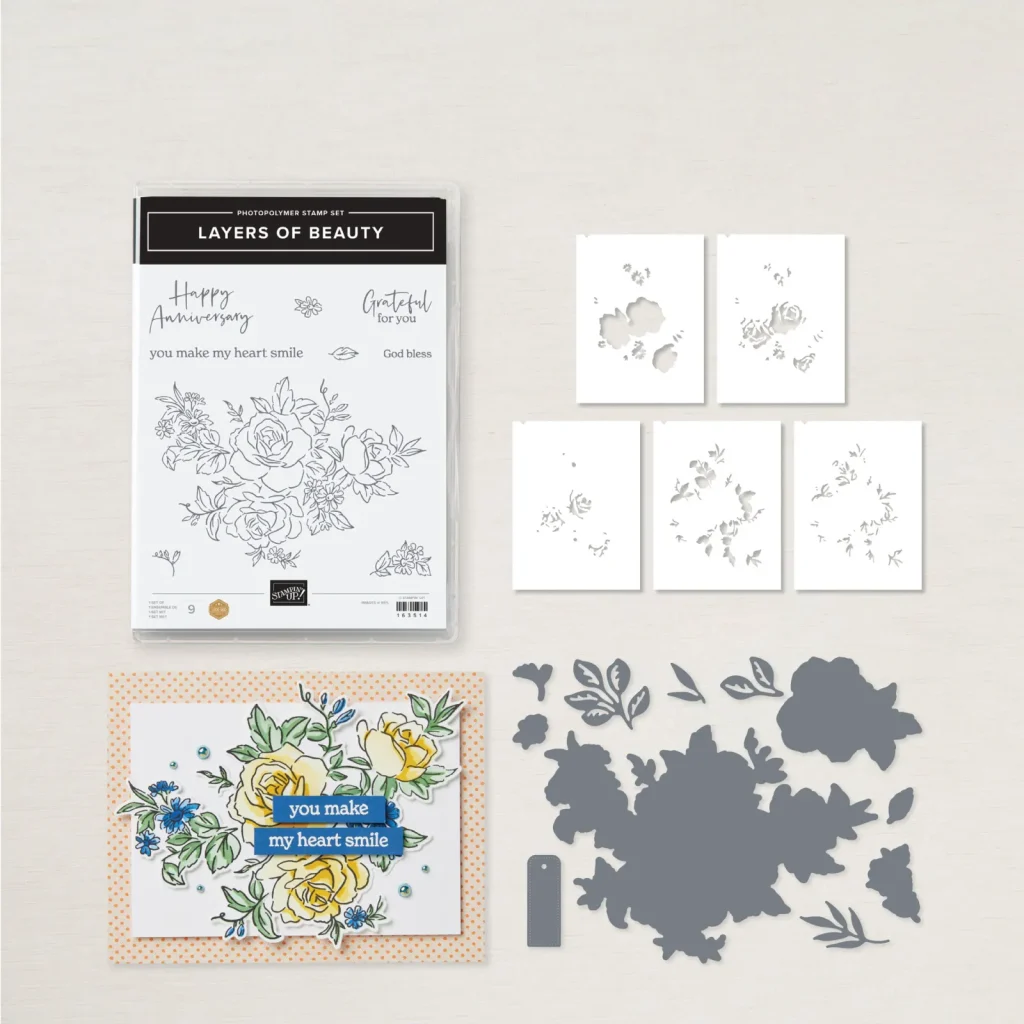
Why the Stampin Up Layers of Beauty Bundle earns its spot in your craft room
This is one of those bundles you’ll reach for again and again because it gives you options:
- Quick colour with stencils
- Elegant line-art with embossing
- A die-cut focal image that looks impressive without complicated construction
- Techniques you can scale up or down depending on your time
If you’ve been on the fence about Stampin Up Layers of Beauty, let this be your nudge: it’s not just a “pretty floral”—it’s a technique set waiting to happen.
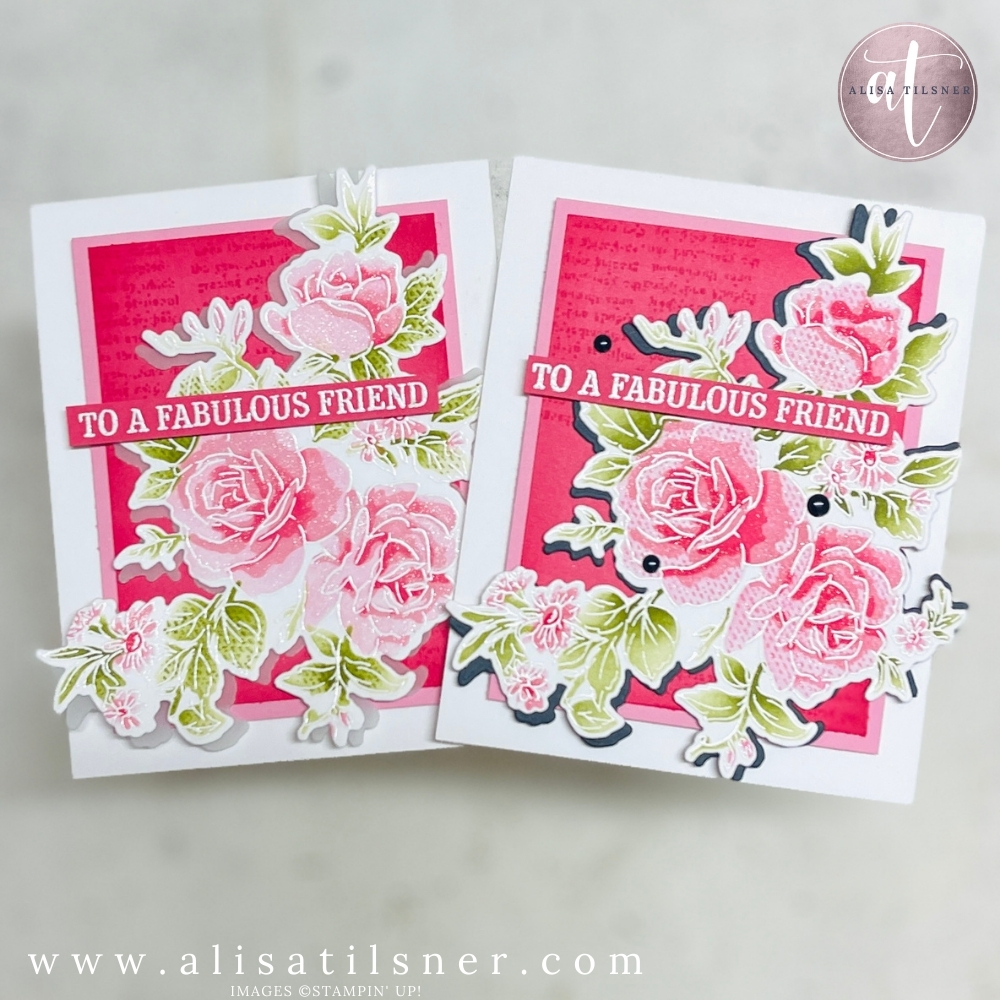
Oh, and I did go back and create a second card with a Secret Sea layer, and this time stamped the Lasting Linen on the Roses instead of the Leaves. Which do you like best?
If you’d like the written tutorial, make sure you’re on my newsletter list. (it will also be added to my Freebie Library).
Cheers for Now

- Shop my ONLINE STORE
- Join The Artful Stampers Team – Happy Shoppers,
Hobbiest , Part Time and Full Time welcome! - Creative Card Makers Club
- Watch me on YouTube
- Socialise with me on FaceBook
- Email Me