Snowy Delights Stencil Magic: Layered Ink Blending for a Sparkling Christmas Card
I’m here with a crisp, winter-inspired project using the Stampin Up Snowy Delights Bundle—a large statement snowflake, coordinating dies, and four buildable layering stencils that make colouring fast, fool-proof, and gorgeous. I also gave you a peek at the Handmade & Heartfelt Kit (this month’s new kit in Australia and the one featured for World Card Making Day on 4 October). If you’d like to craft along with Stampin’ Up! on the day, this is the kit they’ll use—perfect as a present-to-self and a brilliant way to jump into festive creating.
Why Stampin Up Snowy Delights Bundle?
If you love a big, show-stopping focal image and elegant snowflakes, this bundle is a dream. The stencils let you layer colour in minutes, creating depth without complicated techniques. It’s ideal for Christmas cards, winter birthdays, and even ski-themed celebrations.
Today’s Colour Palette
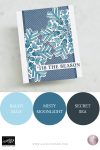
- Balmy Blue (light + deeper pass)
- Misty Moonlight
- Secret Sea (ink + sentiment, a lovely alternative to black)
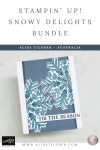
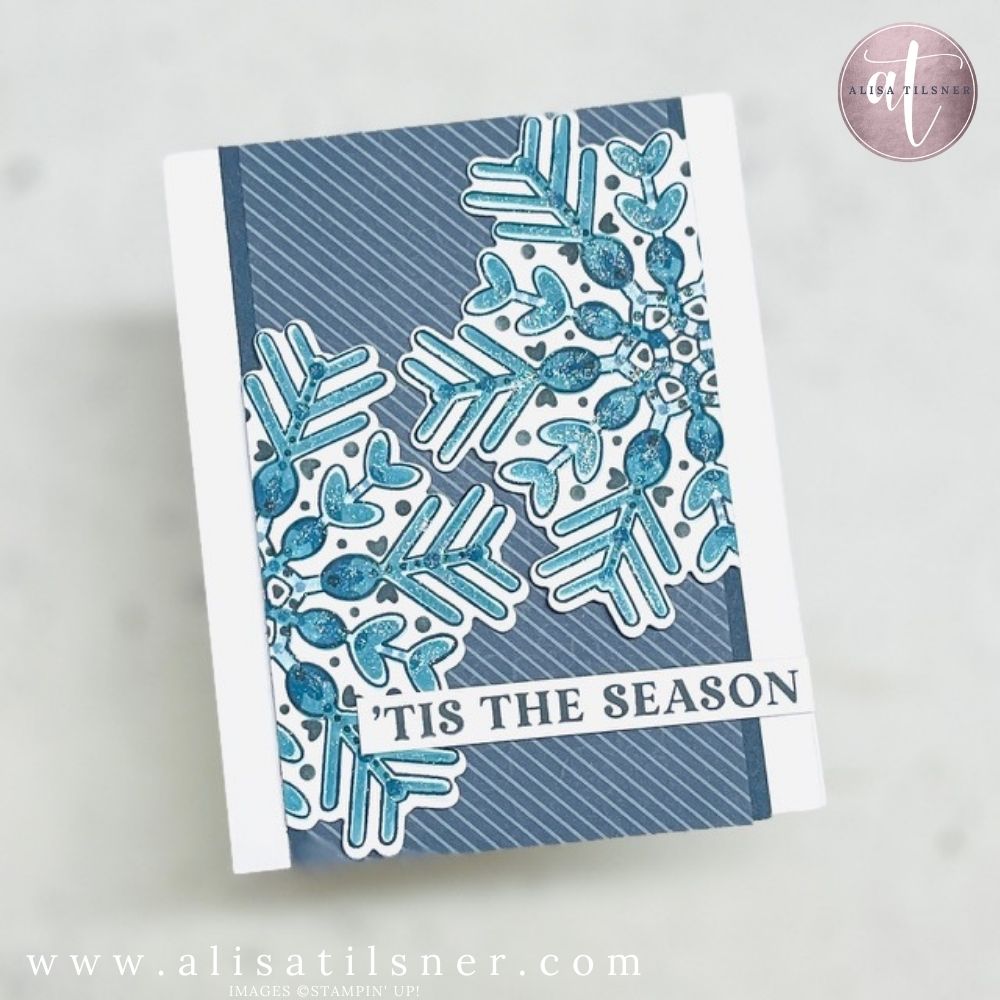
I paired the finished snowflake with a classic stripe from Traditions of Christmas Designer Series Paper and the ‘’Tis the Season’ sentiment (from Traditional Labels). Card front size is 4″ x 5″—my go-to so the finished card fits both Australian and US envelopes.
Step-by-Step: Layered Stencil Brilliance
- Stamp first for easy alignment
Stamp the large snowflake in Secret Sea, then align Stencil 1 directly over the image. This gives you a visual guide for perfect placement on your first go. - Blend light to dark
Start Stencil 1 with the residual ink already in your Balmy Blue brush for a whisper-light base. On Stencil 2, add more Balmy Blue for contrast. Stencil 3 gets Misty Moonlight to create defined, dimensional points. - Add the accent layer sparingly
Stencil 4 introduces Secret Sea details that sit in different positions to the earlier layers—go in gently at first and build up. The contrast is stunning. - Die-cut with confidence
Use the coordinating die to cut the snowflake. Tip: trace your dies onto the backing card they ship on. It makes putting them away quick and tidy. - Design the layout
For a modern look, slice the snowflake panel in half and separate the pieces across the card front. This creates a natural space for a horizontal sentiment. - Mount & polish
Pop the panels and sentiment up on Dimensionals. For sparkle without bulk, sweep Wink of Stella over the snowflake—no extra embellishments needed.
Handy Tips & Techniques
- Ink choice for sentiments: Try Secret Sea instead of black for a softer, coordinated look.
- Stencil control: Keep separate blending brushes for light and dark blues to avoid muddying the layers.
- Adhesive rescue: If Seal peeks out the back, rub gently with your thumb to bead and lift the residue cleanly.
- Universal sizing: A 4″ x 5″ front keeps your beautiful layers fitting a variety of envelopes—great for international posting.
Make It Your Own
Swap the paper strip for foiled cardstock, try a navy card base for drama, or shift the palette to Pool Party + Lost Lagoon for a frosty mint look. You can also stop after Stencil 3 for a softer, airy snowflake—versatility is the bundle’s superpower.
Shop the Supplies & Join Me
- Stampin Up Snowy Delights Bundle: Your go-to for layered snowflake elegance.
- Traditions of Christmas DSP: Timeless patterns that pair perfectly with cool blues.
- Handmade & Heartfelt Kit: New this month in Australia and the featured kit for World Card Making Day (4 October)—grab it to craft along and stock your card stash.
Want the printable tutorial with measurements and the full video replay? Join my mailing list to access my Freebie Library—over 100 tutorials and counting. If you’re in Australia, shop with me to take advantage of my Birthday Rewards this month and stock up before Christmas creating kicks into high gear.
See you next Thursday for more festive fun.

- Shop my ONLINE STORE
- Join The Artful Stampers Team – Happy Shoppers,
Hobbiest , Part Time and Full Time welcome! - Creative Card Makers Club
- Watch me on YouTube
- Socialise with me on FaceBook
- Email Me