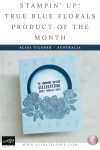
True Blue Florals Fun Fold Card Tutorial (Product of the Month)
If you love cards that look “wow” but take hardly any time to make, today’s project is for you. I used the Stampin Up True Blue Florals DSP (December’s Product of the Month) to create a quick window fun fold card that’s perfect for batch-making birthdays, thank yous, and everyday happy mail.
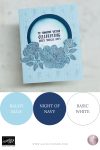
This paper pack is all about crisp, classic colour with maximum impact. With Night of Navy and Balmy Blue doing all the heavy lifting, you get that timeless blue-and-white floral feel that works for so many occasions. The best part? Because the pattern is so strong, you can make a gorgeous card with very little stamping.

Why this DSP is perfect for fast card making
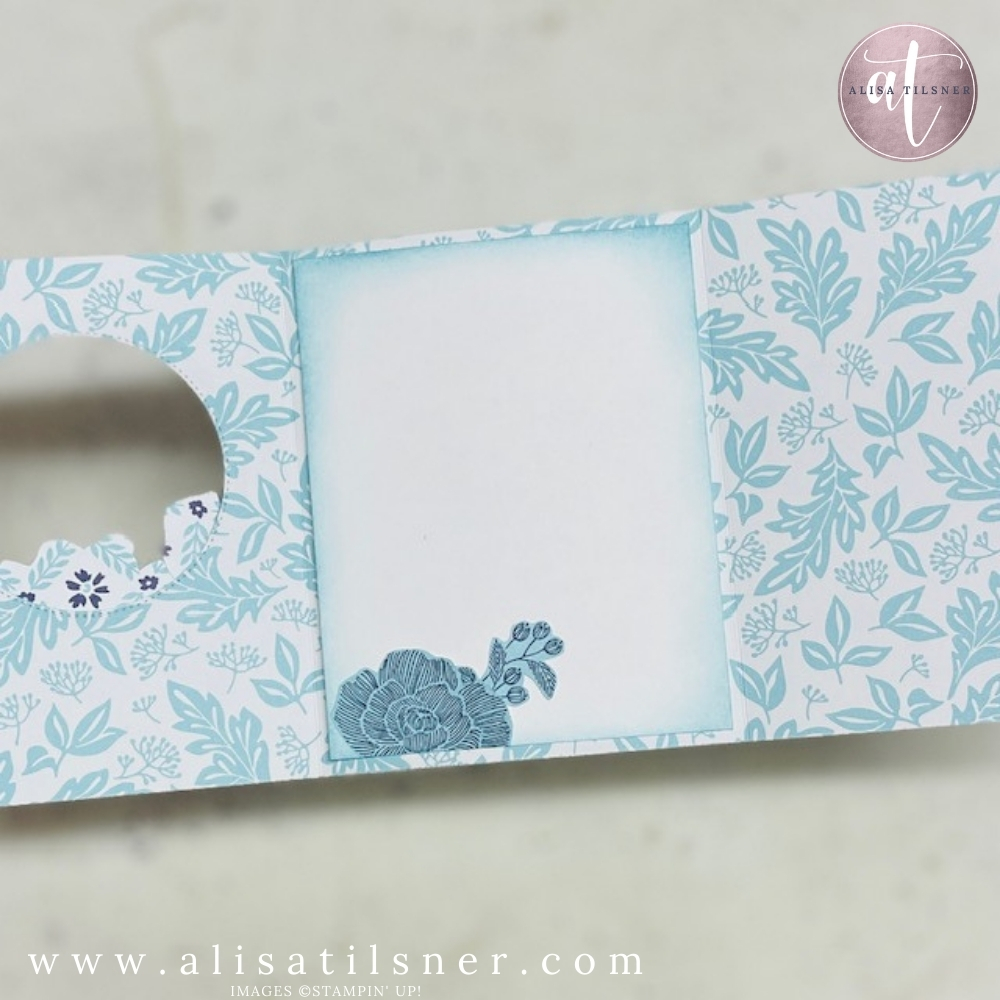
True Blue Florals is directional, which makes it ideal for strips, panels, and statement layers. For this design, I chose a pattern that would look beautiful on the front, but also had a reverse side that would still shine when the card opens. When your paper does that much work, you can keep the rest of the card clean and simple.
Product of the Month in Australia (how it works)
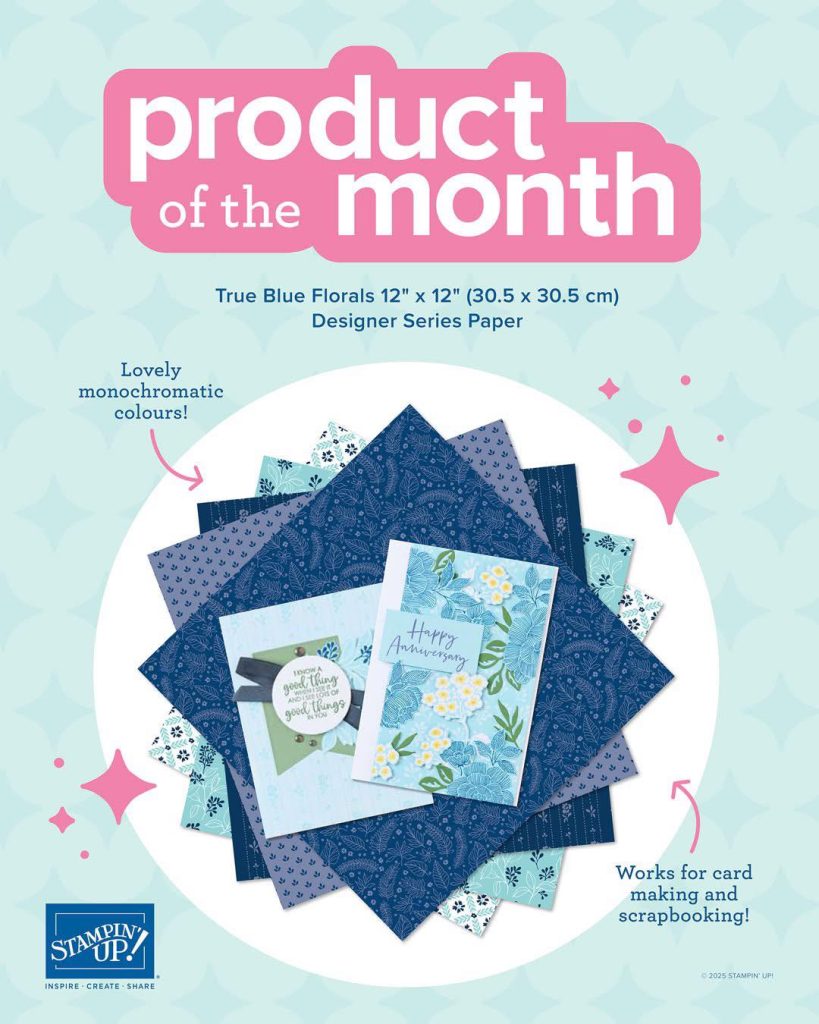
Stampin’ Up! have introduced a Product of the Month offer. In Australia, for every $125 you spend, you can add the Product of the Month for just $9. The offer repeats month after month — only the featured product changes. This month’s featured product is the True Blue Florals DSP, and it’s a brilliant one to grab because you’ll get so many cards from a single pack.
Card base and fun fold measurements
This is a simple, sturdy fold that feels a bit “fancy” without extra fuss.
- Card base: 5″ x 12″ (12.7 cm x 30.5 cm)
- Score at: 4″ and 8″ (10.2 cm and 20.3 cm)
That scoring creates three panels across the front, which makes it perfect for a peek-through window and layered focal point.
The window and layered frame detail
To create the focal point, I die cut a circle from the front panel (position it slightly above centre so it feels more designer). Then I cut a nested circle frame from Night of Navy cardstock to give the window a crisp border.
Behind that, I added the smaller circle shape from Basic White cardstock, with soft ink blending in Balmy Blue around the edge. This tiny step adds depth and ties the whole blue palette together beautifully.

Finishing touches: paper flowers, sparkle, and subtle bling
To decorate the front, I fussy cut florals directly from the DSP. Don’t overthink it — cut a mix of flowers and leafy pieces, then play with placement until it feels balanced. The key tip with this fold is to be careful with adhesive: avoid placing glue anywhere that will catch on the open circle area when the card closes.
For sparkle, I added Wink of Stella over the florals (always do this last so you don’t waste shimmer on anything that gets covered). Then I finished with a few small, flat embellishments so the card still fits nicely in an envelope.
Want the written instructions?
I’ll have the step-by-step tutorial added to my Freebie Library (with 150+ PDF tutorials and growing). If you’re ready to create with this gorgeous DSP, make sure you grab Stampin Up True Blue Florals DSP while it’s available — it’s the kind of paper that makes you look like you spent hours crafting, even when you didn’t.
Cheers for now

- Shop my ONLINE STORE
- Join The Artful Stampers Team – Happy Shoppers,
Hobbiest , Part Time and Full Time welcome! - Creative Card Makers Club
- Watch me on YouTube
- Socialise with me on FaceBook
- Email Me